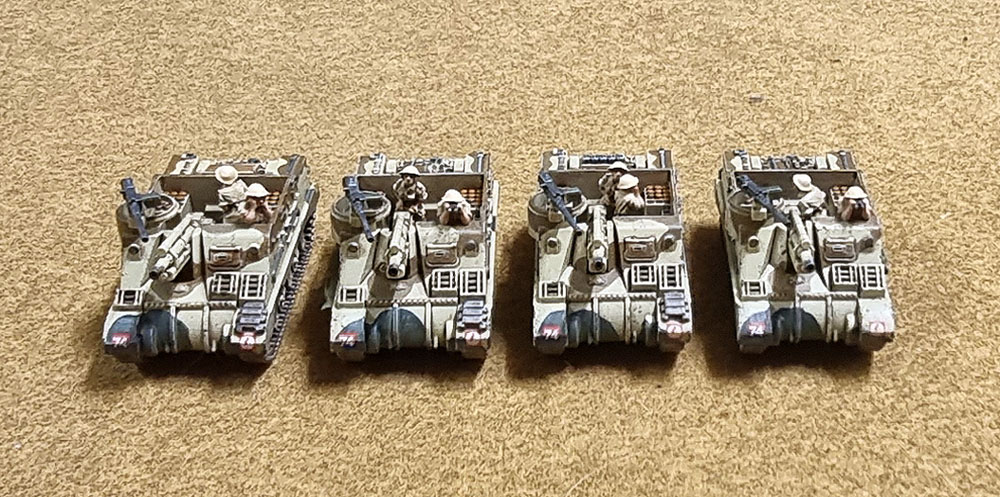

By the time I got to the next tanks – the Crusaders – I’d picked up enough of them to put together a fully-legal, Crusader Armoured Squadron in 4th edition Flames of War using only Crusaders. The Crusader Squadrons in FoW can feature a mixture of three different types of Crusader, though only one of the three is really distinct from the others in a meaningful way on these models. The HQ Platoon above features one Crusader II armed with a 2-pounder and two Crusader II “CS” (Close Support), armed with 3-inch howitzers . Since the models’ main weapons are all but identical, and I’d decided to omit Tank Commanders from all of these models (turns out it’s fairly important in FoW) I decided to paint the barrels of the Crusader IIs with the green covering half, while keeping the CS variants to “clean” tan barrels. A little tricky, but as the vehicles look almost identical…

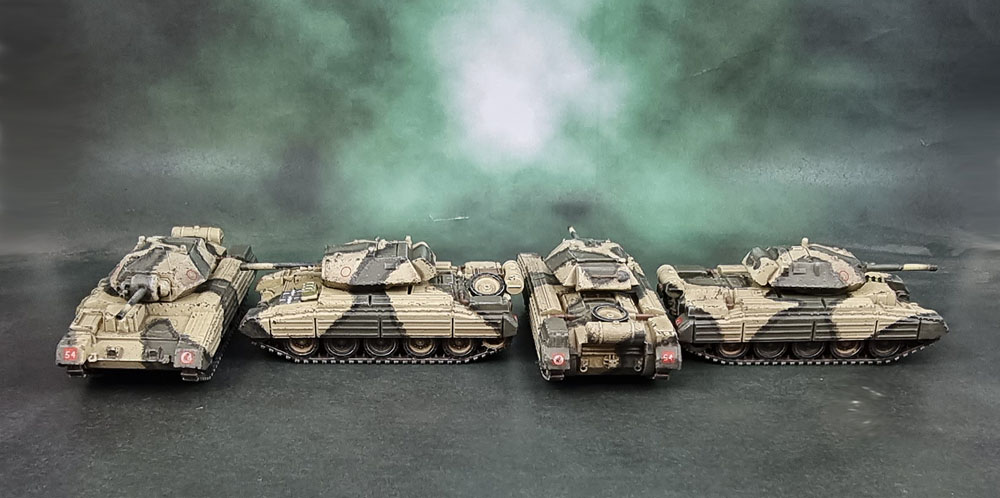
The Crusader III versions are a little more distinct from the others, with the flattened turret fronts and larger 6-pounder gun, making the models in the other two mixed platoons easier to distinguish from one another.

At this point, I’d fully committed to using different schemes on the different 8th army vehicles. The particular camo scheme for the Crusaders was inspired by a couple of colour plates I found online.

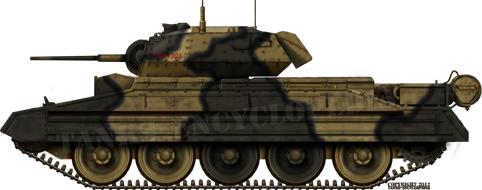
I used stippling to add the black (dark grey, actually) soft “spray effect” line dividing the green and the desert stone.
Again, a pic to show the four sides of the camouflage pattern applied…
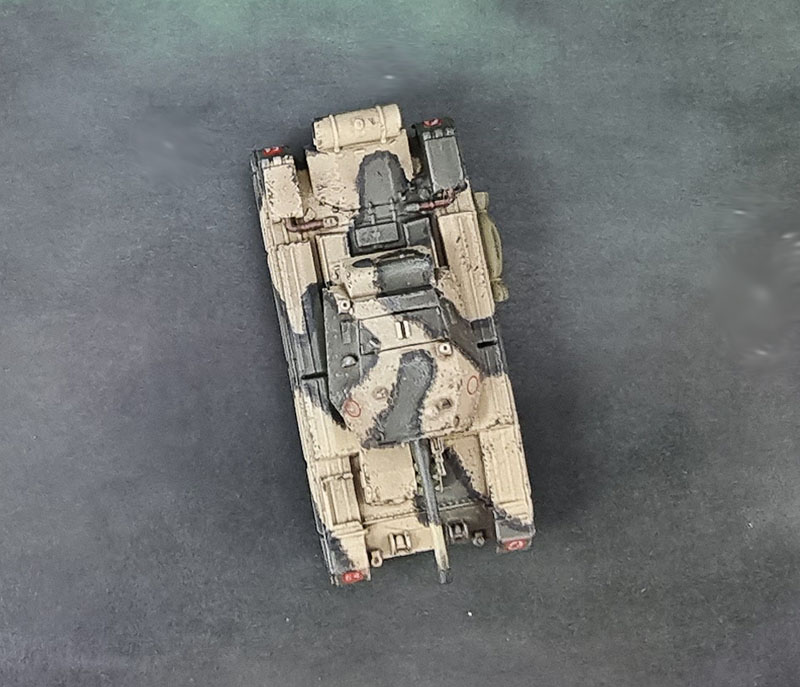
…and an “aerial” shot.

And here are the completed Crusaders on the “Desert” flats.