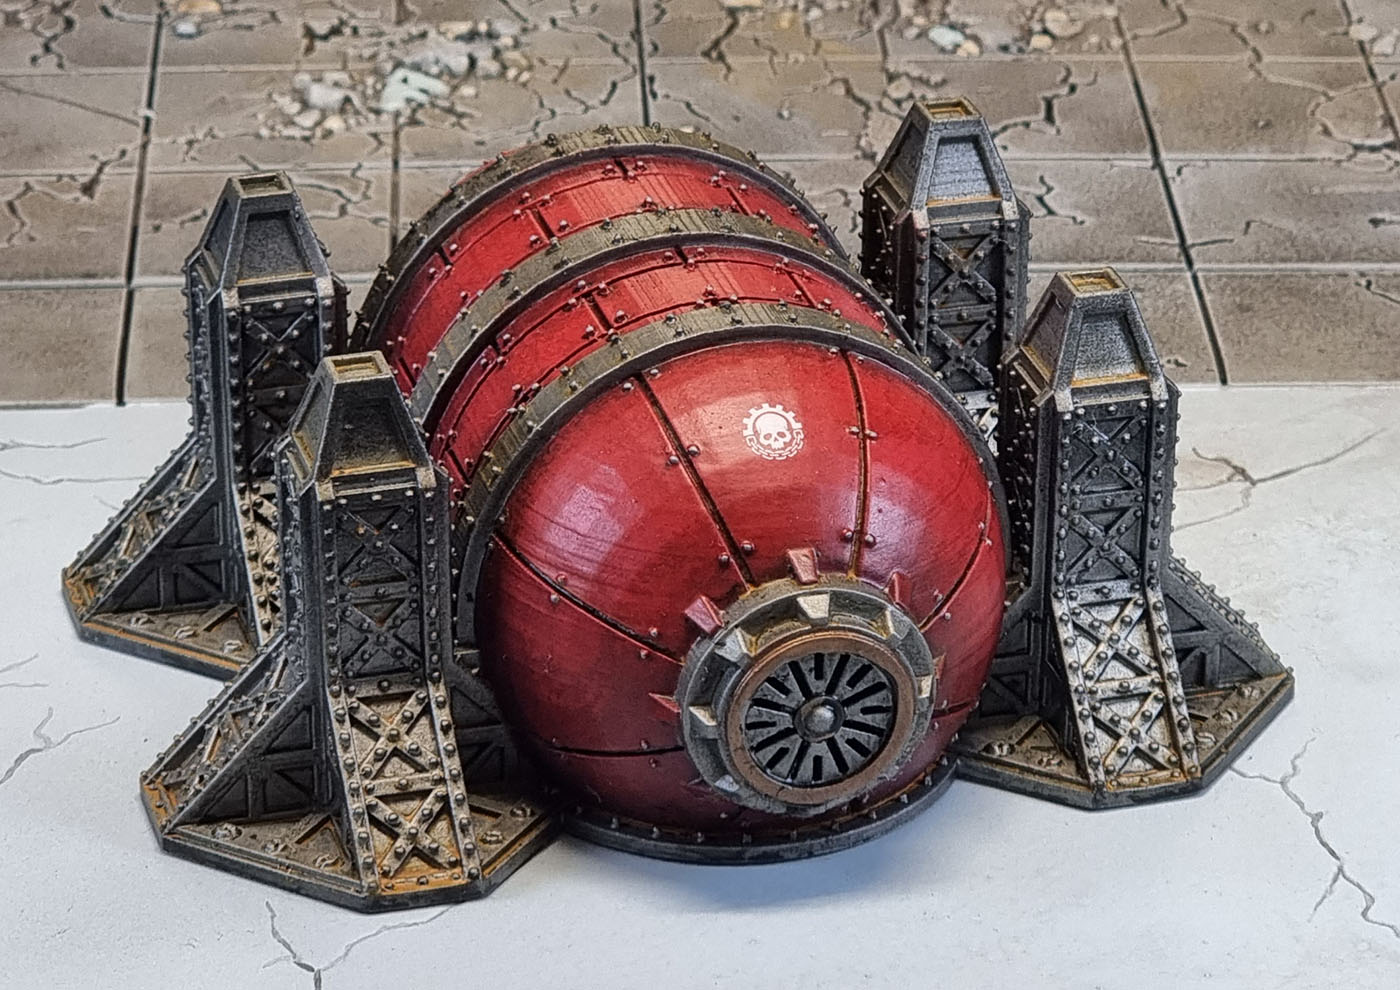
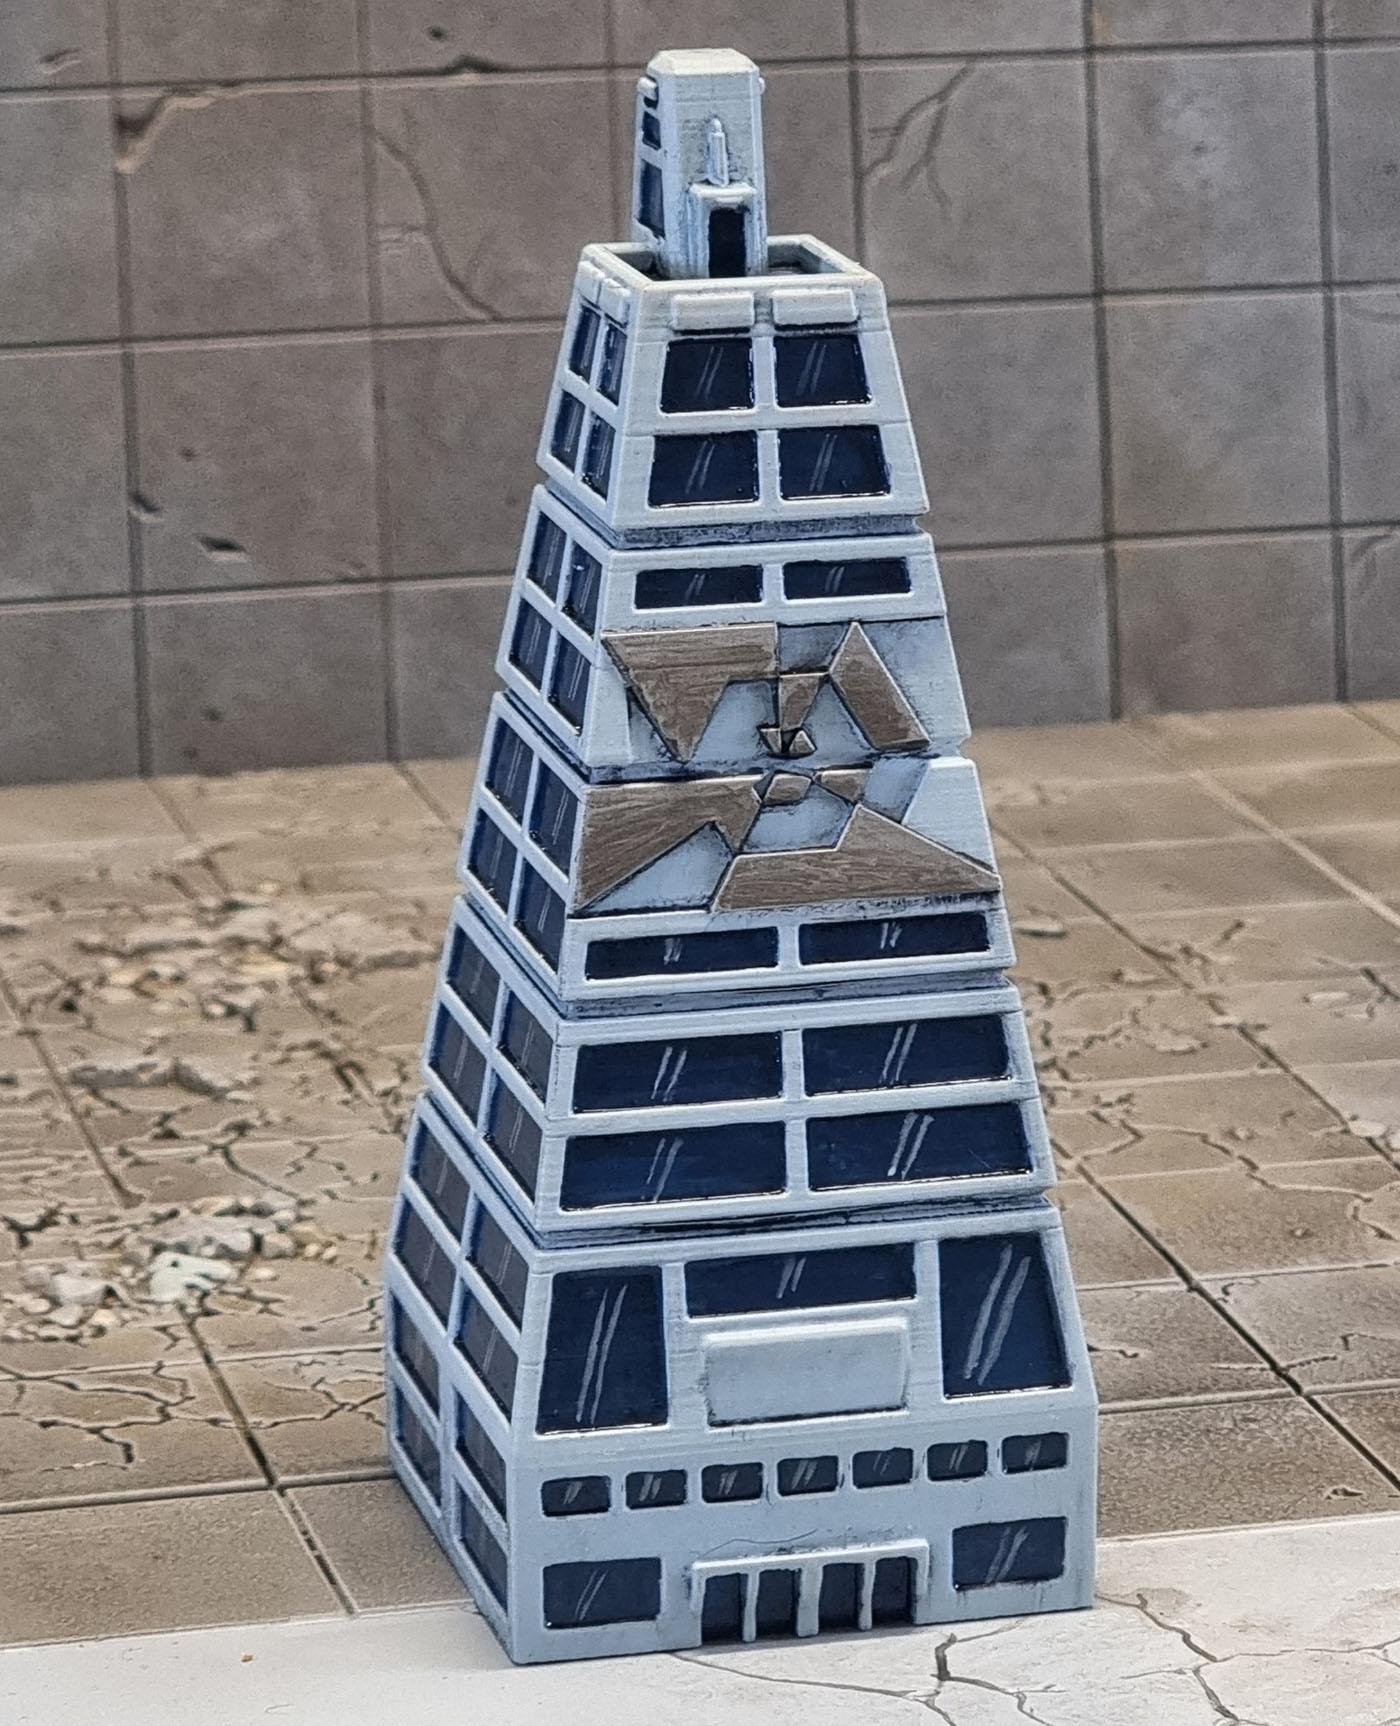
Another quick 3D print post today. This model is one of the earlier ones I printed for the Battletech/Imperialis/Titanicus project but I’ve only gotten around to finishing it a few weeks ago as part of the Oil Wash session. This model from Shiaic3D is available for free from Cults 3D.
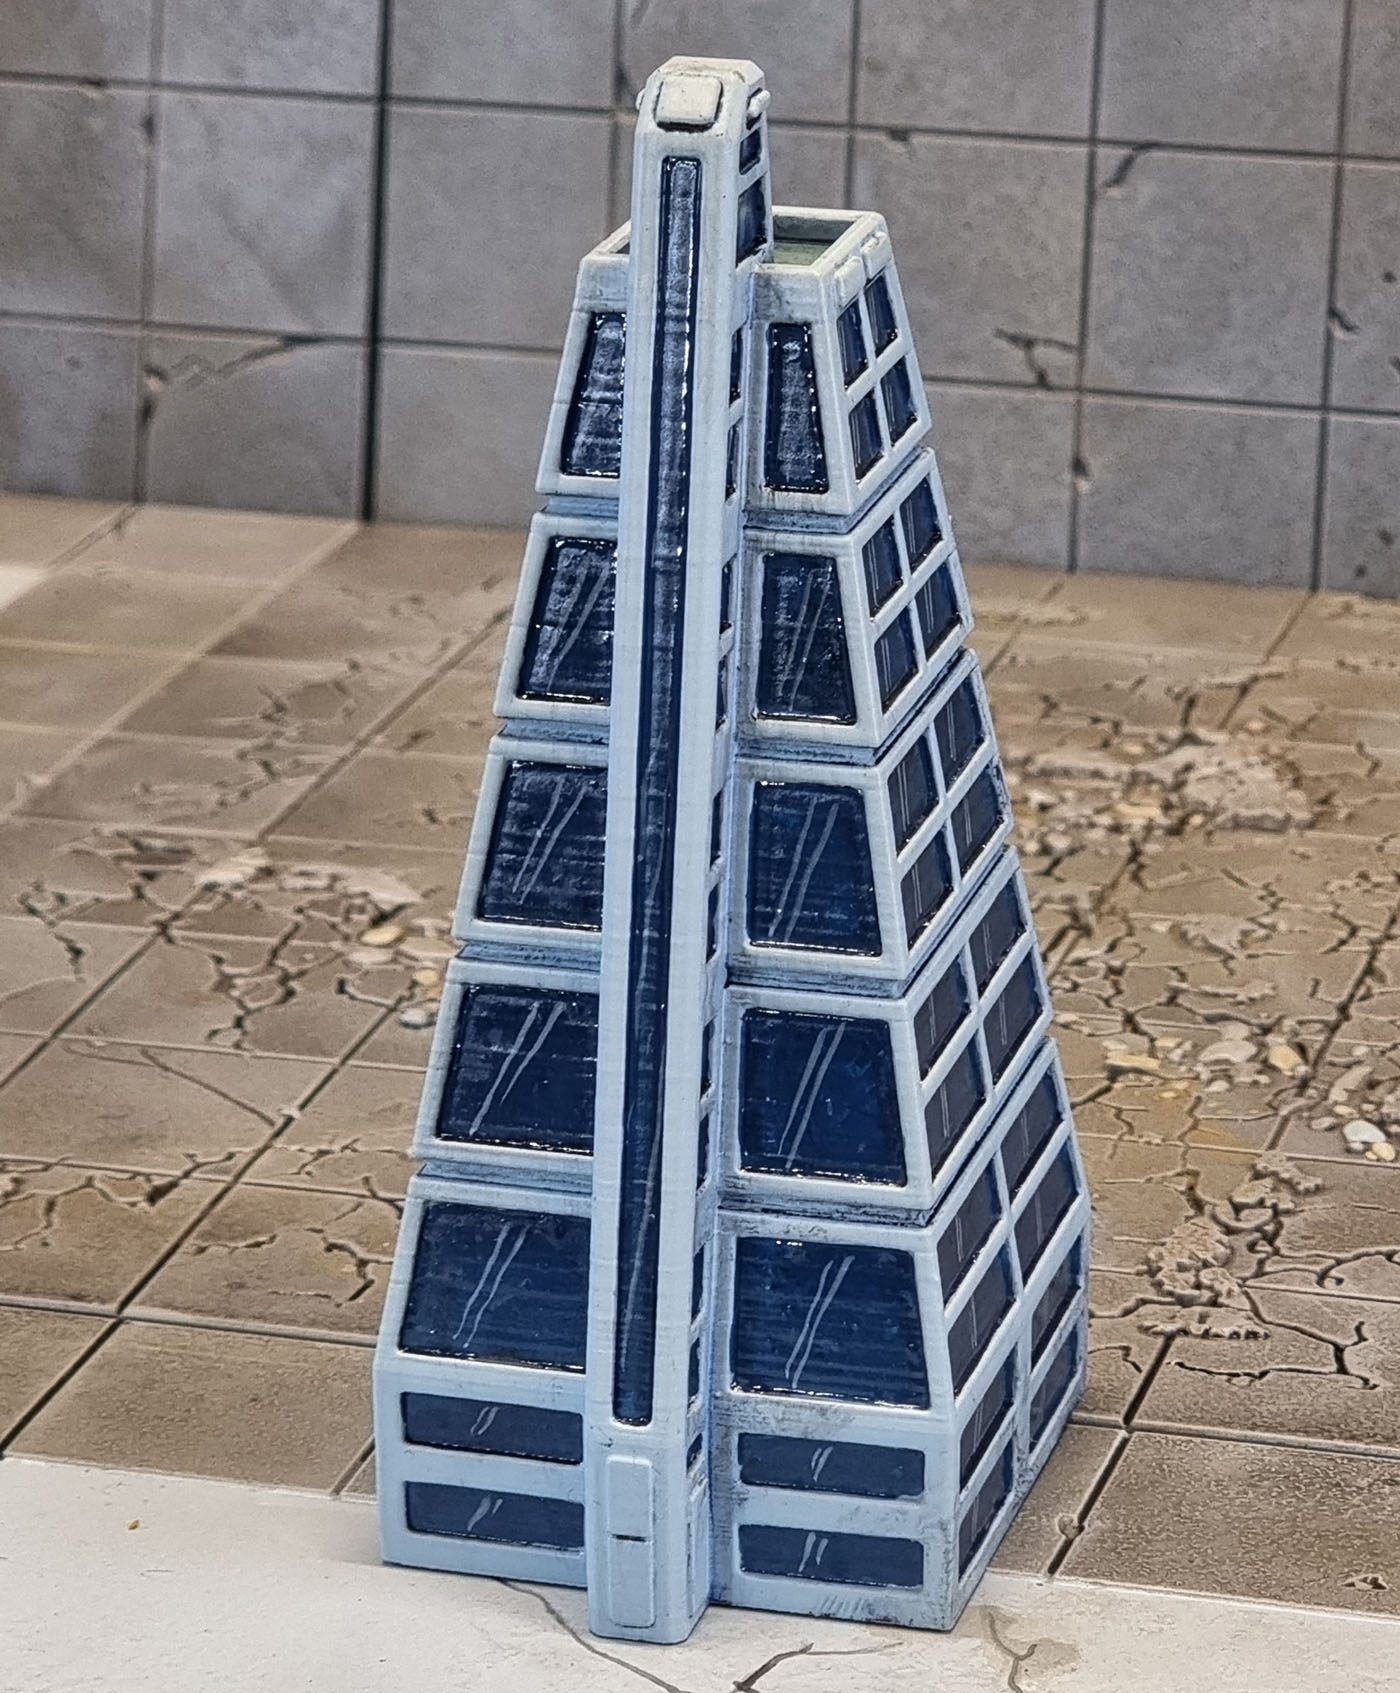
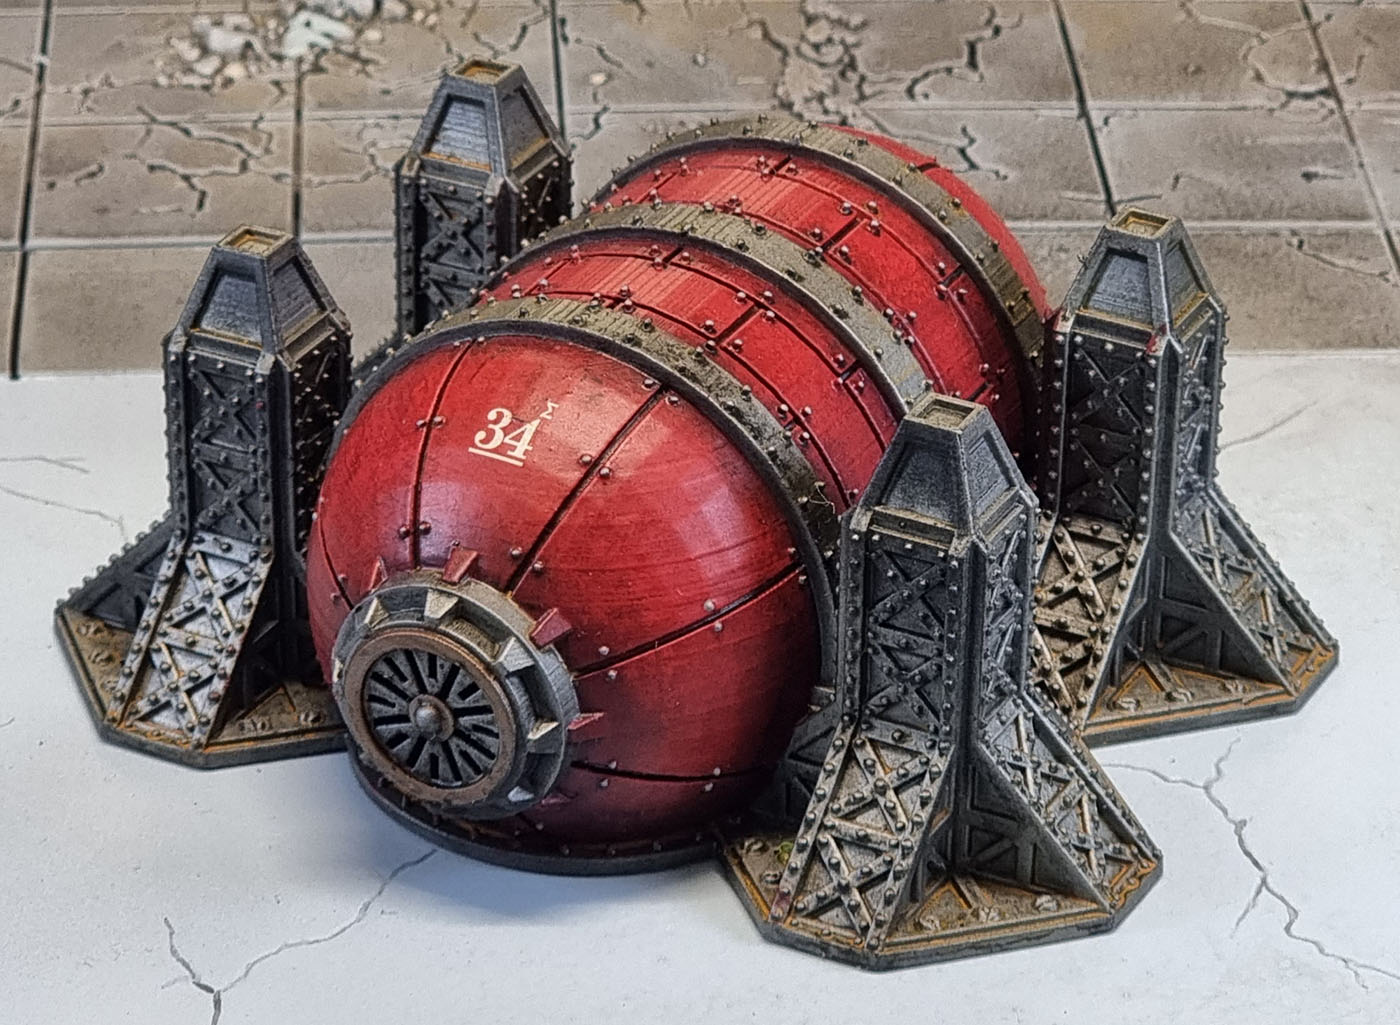
It’s certainly an interestingly shaped building – no damaged or destroyed version of this one and I did increase the size of it somewhat.
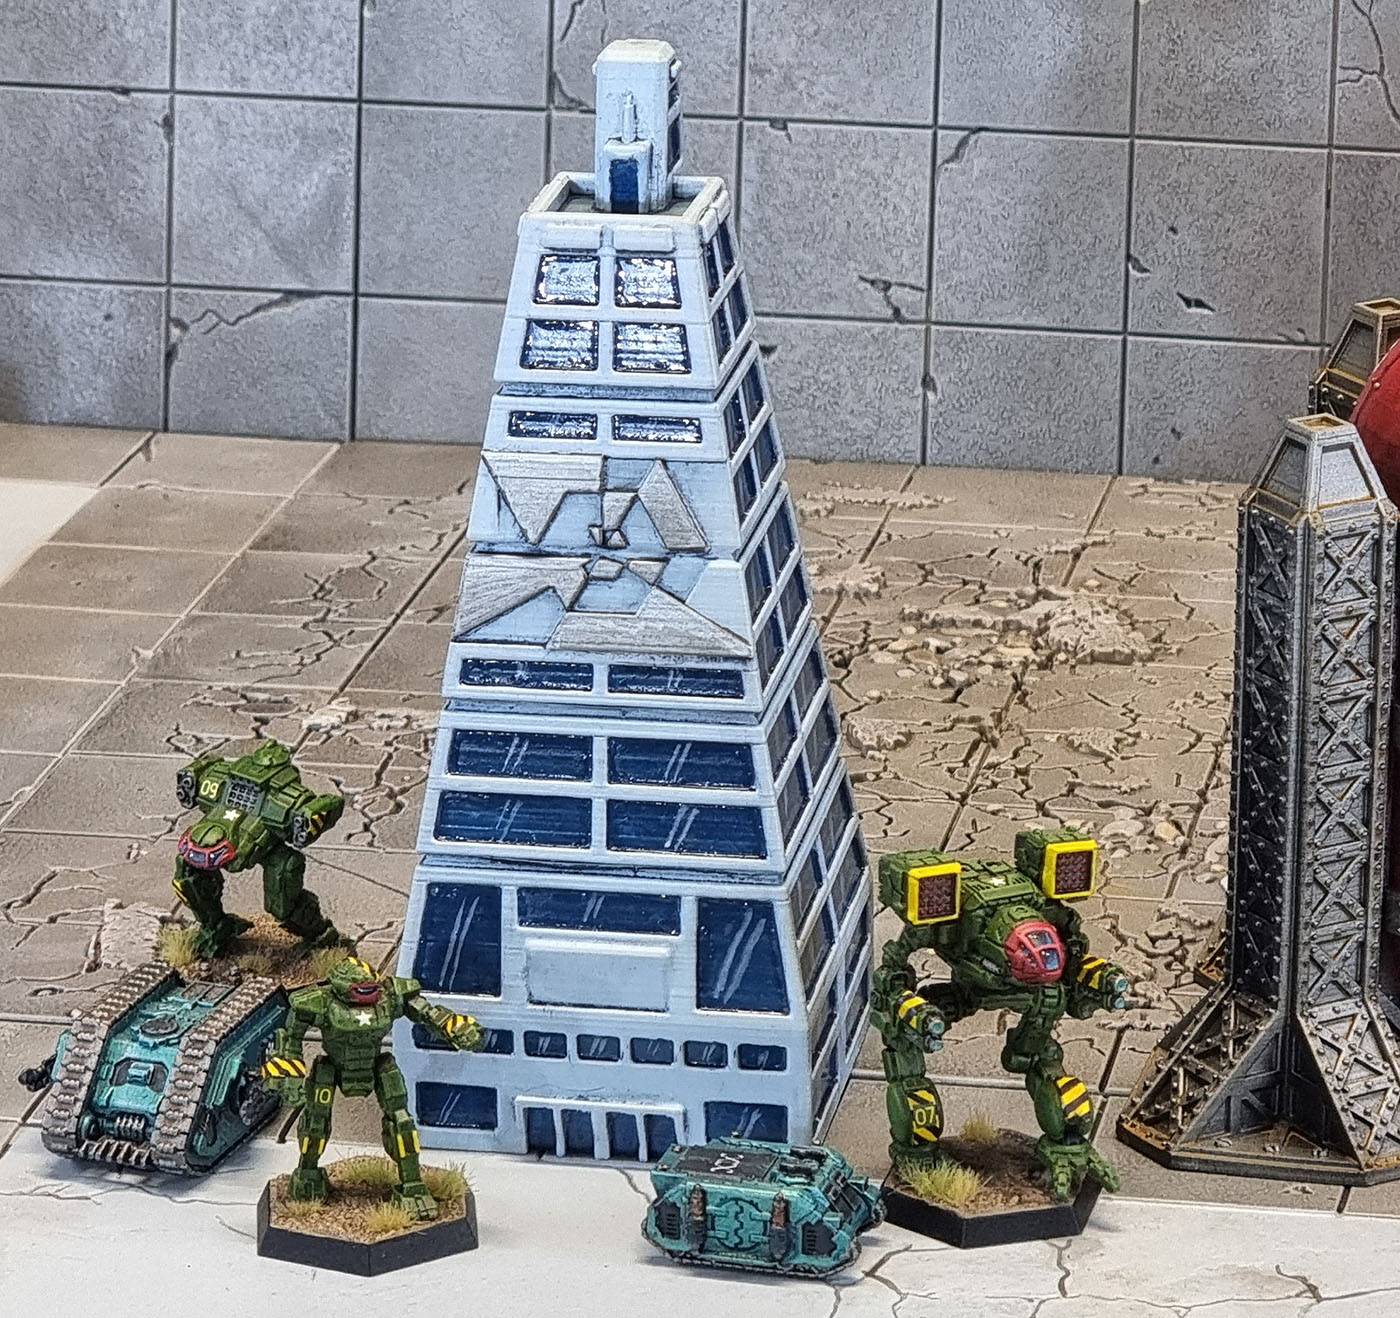
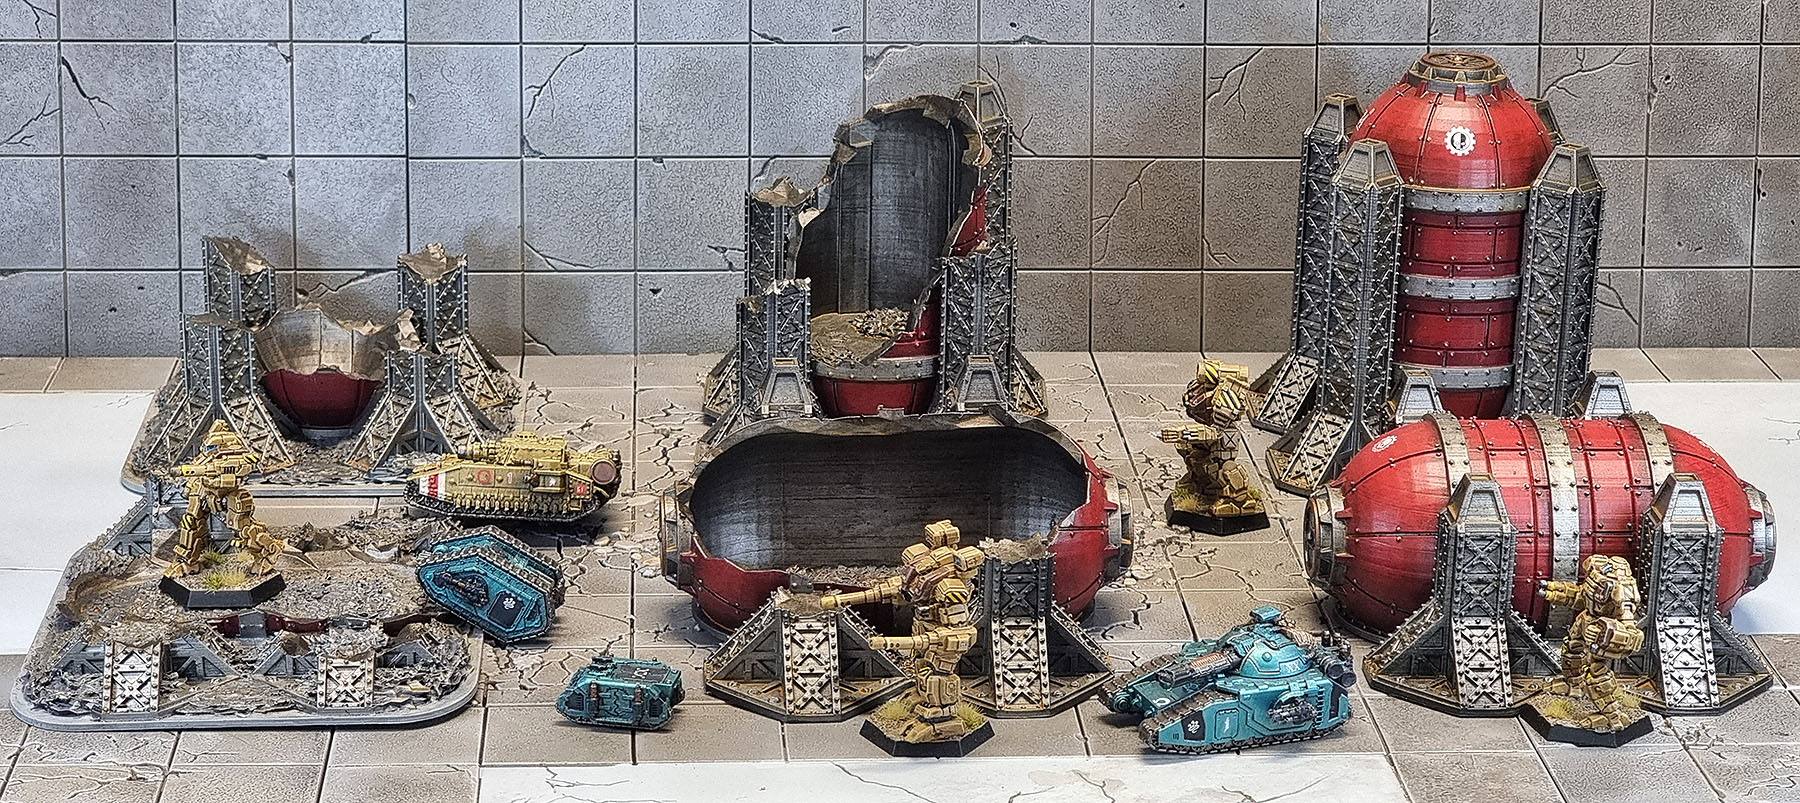
Painting was pretty straightforward, though I do somewhat struggle with coming up with colour schemes for some of these buildings that look interesting without risking overwhelming the models or on the other extreme simply drybrushing everything grey. It’s not a “star” of a finished piece, but it’s certainly fit for purpose as you can see from the model scale image. Once more, I finished this thing during the timeframe of Dave Stone’s Paint What You Got Challenge 25-26. Only one more February post to come before the round up, and then I need to start photographing this month’s models… 😮