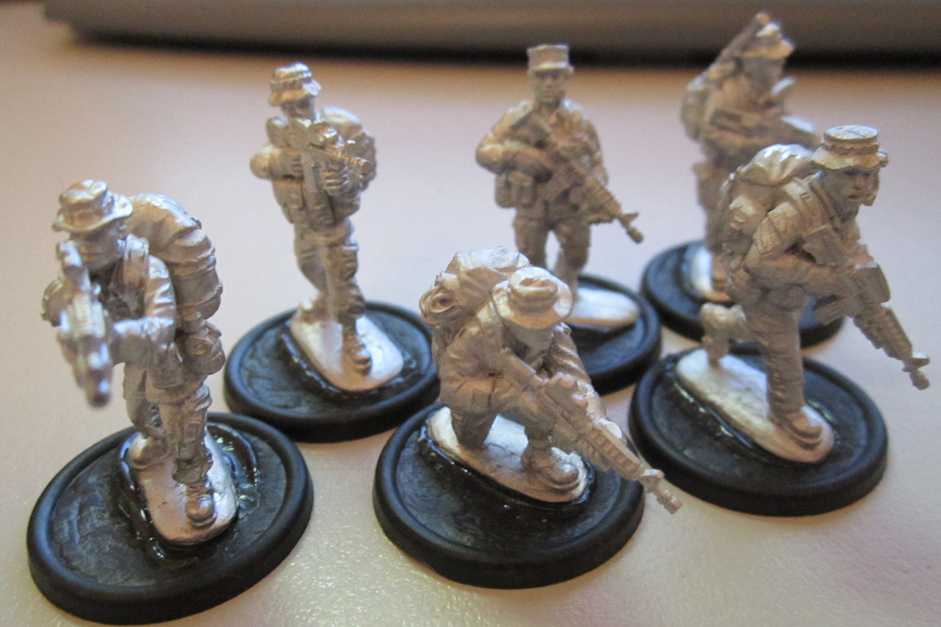
Since I’m quite excited about these new Modern USMC figures from Eureka, I’ve decided to start painting them already – typically figures sit in my “to do” pile for anywhere between months and forever (don’t ask me how many unpainted Space Marines from the 1990’s I still have). Moderns though – I’ve always wanted to get hold of moderns, but until very recently they have always been in 20mm, or quite frankly – not good enough models for me to be willing to spend money on. I guess I’m a bit of a snob in that sense, but I grew up with Games Workshop sculpts by Jes Goodwin, the Perry Twins, Kev Adams, Mark Copplestone et al, and later on, figures by the Rackham crew, so seeing figures that looked mostly-smushed or not much better than what I could sculpt myself never did it for me.
As well as a follow-up order with Eureka, I’m also planning to pick up pretty much the entire Modern (Western) range from Empress Miniatures very soon – US Forces and Brits. Again, they look very nice, and should add some additional variety to my modern forces.
I started by basing them on 25mm rounds from Proxie Models. A couple of months ago I ordered a ton of bases ($70 worth) from Ken after some recommendations on Dakka, and they are both dirt cheap and excellent quality. I’m tempted to order more just to have a healthy stockpile for the future.
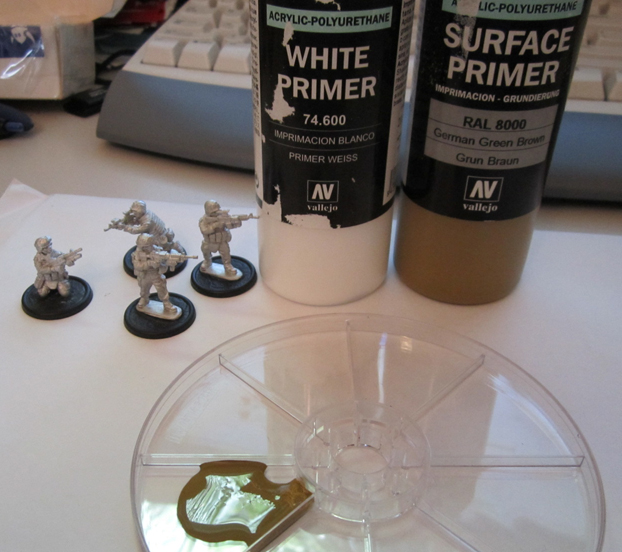
One of the new things I’ve decided to try with these was the coloured primers I picked up a couple of months ago from Vallejo. These are the new Acrylic-Polyurethane primers. I picked up the full range of 10 colours in the 200ml bottles, in the hope that I’ll never need to buy the stuff again. I’ve heard people talk about how they’re wonderful for plastics but not so great for metals. Well, they applied very nicely and smoothly to my Marines using a 3/16 flat brush, and once dry, the paint has indeed “shrunk” into the detail, leaving them unobscured.

I have to say, using coloured primer has been a little hard to get my head around – after more than a decade of using a spray can, using a brush to apply coloured paint just seemed wrong in some way – like I’ve started basecoating without undercoating. The Vallejo primer was very smooth in it’s application, and feels quite nice on the models. I used a 2:1 mixture of RAL8000 German Green Brown with White, as I figured if I’m going to use coloured primer I may as well lighten it to be a bit closer to what will be my main base colour.
In all, it turned out well. After drying I’ve spotted a few places on a number of the figures that I’ll need to touch up. After that, basecoats!
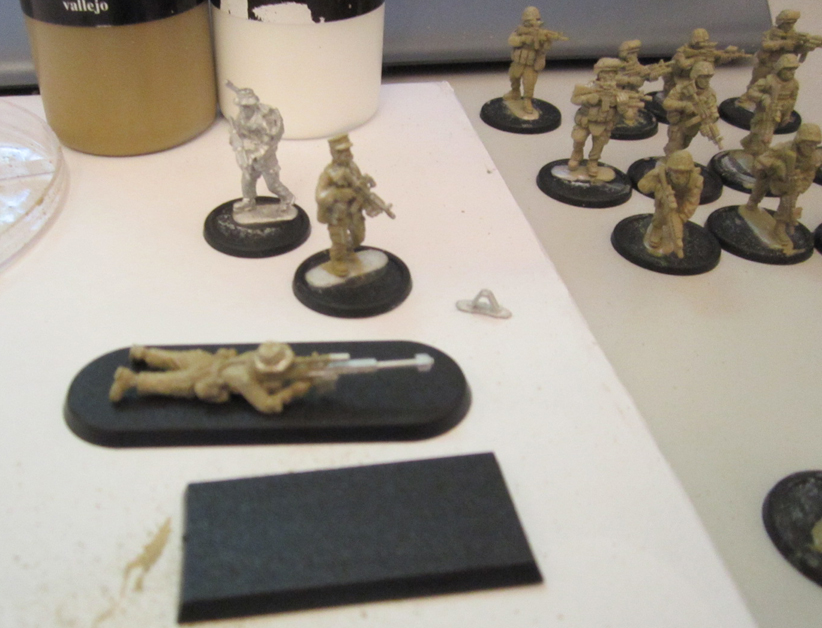
The one thing I’m not sure about is the basing of the sniper. He’s too big for a 40mm round, which leaves me with a choice of the two 40k cavalry bases. The WFB square one leaves his rifle overhanging, which means I could more easily position him as shooting out of a window etc, but the round one will better protect the rifle from damage in storage, transport and play. I can also do a little more on the base by adding some rocks and such, though not to the extent of making a mini-diorama, as I feel they detract from models when used as gaming pieces. I also prefer round(ed) bases. A 60mm round would be overkill, I feel. I’m using another figure as a spotter, but I prefer to have 2-man teams based separately as it offers more flexibility on the tabletop and in storage.

In the end, I went for the rounded base for the extra protection. Since with these figures I’ve decided that I want to try a bunch of new materials and techniques, I found the Vallejo Sandy Paste that I purchased awhile back, and decided to ladle it onto their bases. I haven’t used this kind of material for basing before, and have only used non-textured acrylic pastes for adding bulk, such as on my FoW DAK, and then going over the top with regular fine sand. Since the Proxie bases have a slight indent and the Eureka figures have an integral metal base, I used the paste to level out the tops of the bases, using a sculpting tool to apply it, and the same brush as I used for the primer to wipe it off when I got too much on their boots.
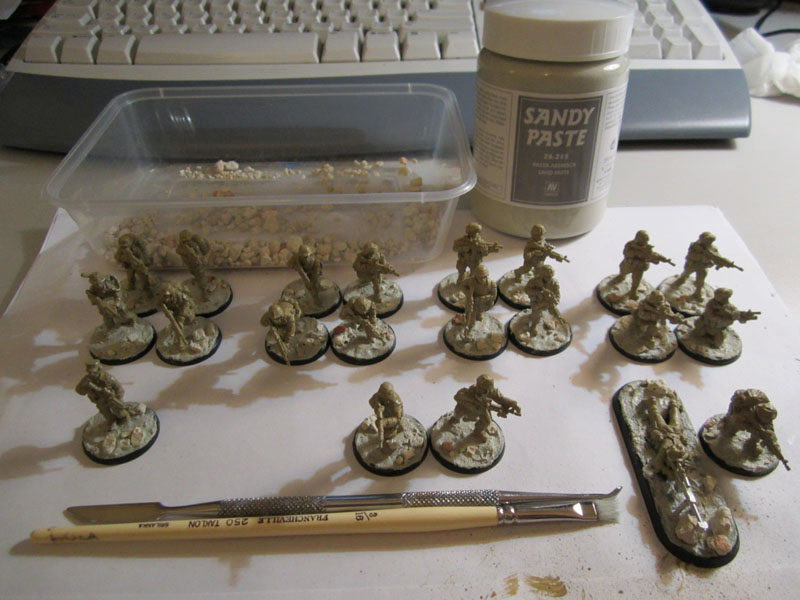
Verdict – the paste is way too fiddly to use on something like a 40k army or a full historical army, but should be fine on a smaller skirmish force like these ones. Finally, I added some kitty litter to the bases to add some texture as rocks. I’m going for a more rural Afghan-style base, rather than simply sand. I added a couple of the larger stones to the front of the sniper, to make it look like he’s found a spot that affords him a little bit of visual cover, while still keeping him in theme with the rest of the figures (so no bricks or ruins).
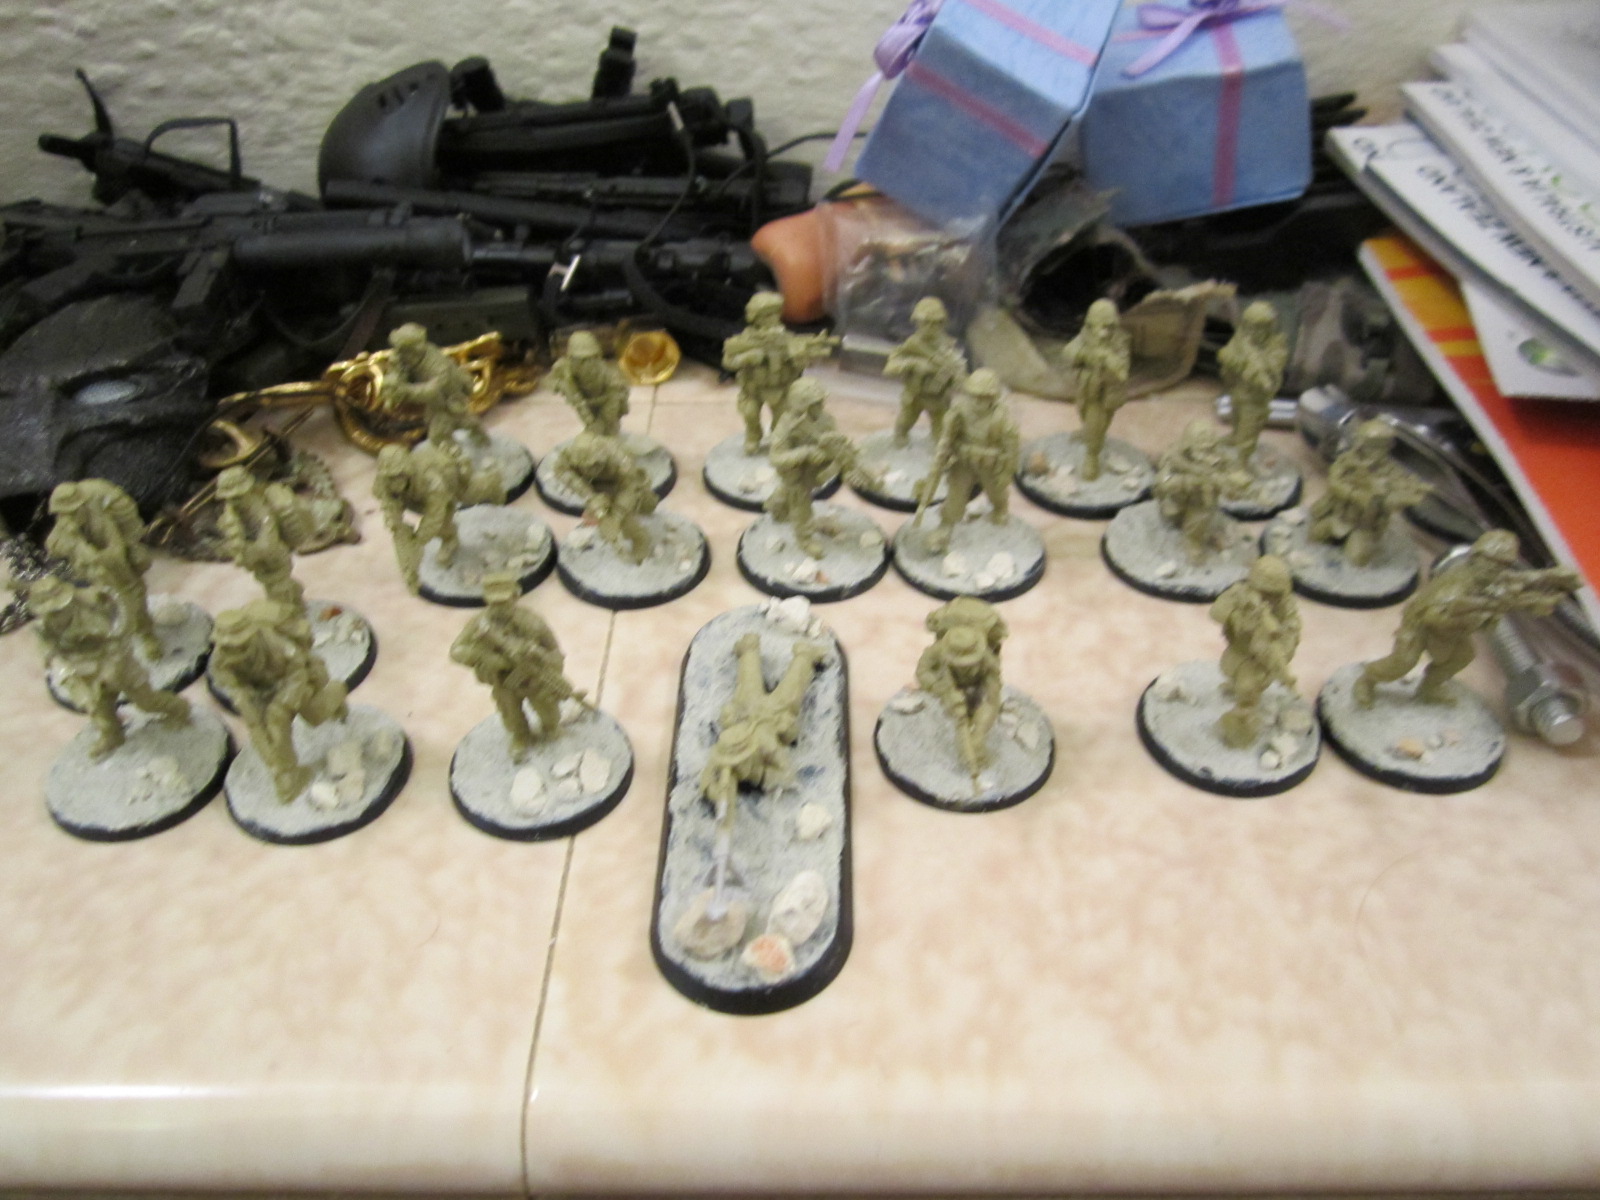
Now I just need to touch up the primer where it got rubbed off during the basing, and the actual painting can begin!