So here’s some more stuff I’ve had kicking around for the last decade and a half. Produced in a kind of foam resin (compressed polystyrene?) by Epicast – one of the contemporaries of Armorcast and non-GW Forge World USA back in the days of licenced Titans and Epic 40k stuff – before the founding of the GW-owned Forge World we now know. Anyway, as regular readers would know by now, I used to buy a lot of resin terrain back in the day, including a lot of stuff by Grendel – now known as Scotia Grendel. Amonst those purchases were three buildings, made in the 40k Ork style of the day – basically Adobe buildings. So I bought them, used them a few times and so forth, and then put them away. Since moving and setting up The War Room, my desert mat has gotten some use again, and I’ve found myself using these buildings again. They never got painted and never even made my painting radar since I never liked them all that much, and planned to Orkify them with various gubbins and all that sort of thing. Since I’ve actually used them recently, I took a good look at them and decided that they don’t need Orkifying after all, since I’d also like to be able to use them in Fantasy, Historical and Modern games as desert buildings, and if I glued scrap metal crap and spikes all over them I’d be literally painting them into a 40k-only corner.

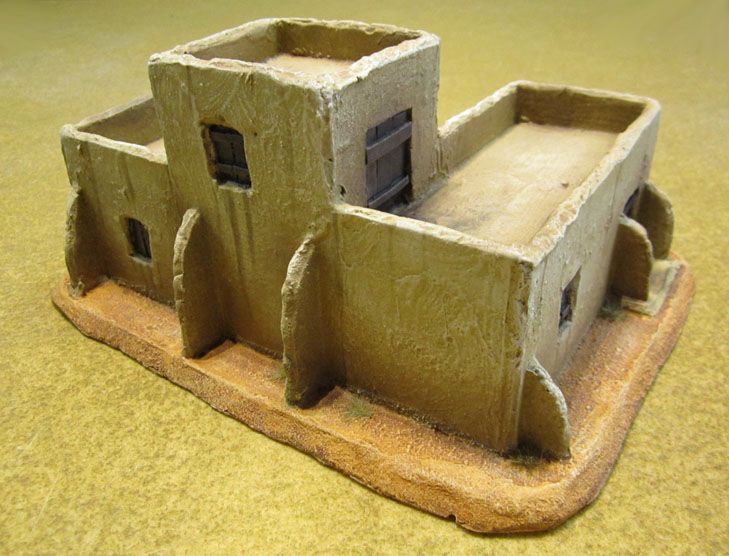
I nicked this picture from a Google Search that found it on TMP, since I forgot to take an unpainted pic of my own ones.
The main problem if I’m being honest is that I never really liked them much at all. They’re rough as guts, and it wouldn’t be hard at all to build better ones out of form core – which is what you can pretty clearly see these ones were made from originally.

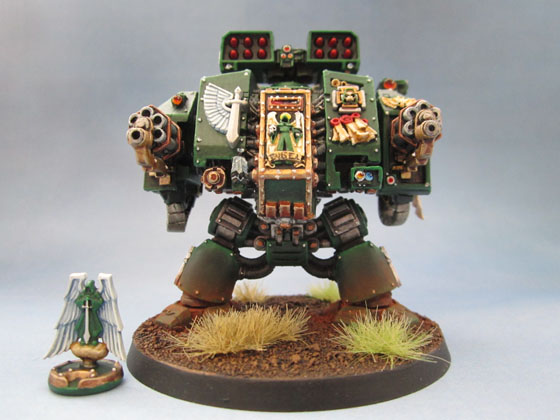
Epicast “Ork” Building #1
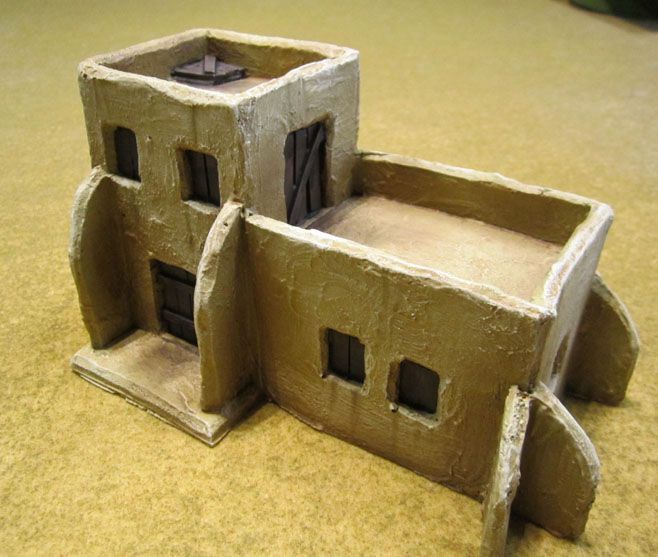
While I was painting them, I noticed some odd things about them. The L-shaped building has a 2nd-floor door that opens to nothing, and the little courtyard to it’s left has to entrance. Looking closer, I figured out that the original building had some supports and a balcony that led to that courtyard, and you can even see where the wall was roughly patched up, as well as the pole-hole. I also cut out one of the excessive buttresses from the middle of the main doors. At first I was going to rebuild all of those balconies, which caused a lapse of interest in the project for a week or so before I simply made myself just get the fucking things finished. I can make my own, better quality adobe buildings later on if I want balconies and other fancy sundries like that.
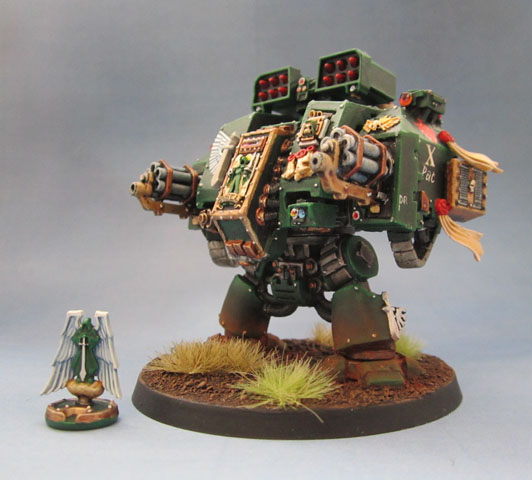
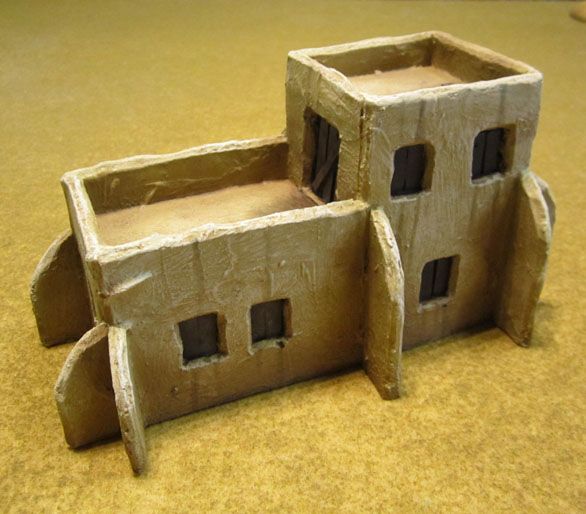
Rear view of Epicast “Ork” building #1.
I added the second door way that you can see above by cutting a hole out of the foam building and gluing in some icy pole (popsicle) sticks. It’s at least as good as the malformed castings that the model came with. And now figures have a way to get up there!

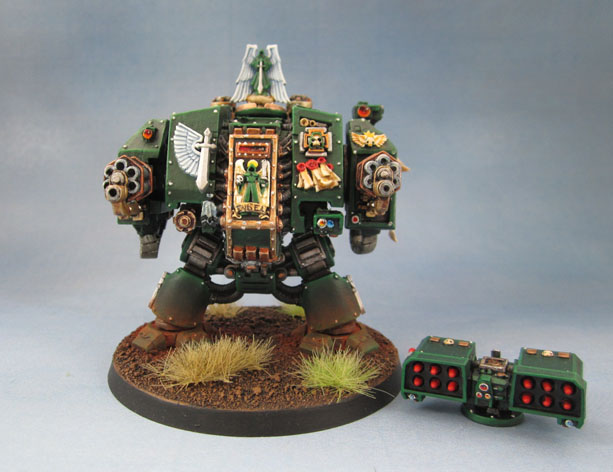
Epicast “Ork” building #2
This building in the above pic also has clearly had a balcony removed from the original – both with a door and visible holes where the support posts used to be. So clearly, these three models were someone’s own personal scenery that ended up being cast and sold. Which is where the gap in the wall was plugged, and possibly the over-used buttresses were added.
Rear view Epicast “Ork” building #2
In order to make these things look reasonable, they had a few layers of drybrushing, and then I broke out the airbrush to darken the lower parts of the building, along with the space between the buttresses.
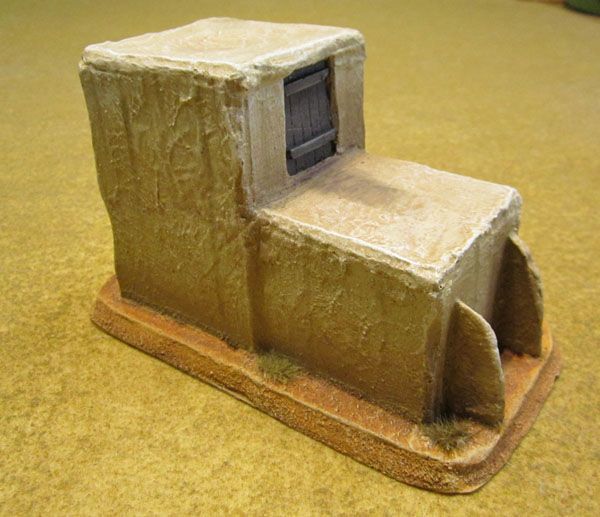
Epicast “Ork” building #3
I also added some unsubtle weather streaking down the windows and from the roofing on the buildings using Tamiya Weathering Master kits – you know, the ones that look like eyeshadow make-up compacts. Also added grime to the doorway areas using the same stuff, some Kromlech weathering powder and some smearing with my fingers.
Epicast “Ork” building #3
This building comes without a base for some reason, but I added some grass tufts in a couple of different colours to the bases of the other two buildings. I have to say that the work I did on these was a success from my point of view. While they’re not outstanding, I think they actually came up well and now look pretty good, and the airbrushing, weathering products and grass tufts manage to make them look like they have a bit of detail on them. Any further details can come from leaving game-appropriate resin detail pieces around them – toolboxes, jerrycans, oil drums, hesco barriers – or wooden crates, wicker gabions and wooden barrels.