I’ve been painting a little in the last month or so, just haven’t finished anything especially interesting or worth sharing. I’ve finished a bunch of soldiers of Minas Tirith to a tabletop standard for my KoW Armies of Men force (as well as, obviously – LotR SBG and eventually – WotR). I’ve also finished the odd Dwarf, Human, Orc and Goblin as well, though I’ll share them later down the line when they have more substantial groups to pose with. I’ll try and take some more proper photos in a couple of weeks.
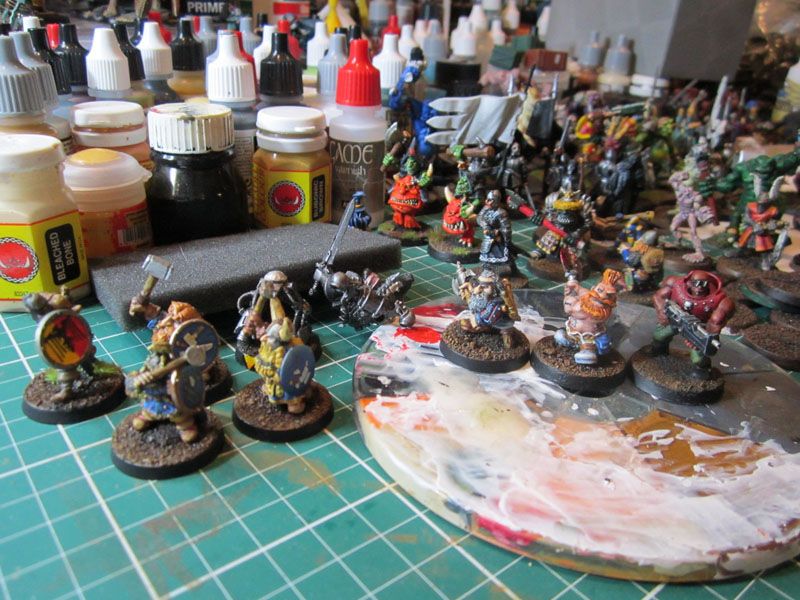
Dwarves and other random painting desk models.
I did finally finish something worthwhile though – Beregond, first Captain of the White Tower – guard and friend of Faramir.
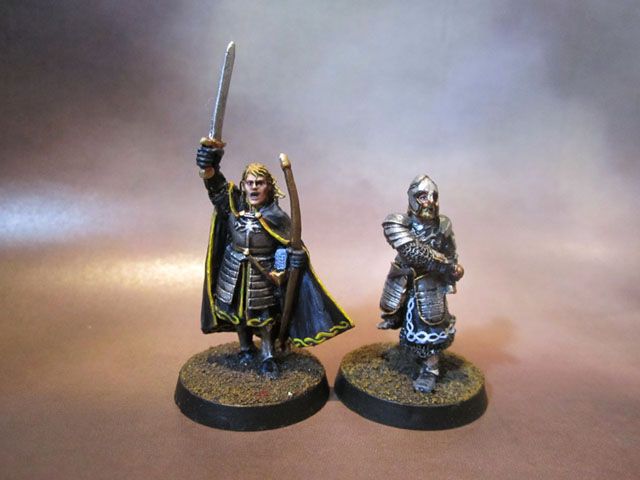
Beregond and (bad) Faramir model.
Both of these two were started at least four years ago, at a guess. Maybe longer. The Faramir model is quite an average sculpt in many ways and also suffers from mould slip on the face. I’m just going to use him as a more generic captain, and use a better Faramir model as Faramir. The shading on the cloak hasn’t come up all that well in the pic, but then, the photo backdrop this time around is… well… read on.

Beregond and Faramir models.
This is the main reason why I decided to share Beregond here. While the pair still needs to be varnished and have flock added to their bases, I was quite happy with the freehand on Beregond. The knotwork on the front of his cloak and tunic came out decently, but The White Tree turned out quite nicely, despite the folds of his cloak making the tree look even tricky. Using white (and yellow) on black is a bit of a pain – darker colours on lighter colours would be easier but that’s not really an option. Perhaps gold on off-white would work for a future cloak if it comes up.
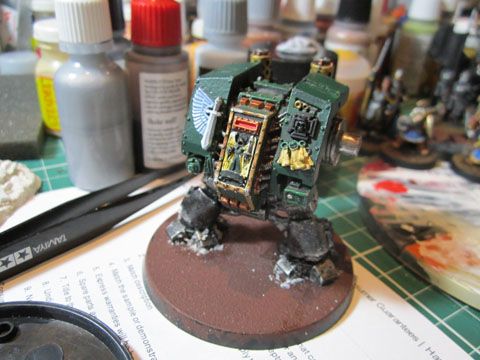
Dark Angel Dreadnought
This Dark Angels Dreadnought was originally started back during 40k second edition. I’ve finally dug the thing out and decided to finish it off. I also decided to stick some of the plastic DA bits from the intervening years on the model to liven it up a little more.
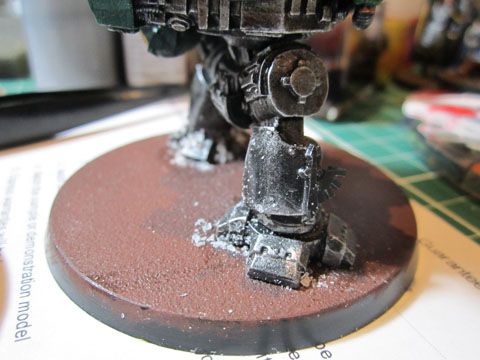
Dark Angel Dreadnought Legs
I tried the salt weathering technique. It went badly. The panels on the Dreads’ legs are just too small, and it’s probably not the best model to learn that technique on. That’s been scrapped. Just trying to repaint it green now.
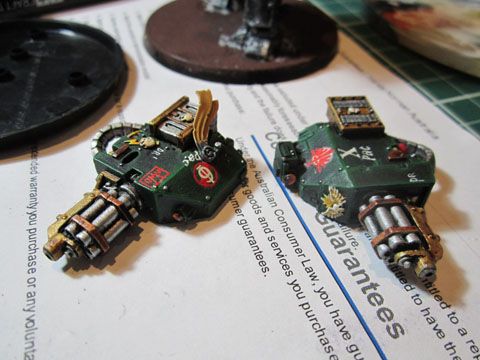
Dual Assault Cannons!
And there we are. The paint on the arms dates these arms back to 1997 (when I added the nWo logo) and then 1998 (when I went over it with the red of the Wolfpac). The long scroll is from 2014. I imagine the painting of this model got abandoned late in 1998 when 40k 3rd edition was released and the uber-combination of dual assault cannons on Dreadnoughts became a thing of the past. Back in the day there were no “left-handed” Assault Cannons and dreads were 100% metal models, so I cut up a right handed one (in metal) and a Missile Launcher left arm to make the above. With the Contemptor Mortis pattern Dreadnought being an actual thing, I’m also considering adding a magnetised missile launcher battery to the top of the model. Both arms are already magnetised.As part of my “1k 40k Armies” project, I’ve costed out a Dread with Dual assault cannon for a 1k Dark Angels army, and plan to finish this sucker off in the coming couple of weeks. Since, like the KoW forces I’m working on, the 40k armies are all going to be supplied by me for friendly games in my War Room, there should be no arguments.
I’ll be showing more of the small 1k Dark Angels force in the coming weeks as well. Many of the models are already painted. I just need to sort out the vehicles and a few more troopers. And the characters.

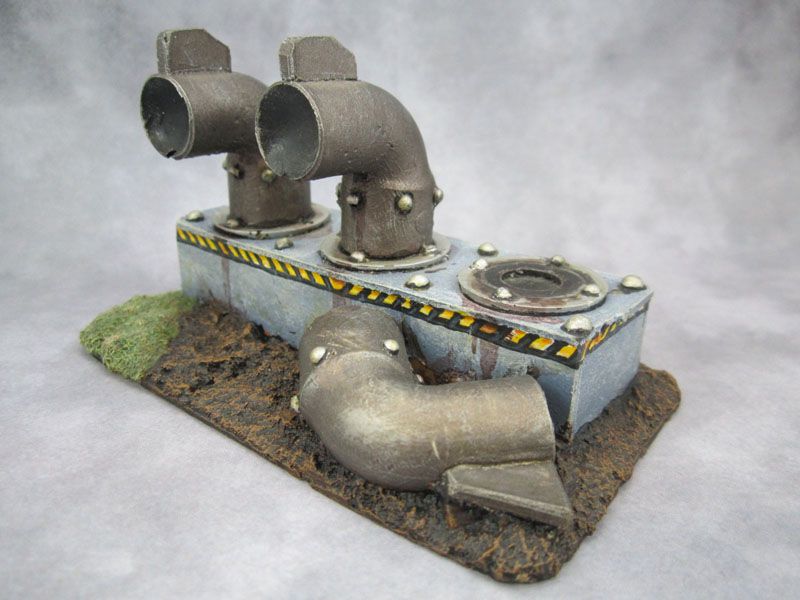
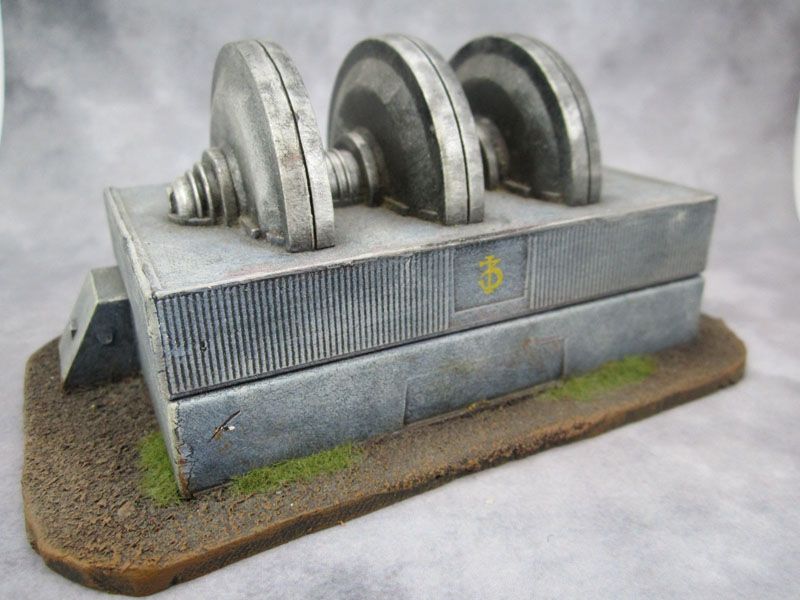
Discount photo box?
Those pics of Beregond not being the best? This is why. 😉