While sitting and waiting for a doctor’s appointment several months ago, I was browsing Dakka on my phone when someone posted an eBay link to some 1:48 scale tanks, by a Korean company called Adademy. Since 1:48 is one of the appropriate scales for 28mm miniatures (some of our figures’ weird proportions are 1:35, some 1:48, some 1:56), I checked out the link, and on seeing the price of $15 a pop with free shipping, 5 minutes later, I’d ordered a platoon of three British Challengers to use in moderns or proxy into 40k, WarPath or any other games that might require tanks – particularly ones that look like they might actually work. I went with the challenger since it looks modern and pretty cool but isn’t as immediately recognisable as the US Abrams series (to those of us outside the UK, at least).
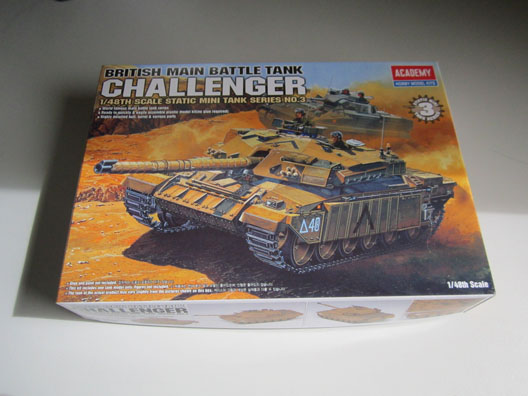
Sexy Box Picture
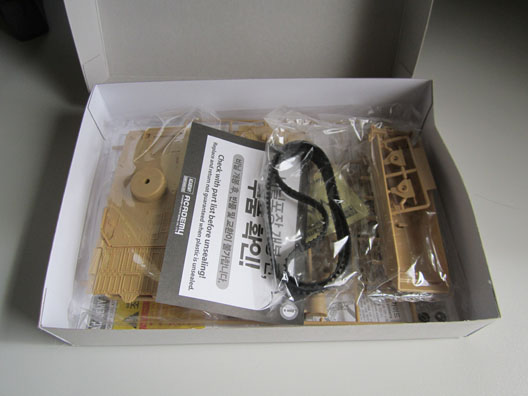
Open Box!
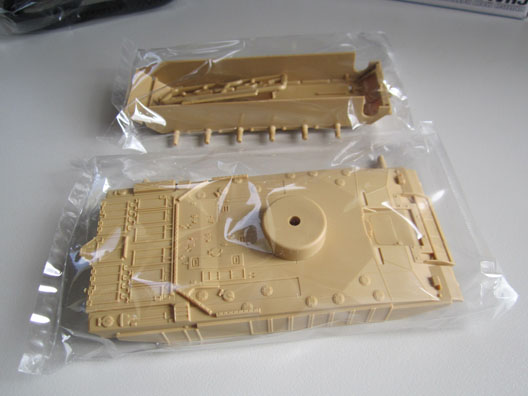
Hull/Chassis in-bag
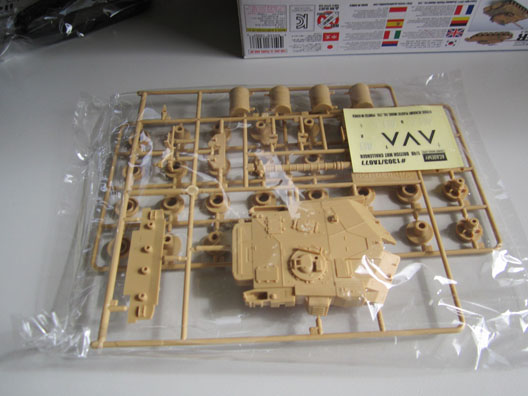
Turret, detail parts and road wheels.
A couple of in-box and sprue-in bag shots. Nothing too exciting here. Tracks are rubbery plastic, as is not uncommon for tracked vehicle model kits. So far, so normal. I also took a bunch of comparison photos with some 40k models, so people can get an accurate look at the size. Bear in mind in these pics the wheels and tracks aren’t assembled on the Challenger, so the actual kit would end up a bit taller.
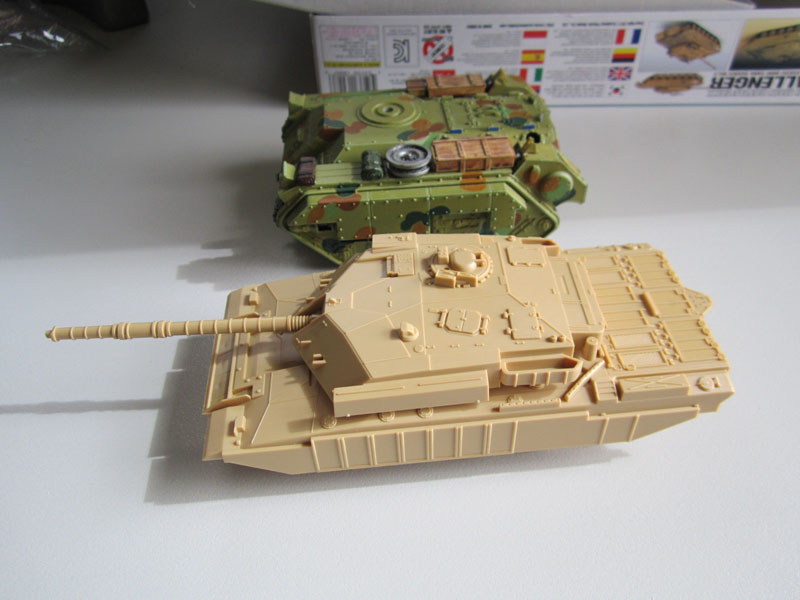
A nice amount of detail for the price.
Front-on details.
Profile with the Chimera.
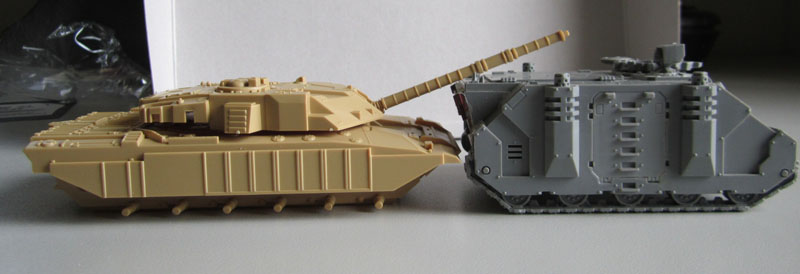
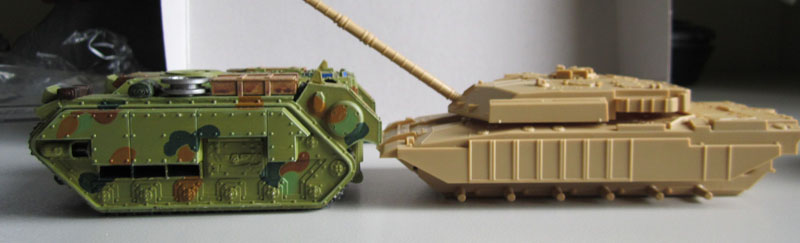
Profile with a Rhino.
Model’s-eye view, front on.
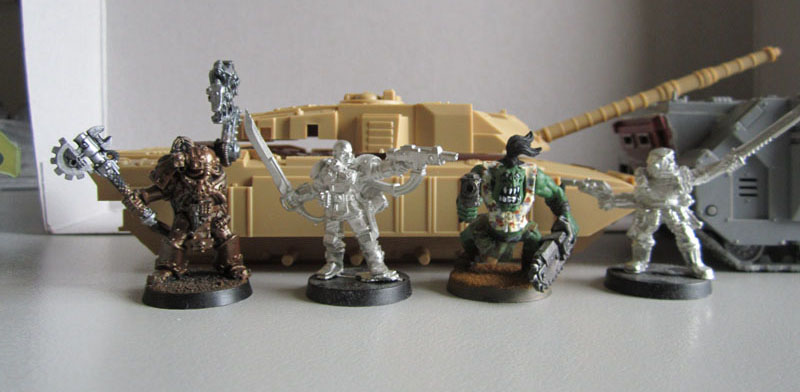
With: Techmarine, Cadian Stormtrooper, Ork Boy, Imperial Stormtrooper.
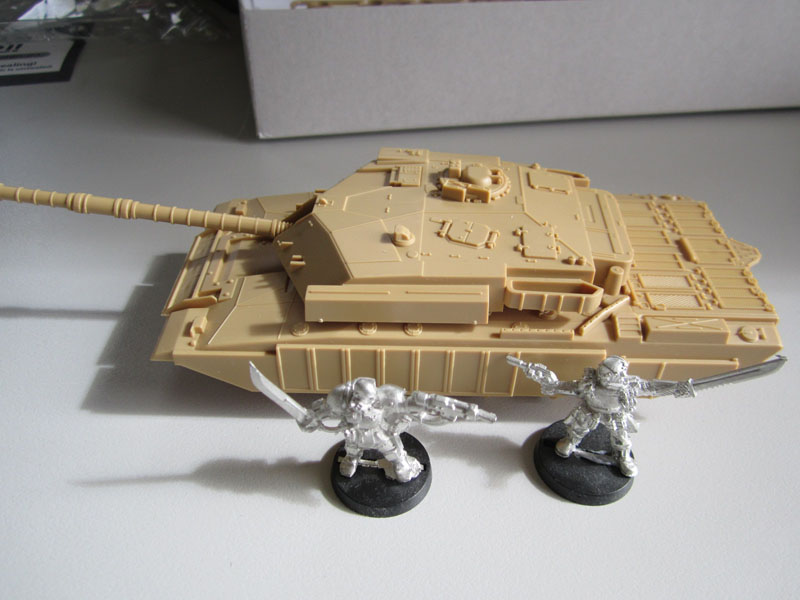
Gamers-eye-view, side-on with models.
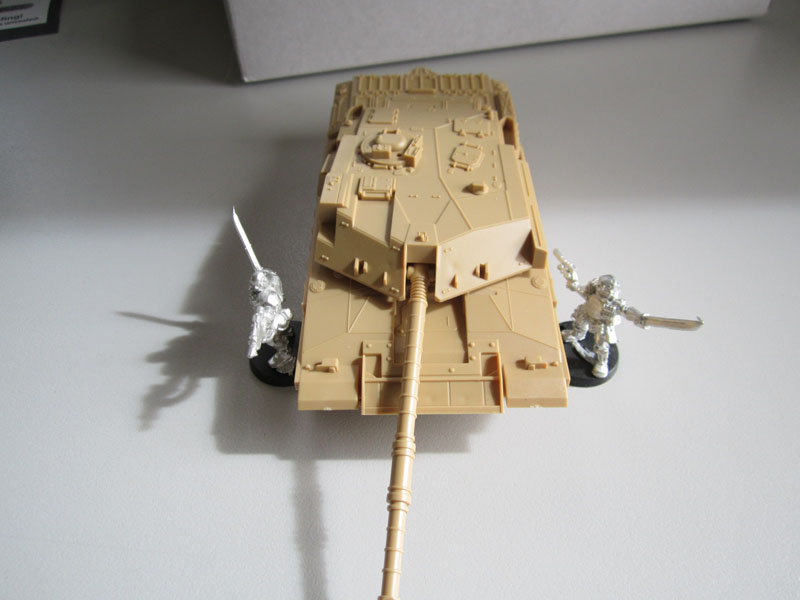
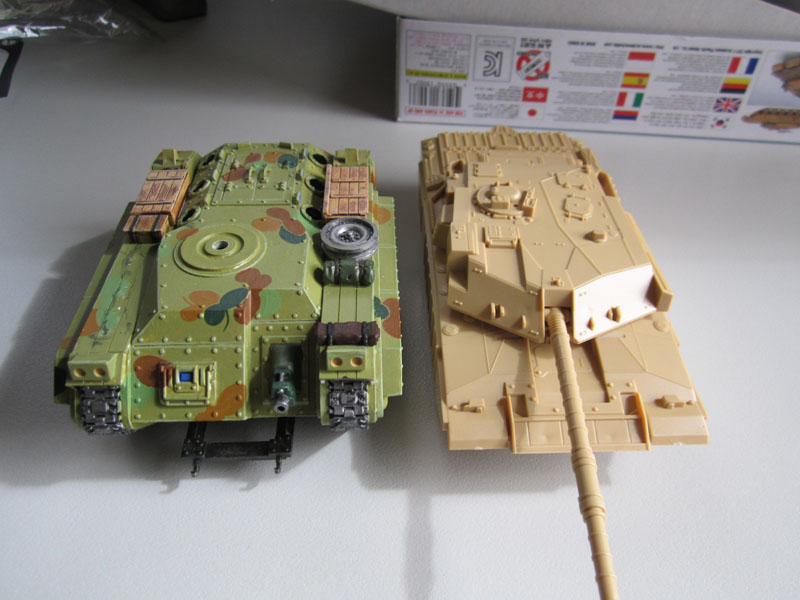
Gamers-eye-view, front-on with models.
Yes, I took a whole lot of photos. Mostly because I went with what I personally like to be able to see when looking at kits like this on the web, so some comparisons with other commonly-used vehicles (sorry, I couldn’t find my Russes) and some of the models most likely to be spending quality time with it (sorry, my Mantic Corporation guys aren’t built yet, and my half-painted moderns are still hiding out somewhere since I moved).
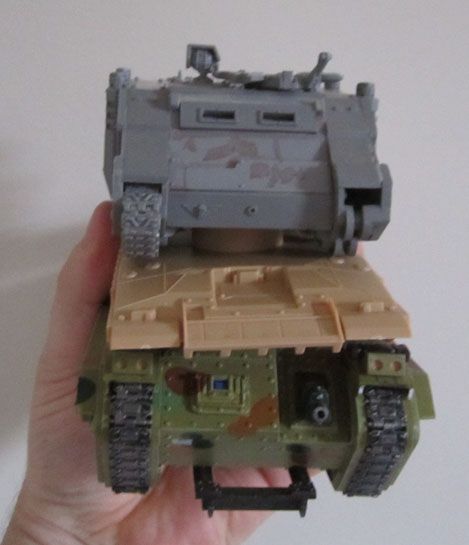
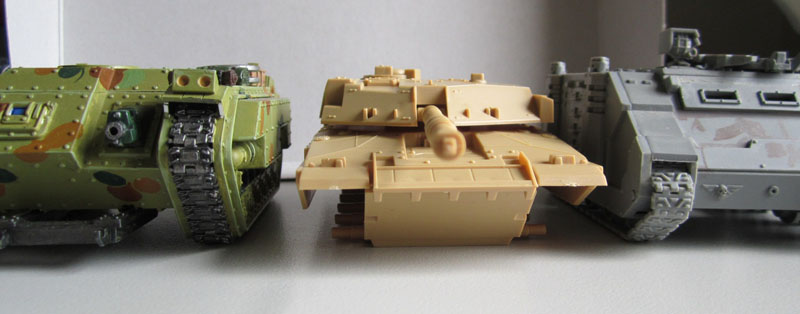
More direct width comparison.
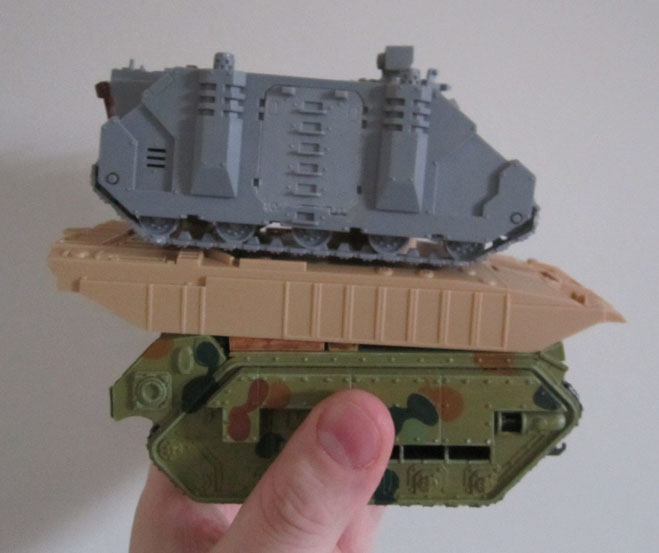
More direct length comparison.
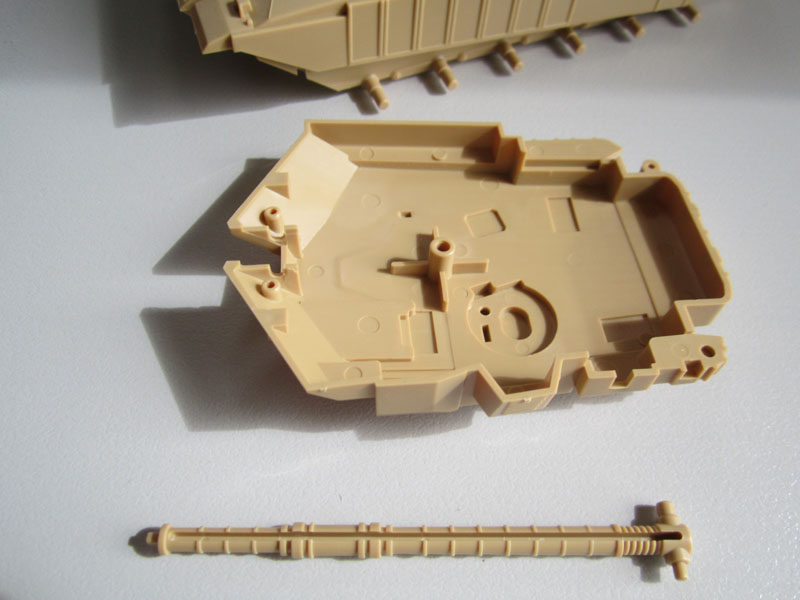
A very detailed turret underside? Perhaps not! (Yeah, I thought there was a piece missing, too!)
As Academy is clearly a budget-ended model company, you can see how they subscribe to an “out of sight, out of mind model” with the underside of the turret and main gun. Even so this is acceptable for a model to be used in wargaming in my mind, as we tend not to remove the turret unless the model is destroyed, and the underside of the gun really can’t be seen unless you’re looking front-on at tabletop eye level with the gun elevated to maximum.
Given that I’m looking at this kit as something to use/convert for miniatures wargaming, I’d say it will do the job admirably and at a very reasonable price. I’m not going to be doing a Mig Jiminez on it and creating a museum-quality work of art in 1:48 with it, and so if you’re also looking for wargames-friendly models, I’d suggest the Academy line as worth checking out. In the same scale, there’s also an Israeli Merkava, a US M60A1 (Patton), Soviet T-72, German Leopard 2 A5 in the $15 price range, with other tanks (Panthers, Tigers, T-34s, and more) becoming available as the kits go on with motorised elements and a slight price increase going on to $25 and $30+ per kit… I’d have jumped on the T-34s if they were also in the $15 price band, but alas, not! Maybe I’ll buy some M60s next.. then some T-72s! 🙂
Overall, the Challenger is a nicely-detailed kit that looks like it will go together quickly and easily. Certainly for fifteen bucks and free shipping, I found them to be a worthwhile purchase, and no doubt will find them even more worthwhile once they’re assembled, painted and used for something!
Quick edit – 23rd Oct 2015: – For the serious model makers – people from Britmodeller and Armorama, etc. I’d avoid the Academy kits. I’ve got a few others in 1:48, and they’re really not up to the standards that you’ll be looking for. For starter modellers, your kids, and for wargamers like myself where the kits can be “good enough” in terms of accuracy and details – or used for terrain, they’re fine and in fact pretty good value. For serious armour modellers though, these aren’t the tanks you’re looking for.
cheers!