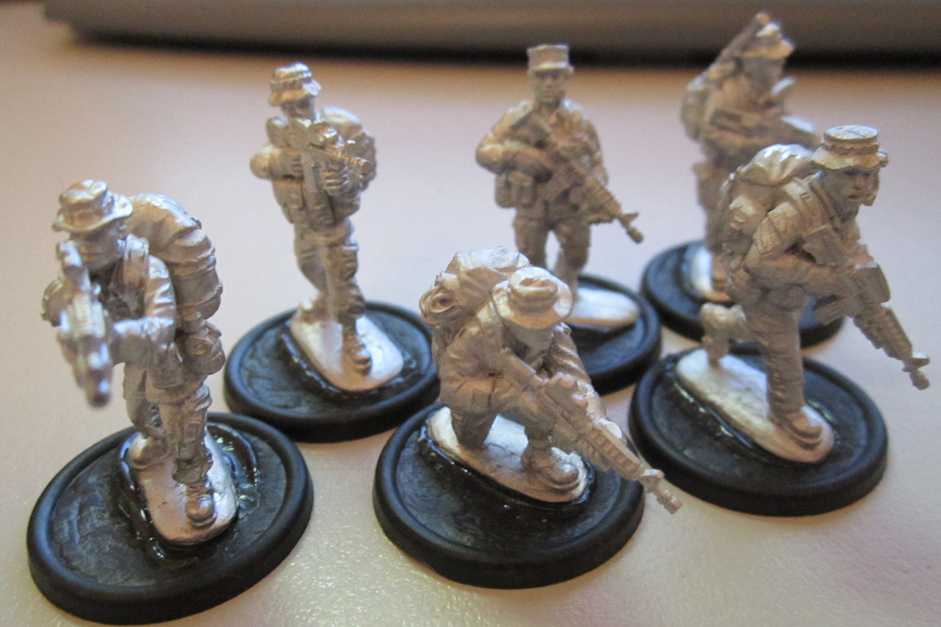
Something a little different to the norm. A bloke at work, who I’ll call “Cannon” and I accidently found out that we both collect and paint toy soldiers last year, when I happened to be carrying a few LotR models past him at work and he was “hey, what are those?” and then to my shock recognised them as LotR models. Sometime earlier this year, he gave me a pile of spare Vikings, in what I think was at least partly an attempt to get me to paint something non-fantasy. There were some nice figures in there, and they’re a mixture of Eureka, Foundry, Crusader, Gripping Beast and possibly others. I’m really not sure of all of their origins, so I’ll have to ask him to let me know which are which so I can properly tag them.
So without any further ado, here’s the start of my SAGA Viking force (and also my KoW Historical Viking force)
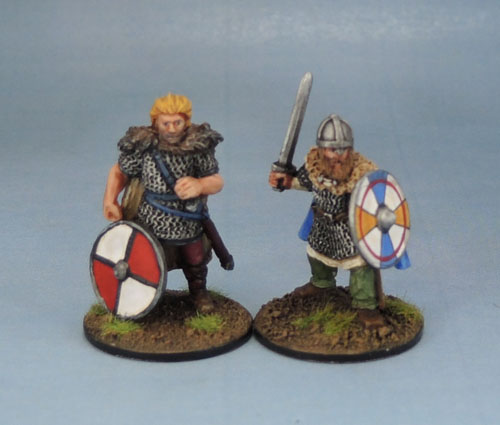
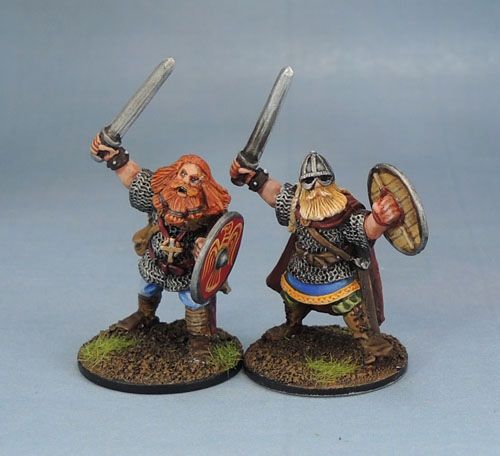
Eureka Miniatures Beowulf the Geat. Wargames Foundry Viking
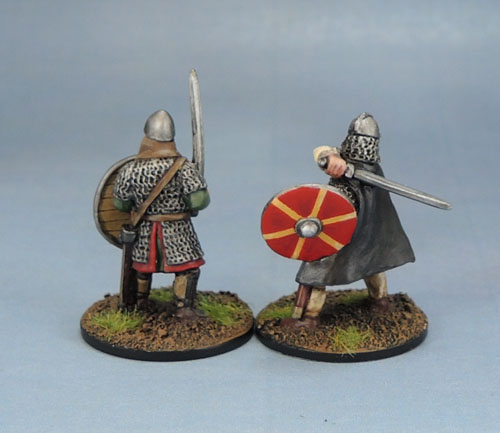
A lot of the more subtle highlighting on these guys just hasn’t come out in the photographs, particularly on the shields here. The guy on our left is a Eureka Miniatures model, but I’m not sure about his blurry-faced friendo. I believe that he is a Wargames Foundry model. Shields are both freehand, and in retrospect I probably should have done something fancier on the red-and-white since he’s got a real leader feel to him, but he was the figure I painted first, so I wasn’t yet confident in freehanding Viking shield designs.
Update Edit: He now has some freehand happening on that shield.
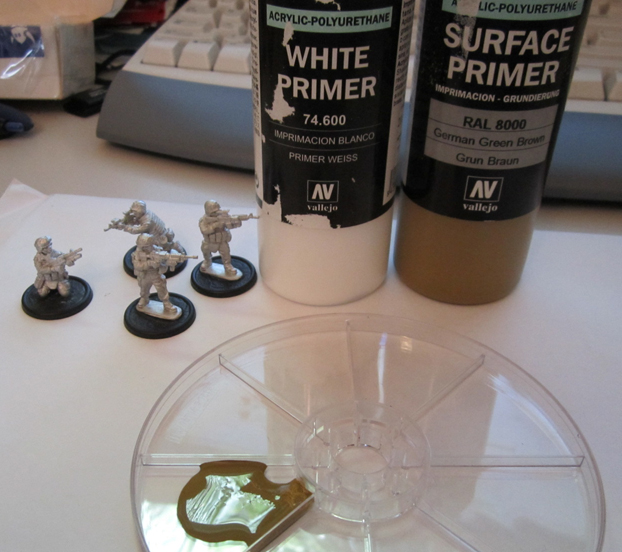
While there’s plenty out there regarding Viking shield designs, you’d think that figuring out realistic Viking clothing colours would be a reasonably easy task, but it was much, much harder than I expected. I noticed initially that Foundry et al have their models painted in much the same way as their Celts – all stripey trousers and colourful patterns. I wasn’t so sure, so in doing some research online, I found quite a bit of contradictory stuff. The TV show “Vikings” had at least one full-time researcher, but then, it’s a TV show. Of course, some random guy on the internet decided to “big man” himself when I dared in a forum to suggest the show as one potential source of painting inspiration and bothered to lecture me on how everything in it was wrong. I guess he must have been there in the 10th century.
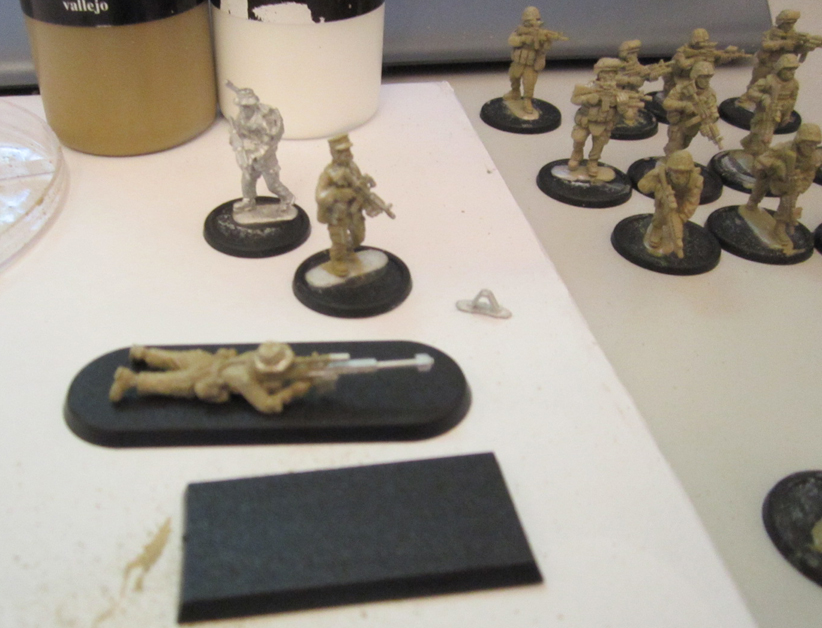
In the end, I decided to avoid the whole “stripey trousers” look entirely. I’ve got Celts to paint down the line and so they can have the plaid and stripes. I’ve kept the Vikings to solid colour for the most part, with a mixture of bright colours (especially on shields) and more muted, earthy tones.
I’ve got a pile of plastics to paint later, so I’ve decided to go richer overall in tone with the metal models. These models are where I’ll draw my Warlords, heartguard and other elites from, and so these guys are much more the professional Viking “soldier” and more likely to have visited Albion on “shopping sprees” as well as travelled the Mediterranean or even served as Varangian Guard. Based on these loose ideas, the metal models are much more likely to be wealthy and so afford more colourful clothing, as well as richer shades of colour. The two blokes below really fit that ethos to a tee.

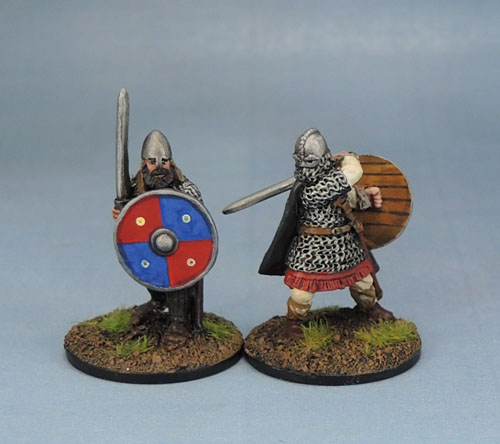
Wargames Foundry VIK031 Vikings Horvak Sigvaldi & Arnthor Boddason
The Foundry models are in the typical chunky style, but have a lot of character to them. There’s a bit of Brian Blessed (in a ginger wig) to the right guy, and they’re both the sort of figures that Space Wolves seem to want to channel. I’ve got a couple of half-painted Wolves squads I should finish one day as well… and some more actual Wolves half-assembled.
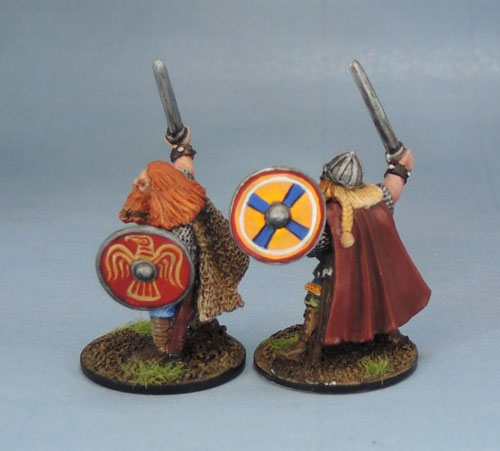
I enjoyed the freehand designs on these guys. I’m especially proud of the raven. The cross designs look a little wonky, but the photos are of course blown up to quite a few times their actual size, so look much straighter in person. I decided that I might well use transfers on a lot of the Viking models, but all of the metal models would get freehand shields.
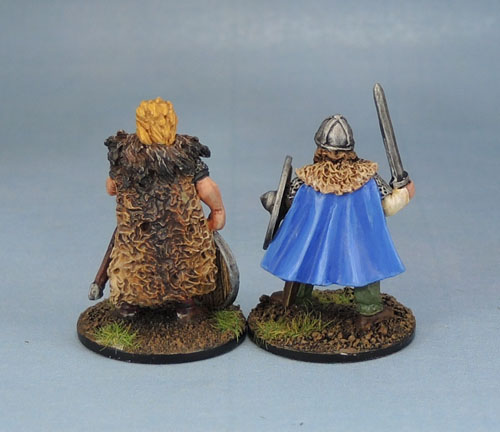
Even when doing “red” cloaks, I’m trying to avoid the bright reds of my fantasy models in favour of darker, slightly earthier reds – while maintaining the richness of colour.
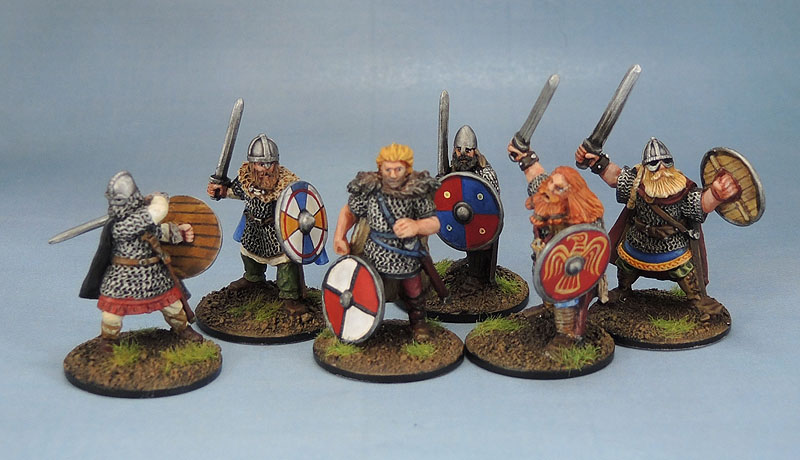
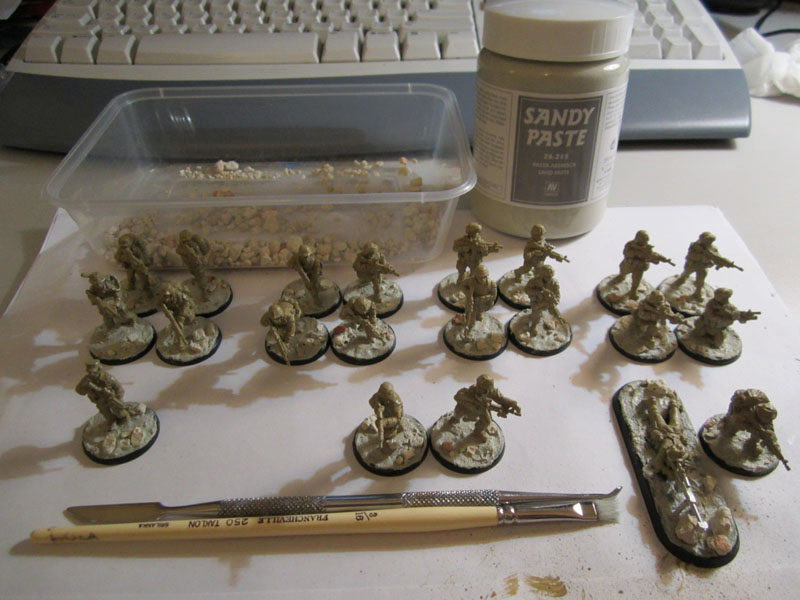
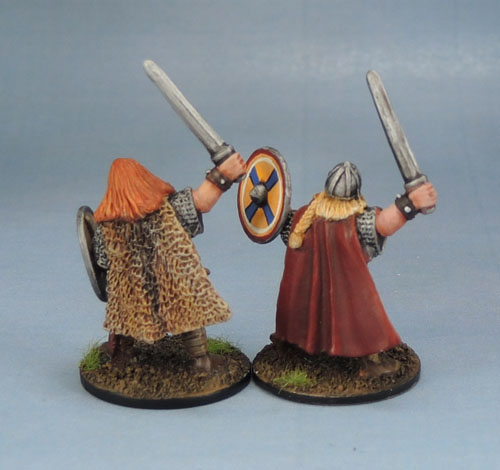
The group shot. These guys could comprise of half a KoW regiment, but more importantly, Warlord, hearthguard and a spare model) in SAGA. These initial six were finished back in October. I’ve got another batch of five just waiting on their last man before I show them, and a few more now on the paint desk.