Some of you might be wondering why I’ve been so quiet lately. Well, this time the issue hasn’t been work, but midwinter. Not the winter painting doldrums, either – but a terribad cold that just won’t go away and drains much of my energy. I’ve still been well enough to go to work, and even do some painting and modelling and even forum-ing, but I’ve just not really had the energy for blogging properly. Not wanting to go out to take photos of my models in the (freezing bloody cold) war room. models needing to take a week before I can spray varnish them because it’s too cold (and dark) once I get home from work. I’ve been dividing my recreation time between mostly-simple hobby tasks and simple models and simple painting, and even then I’ve had to force myself. The other place I’ve been spending my time is on the PS4 – playing The Division and Mad Max, which I’ve picked up again after losing interest and putting it down a year ago.
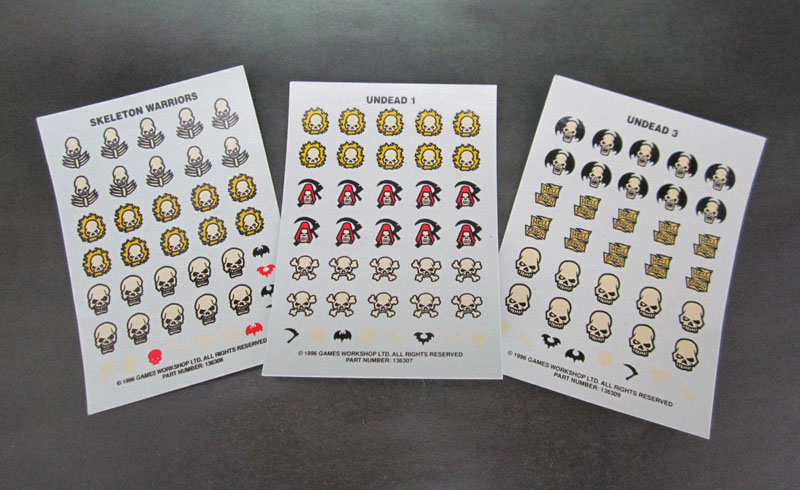
1990’s Citadel Undead Decals
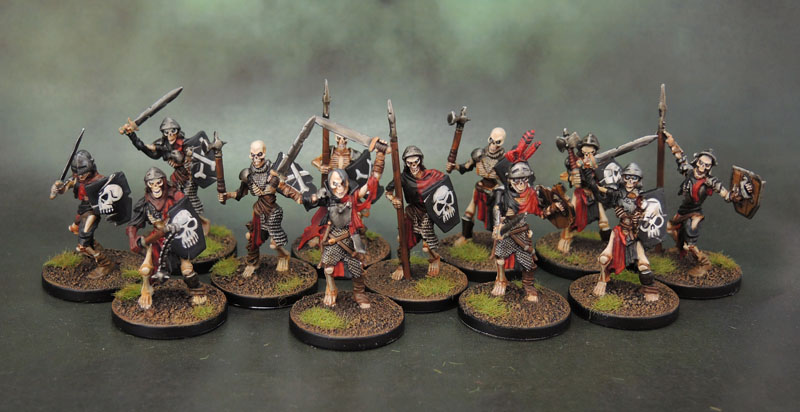
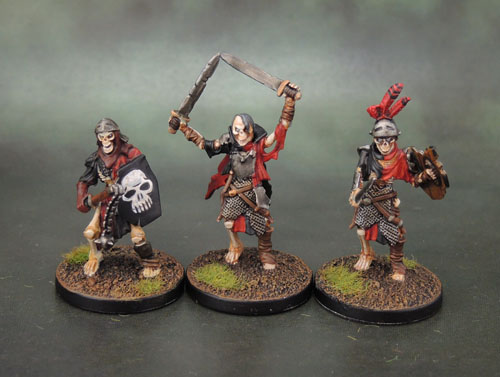
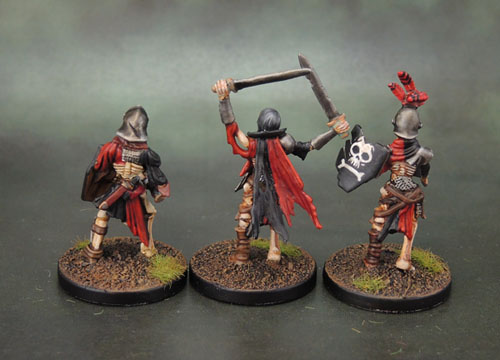
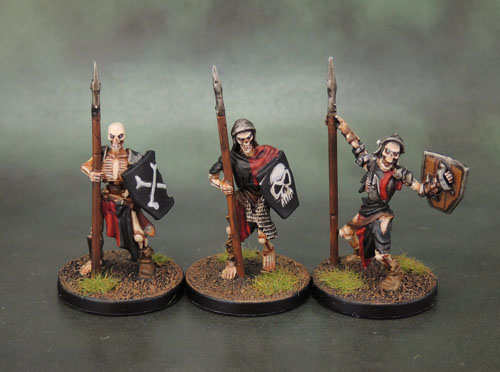
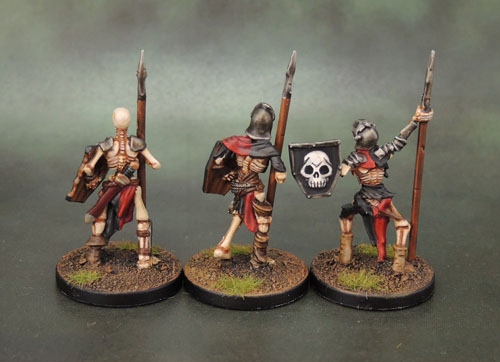
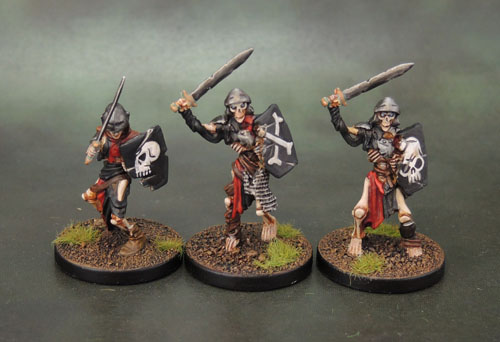
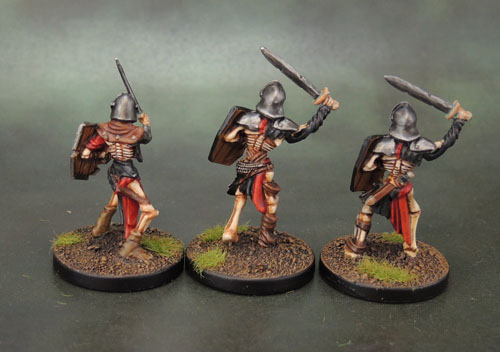
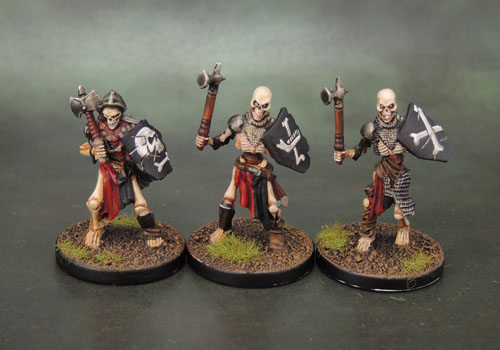
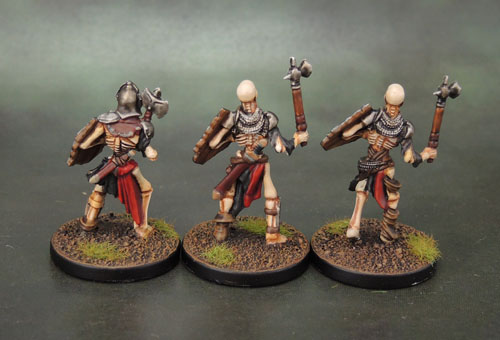
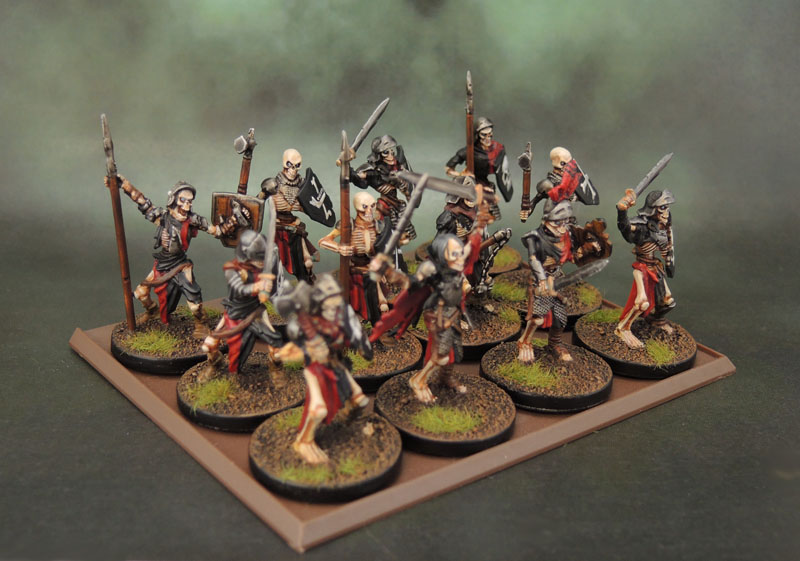
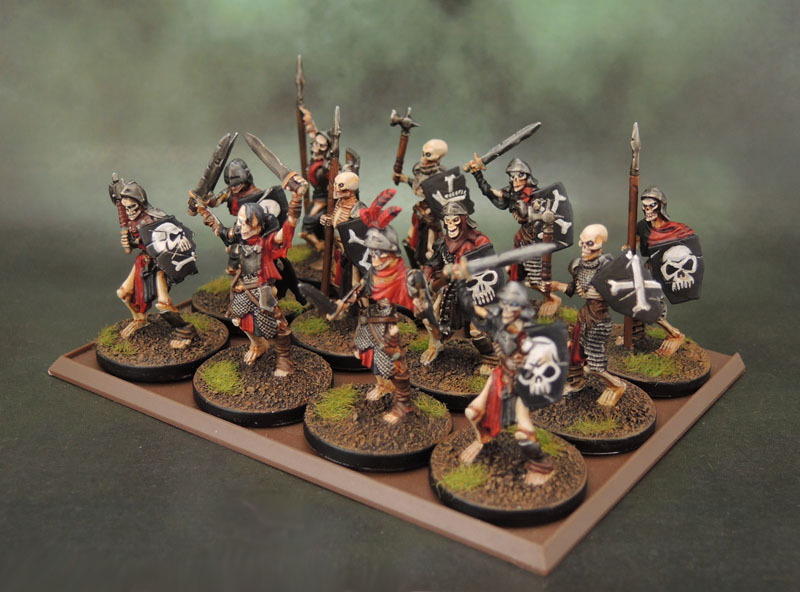
I’ve got another unit of Celtos Skeletons almost done. Literally just a couple of hours of work left on them – mostly on the command, and – oh yeah – I have to figure out a bloody banner for them since the model is an old-school banner bearer with a bare crossbar. So a couple of hours, plus figuring out how to do the banner. (I should go old-school and cut up a cloth banner, like I used to in my Oldhammer days!) Since I’m running out of 4th Edition Goblin shields with the cool embossed skulls and crossbones on them, and I want to keep my few Marauder Undead shields for really special models, I was going to go the freehand route again. Then while rooting around amongst my transfers looking for sheets to use on the Minotaurs and Iron Warriors, I found three old Undead decal sheets, dated 1996 and untouched.
I think I had planned to use several of these on Space Marines, as new/different chapter badges. Certainly the red-hooded skulls look like they’d work perfectly as an Unforgiven chapter, and the winged skulls as a Night Lords subfaction. The Flaming skulls make me think of Word Bearers for some reason (I know, they use the tome). Maybe a “Ghost Riders” chapter? 😉
It’s funny though. I’ve actually gone back and forth on whether I should use them or not. I mean, I can obviously freehand a bunch of skulls and bones that will look pretty good, but it would also add a nice touch of older-school to use some of these old decals. But can I bring myself to defile these one-off, 20-year-old sheets?