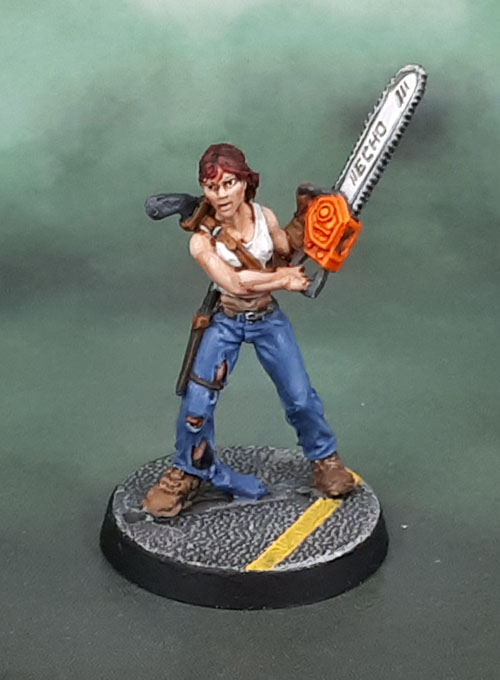
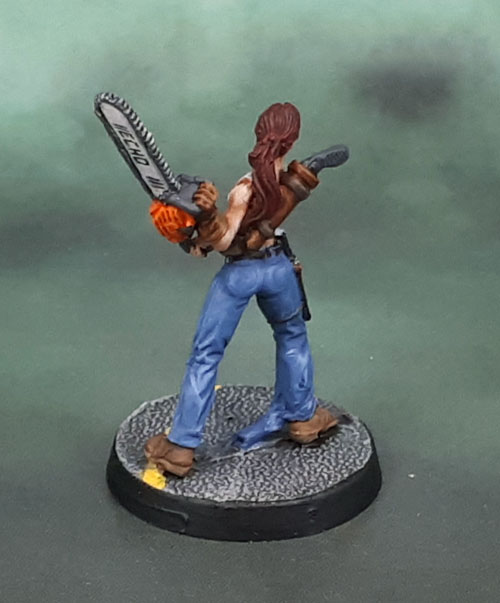
Zombicide Season 2: Prison Outbreak – Berserker Zombie Abominations (Squaddie September ’19, Contrast Paint Experiment #10)

Zombicide Season 2: Prison Outbreak - Berserker Zombie Abominations

Lobster, anyone?

I decided some time ago that I should paint up some of the zombies from my Zombicide games, and given just how bloody many of them there are, the best place to start would be with the “hero” zombies – which pretty much means the Abominations. So I selected them from my box o’ zombies, washed them down (well, Marouda did that), and then put them in a container awaiting paint.

Then quite a few months went by. Then the Contrast Paints came out. Then at some point, I decided that these boardgame zombie models would be another good place to experiment with the Contrast paints in order to get the models done that much faster while still making an effort to make them look decent. They’re a bit crazy looking, but they’re still better than a lot of the Shadows of Brimstone models…

Zombicide Season 2: Prison Outbreak - Berserker Zombie Abominations

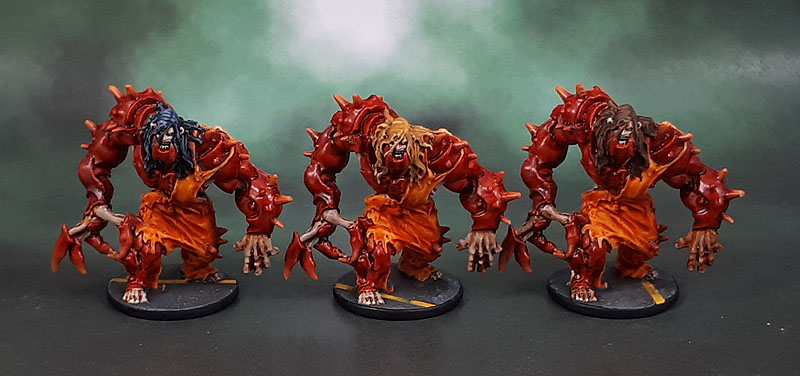
This time I decided to make use of them predominantly as the main method, and then use regular paints and methods for finishing and finer details. With that in mind, and the reddish plastic of the Berserkers (which also serves as an easy differentiator in the game) I went for a (cooked) crustacean kind of look to their armoured plates, using a mix of Blood Angels Red and Flesh Tearers Red, finished with gloss – with patches of pale skin mostly to add some visual interest and break up the large areas of red, even though I could have easily justified the whole of their bodies as shell/carapace. I also did their prison jumpsuits with contrast Gryph-Hound Orange mixed with Iyanden Yellow for that nice, bright look to them. I decided on three colours of hair to make identification in-game a little easier “move the blond one”, etc. The hair strands on top of their head had to be painted in, since the minis were perfectly smooth, and it looked pretty crappy. I also highlighted their spikes and claws with regular paint, as well as painting in their eyes and teeth.

They still have a “painted with washes” look to them, and the left hands are a bit rough, but overall the higher level of detail on these models works much more effectively than the recent Brimstone models I’ve used the Contrast Paints with, giving a much more effective and nicer result. I see more Contrast Paint Zombicide Zombies in my future…

Oh yeah. Three models makes for a squad by the rules of this month’s painting challenge. It also serves to illustrate a strong part of why the minimum for a squad of for 3 rather than 5 or 10. It allows people (not just me) to get boardgame models or larger wargame models that typically come in smaller unit sizes painted up and have them count.

Reaper 50153: Berkeley, Zombie Survivor

Reaper Miniatures 50153 Berkeley Zombie Survivor

A kind of random model today. This was one that Marouda and I picked up from a gaming store a few years ago because it looked cool on the peg. Then it naturally sat around for a long time, before evventually being opened, started, and Neglected for …I dunno. A couple of years?

Anyhow, I found it recently, and so stuck it amongst the masses of models on the painting desk, and there, it stood. Still neglected as I worked on other models. A couple of weeks ago, I wasn’t feeling much on the models I was working on, so I asked Marouda to pick out a couple of models for me to finish from anything on the table (with the caveat that I can always say “nope, not painting that one right now” if I don’t like the choices). The two that she picked were Berkeley, and one other model that’s still WIP.

Reaper Miniatures 50153 Berkeley Zombie Survivor

Pretty straightforward model, all things considered. I went for a nice triad of main colours with red for the hair, white for the top and blue for her jeans. A couple of shades of brown for her other kit for a more realistic overall look compared to a lot of the Warhammer stuff. In particular, I’m really happy with how her jeans came out (especially in hand). I was in two minds about adding tattoos, since the model’s arms are really fine, and I didn’t want to muddy them up. On the other hand, she looks like she’d have some ink, so I compromised and kept it to a couple of really subtle, part-hidden ones on her person. I wanted the chainsaw to be realistic, and wanted to go for orange for the plastic casing rather than use red or yellow. That’s also where I used some Contrast paint as well with thinned Gryph-Hound Orange over VMC Light Orange. For me, this is how I see the most use of Contrast paints working for me. After I was happy with the orange, I had to figure out something to do with the chain cover, since the plain off-white looked boring, so it was google time to find a brand that fit, since the names I’d most likely use have their own standard colours (Stanley uses Yellow, Bosch uses green.. that sort of thing). I found Echo, and they also use a font that I was able to reasonably replicate at that scale, so that’s where the branding came from.

It wasn’t until the model was completed that I actually noticed that the long strip of torn denim hanging from her leg to the ground that kept annoying me was in fact, a dismembered zombie hand. At that point I wasn’t willing to clip it off and have to repaint the mess it’d make of part of her jeans, so yeah. Long strip of ripped denim. Just unsee it! 😉