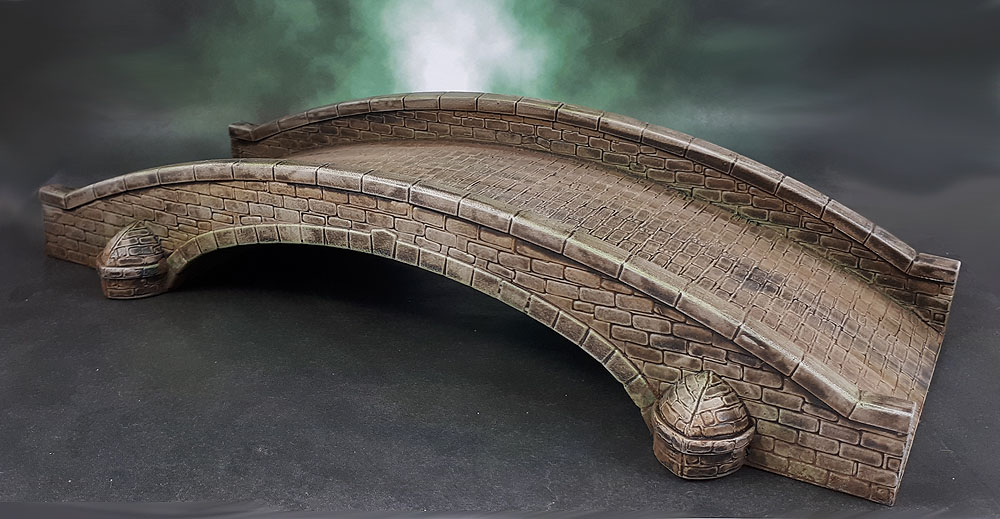
Another scenic post today – Warlord Games’ Stone Bridge.
I picked this up quite awhile ago in June 2017 with some other stuff (including some ruined houses, apparently.. I should find those!) – but only got around to assembling it about 2 weeks ago, quickly followed by painting it. It had been cut off the sprues and then put in a plastic tub and forgotten about. How often do you hear that phrase on this blog?

I wanted it to look weathered and worn, so after the first spray coats of dark grey followed by a lighter brown-grey, I drybrushed with a couple of tones of increasingly light brown-grey, then played around with my custom mix Sepia-Black Vallejo Model Wash, then some washes made from two shades of green for the mossy tones towars the bottom of the arch, some browns and Pledge One Go floor wax and a couple of different weathering powders.
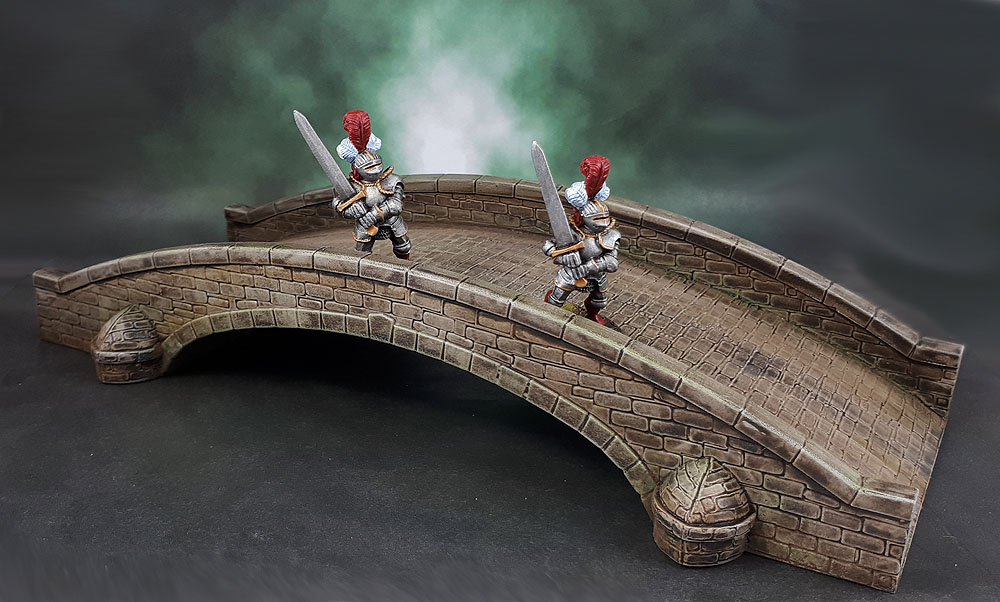
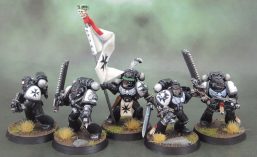
I also wanted to emphasise the direction of years of traffic on the bridge, so I used a tissue (hi-tech modelling tools, here!) to “pull” the half-dried grime along the length of the bridge, creating a directionally weathered effect. I don’t have any 28mm WWII guys painted yet, so this pair of Reiksgard will have to do for the “human scale” shot. They do serve to illustrate how well that the piece works with models from a variety of eras and genres outside of the WWII-modern, though.

Here’s a scale shot, so you can see roughly how big the thing is. It barely fits a modern Rhino hull – you could probably fit a Predator as well due to the ground clearance that the sponsons have. It’s another nice piece of multi-use scenery. I mean, it’s not exactly approriate for Necromunda, but it suits a wide variety of historical games through modern, post-apoc (not all bridges need to be broken!) and of course 40k. Unless you’re of the new-school of 40k that thinks everything needs to be festooned with skulls. 😀
At some stage (the month’s round-up and my personal round-up for Dave Stone’s Winter of Scenery Challenge as well) we’ll be able to see it from a “front-on” angle. As long as I remember to take a pic like that. It certainly didn’t properly fit in my makeshift lightbox on that orientation!

Nice Az! Like the tissue paper trick. Weathering really nice – old granite is fun that way.
LikeLiked by 4 people
Thanks Mark – I wanted it to look reasonably realistic, natural, weathered – and very importantly – get it done quickly!
LikeLiked by 3 people
That’s a nice and like Mark I like the wethering tissue tip.
LikeLiked by 3 people
Thanks Tim – I find tissues are great for direcitonal smears of washes and wet-applied weathering powders.
LikeLiked by 2 people
Excellent work mate, looks very natural, all your washes and extra detail really paid off
LikeLiked by 3 people
Thanks Dave! As I’ve gotten better and more comfortable with weathering my terrain over the years I find it doesn’t really take much to do!
LikeLiked by 2 people
I have that bridge myself, though mine was produced by “Italeri” as part of their “Alzo Zero” range, Warlord must be selling it under licence, it is a great model, and you’ve done a lovely job on painting it!
Cheers Roger.
LikeLiked by 3 people
That sounds pretty accurate – I know that Warlord have a partnership with Italieri and that a lot, if not most of their armoured vehicles available in plastic are also available from Italieri. I’ve got a whole pile of their tanks (still boxed and unbuilt, natually) with Italieri packaging that I’ver picked up on sale from places selling them as model kits. 😀
LikeLiked by 1 person
Nice, useful bit of kit. I’ve one myself.
Cheers,
Pete.
LikeLiked by 2 people
Cheers, Pete! It’s a nice little piece, isn’t it? 🙂
LikeLiked by 1 person
Looks sweet and that’s now been added onto my to get list
LikeLiked by 2 people
Thanks, BTTH! Remember to keep an eye out for the Italieri-boxed one, as RHU pointed out – it may well be cheaper! 🙂
LikeLiked by 2 people
Will do. On their actual website it has a discontinued sticker and no price.
LikeLiked by 2 people
Excellent job on this bridge, mate. I had looked at this one a while back because there is a scenario for Scouring of the Shire where you need a bridge and I didn’t want to build one from scratch and I wasn’t that impressed by the paint job on the box so I decided against buying it but you’ve really added some life to this one and got me thinking that I should pick it up when I’m ready to get back to that project.
LikeLiked by 3 people
Thanks Kuribo – it’s a simple but nice piece really. It’s also plain enough that you could easily theme it with some overgrown ivy along the sides for The Shire, or some small monument/statuary on the entrance-sides and top of the crests for Gondor, or….
In fact, you could get in there with magnets if you were super keen and make small statuary/decorative bits modular and rmeovable if you really wanted to go to town and put (much more) work into it (than I’d likely be willing to do)! 😀
LikeLiked by 2 people
Those are really good ideas! I haven’t messed with magnets at all but I know you can do some fun things with them. I’ve been in an MESBG mood so I wouldn’t be surprised if I paint something from it soon 🙂
LikeLiked by 2 people
I recommend starting with simple stuff like removable/replaceable terrain details. Once you’re more comfortable you can do removable hands/weapons and the like. Or just jump right in to the depe end! 🙂
LikeLiked by 1 person
You’ve done a cracking job with it mate. I’ve been considering purchasing this actually.
LikeLiked by 2 people
Thanks IRO. It’s a pretty easy piece. I do recommnend having some spring clamps ready before sub-assembling, though!
LikeLiked by 2 people
Great mate ! I have been thinking about buying this from my local guy and now you convinced me to gab hold of one when we can go back to shopping next year!
LikeLiked by 2 people
Haha thanks Pat. It might only be a few weeks rather than months – if you don’t mind wearing a mask and weilding a staff to keep the riffraff away.
LikeLiked by 2 people
Pingback: Warlord Games Stone Bridge – Part Deux | Azazel's Bitz Box.