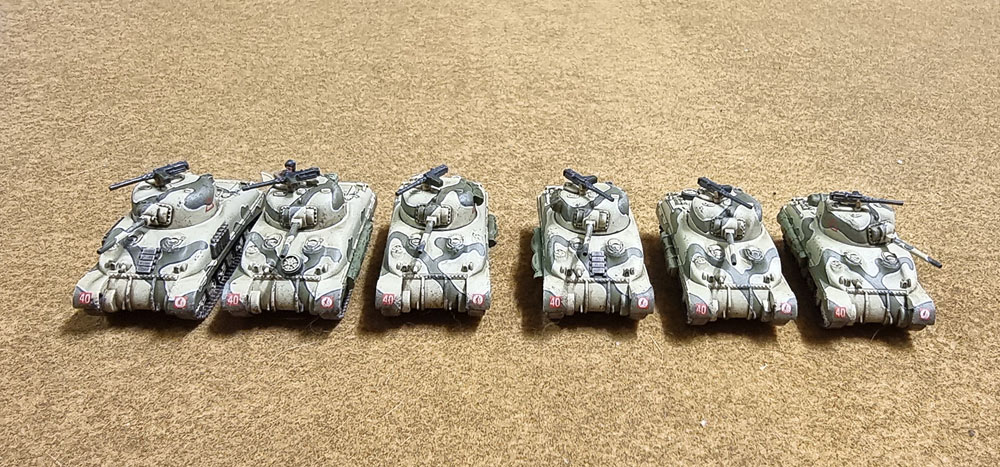
Well, at least September’s models were quick to get through – and now we’re doing October. So with a table-functional set of Panzers for my DAK force set up, my choices when planning to add those Panzers was to paint those models, then shove the whole lot back into a figure case and forget about them again for several years, or spend the time to build up an opposing force for the Afrika Korps to battle. As you can see, I went with the latter. The tanks I started with were two platoons (well, A Company HQ and one platoon) of the ubiquitous Sherman tanks that saw extensive use across many updates and variants with the Allies throughout the second half of the war.
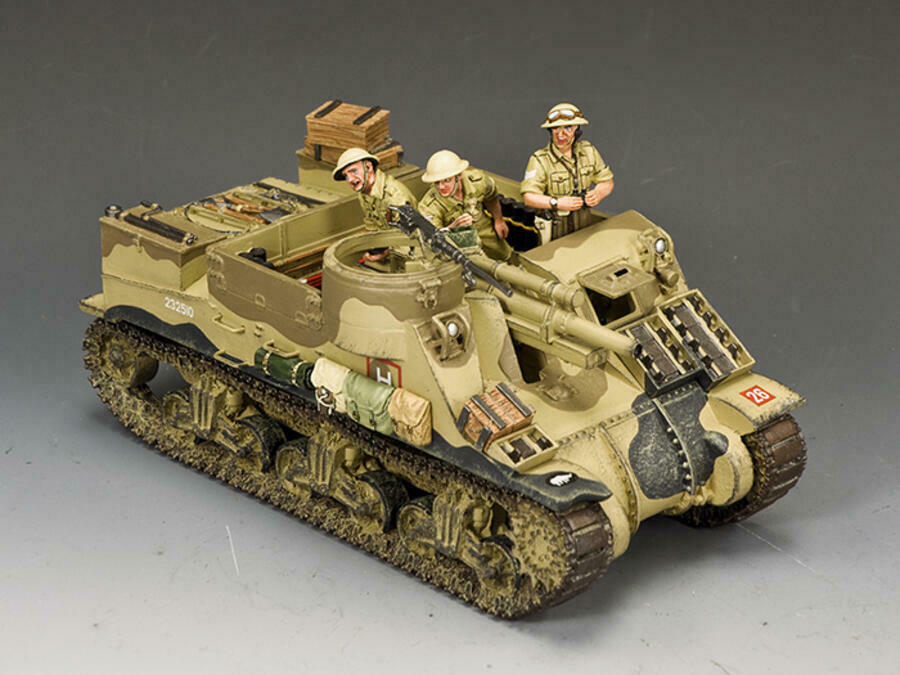
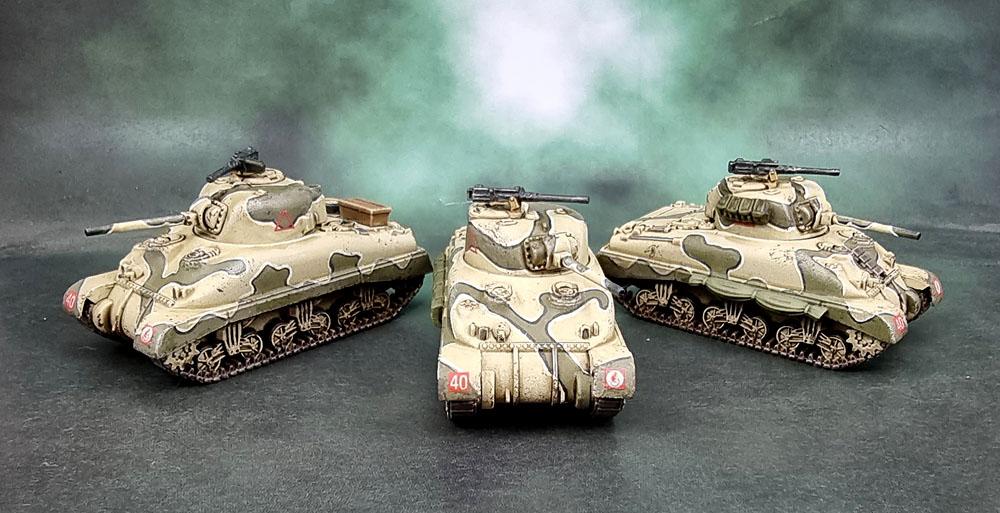
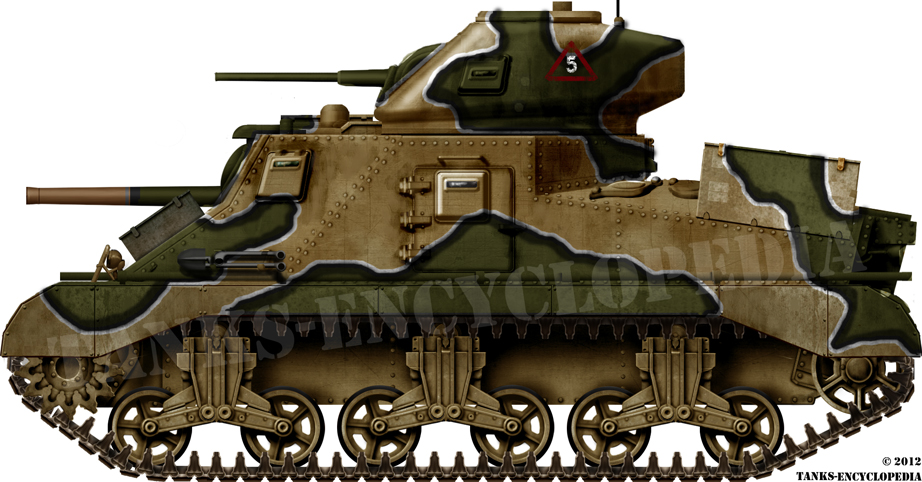
After painting the Shermans with the camouflage pattern I chose for them, I was in no mood to continue that particular scheme across an entire force. So I went a-googling to see what I could find. I found several variations on the pre-painted display model kit above, and I really liked how it came across so I eventually chose to base my Priests on it.

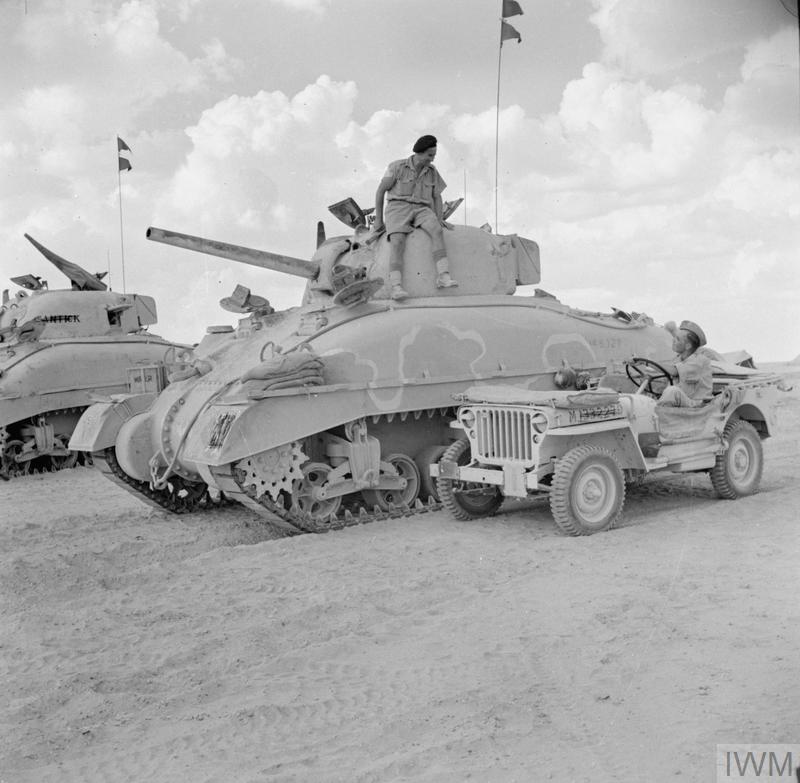
Later on, I actually found this colourised photo, which I can only assume was the basis (in some form) for the model kit. Photographs from The Desert War being what they are, I can see how the shading on a black and white photo like this could end up being interpreted as either shadows or a different colour in the camouflage. I did assign my unit to the 7th Amroured (Desert Rats) rather than the (UK) 1st Armoured Division as in the photo and reference model.
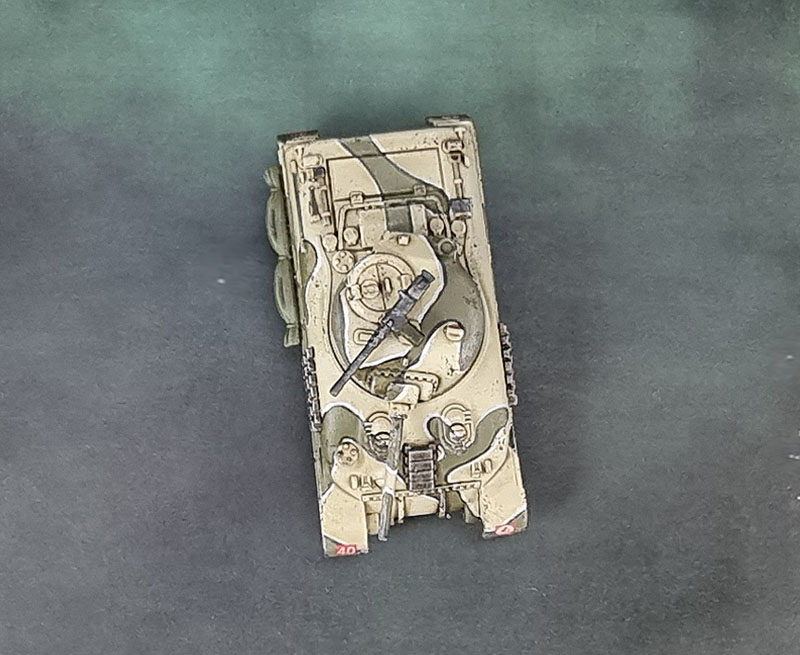
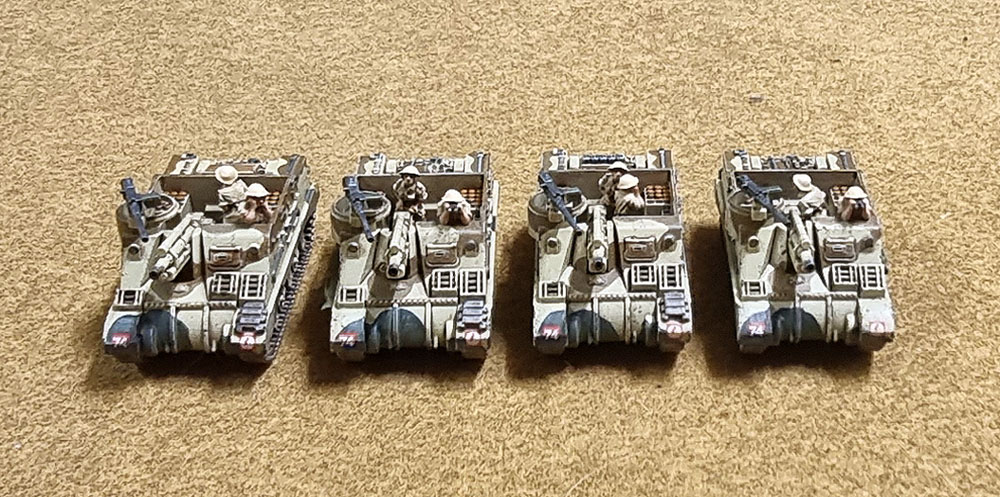
Again, a pic to show the four sides of the camouflage pattern applied…

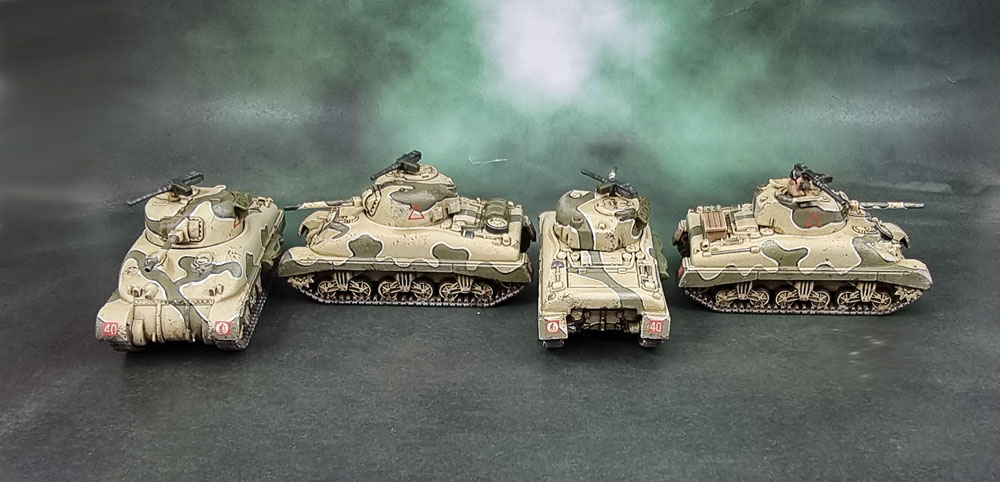
…and an “aerial” shot.
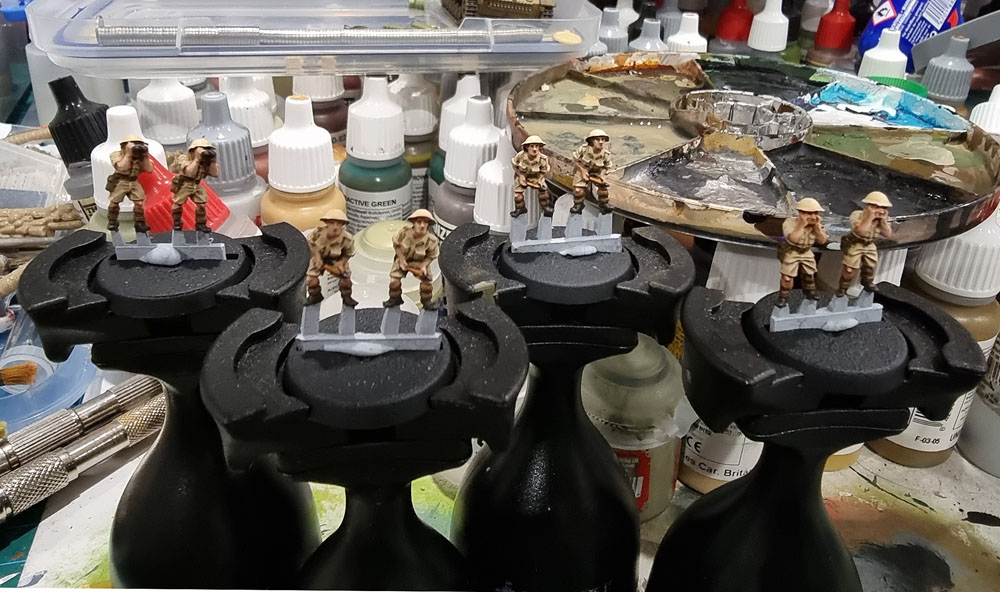
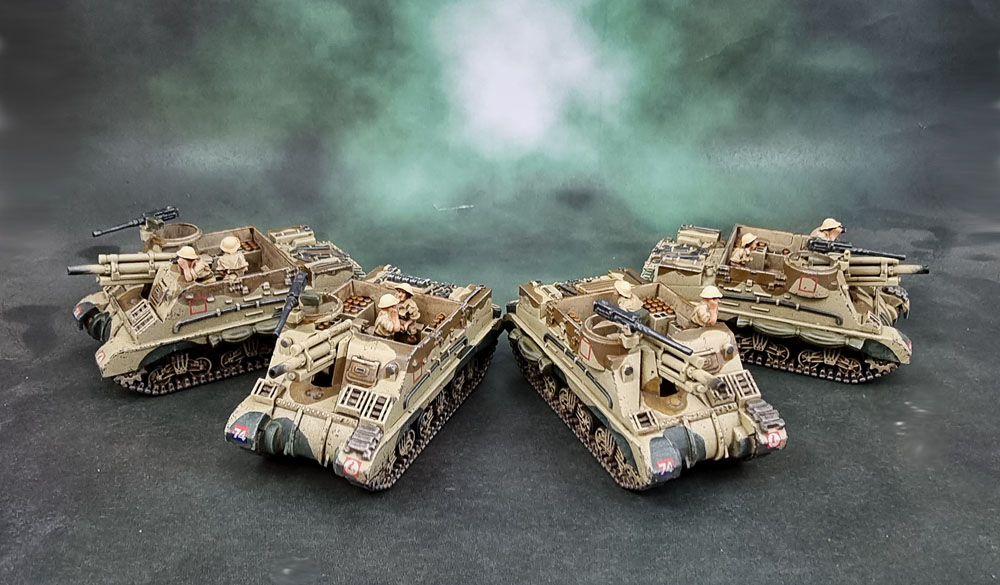
Oh, and I’ll be counting these four Priests as 12 models for this month. Why? The crew. Even though I don’t tend to count commanders sticking out of a hatch, or spare/additional/turrets. as you can see from the pic above, these crew were painted as distinct individual 15mm models. With not counting commanders and turrets, etc, I figure it evens out – and besides, it’s all about personal motivation, so it’s not like anyone else should give too much of a shit either way! 😉
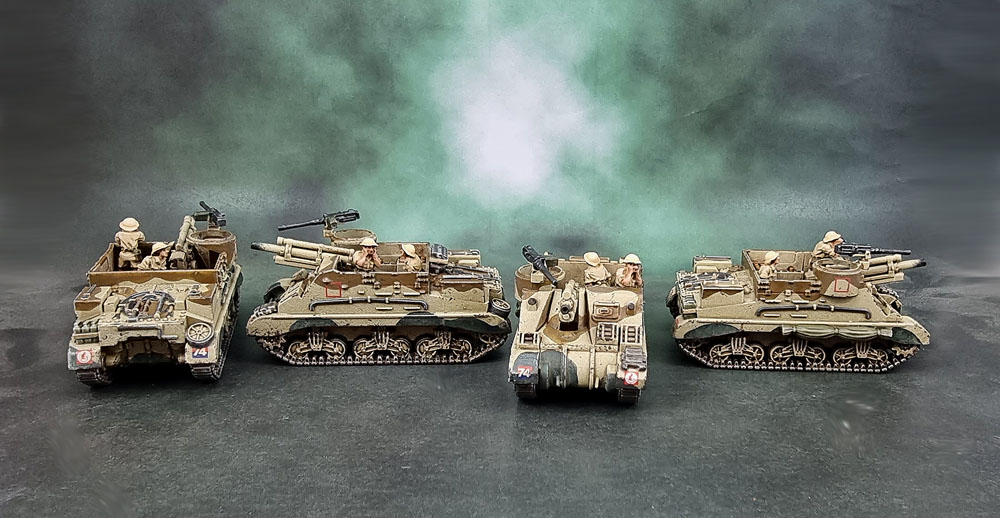
And here are the completed Priests on the “Desert” flats.