
Another Terrain repaint post today! As I noted in my review of this set the other day, I really wanted to check them out when I got them – and since I got them right after adding weathering the exterior of the desert buildings, and in fact while I was still adding the colour to the interiors – I pretty much ordered a second set of these (get ’em while they’re available with this stuff right now!) and the first set jumped right into the paint queue.
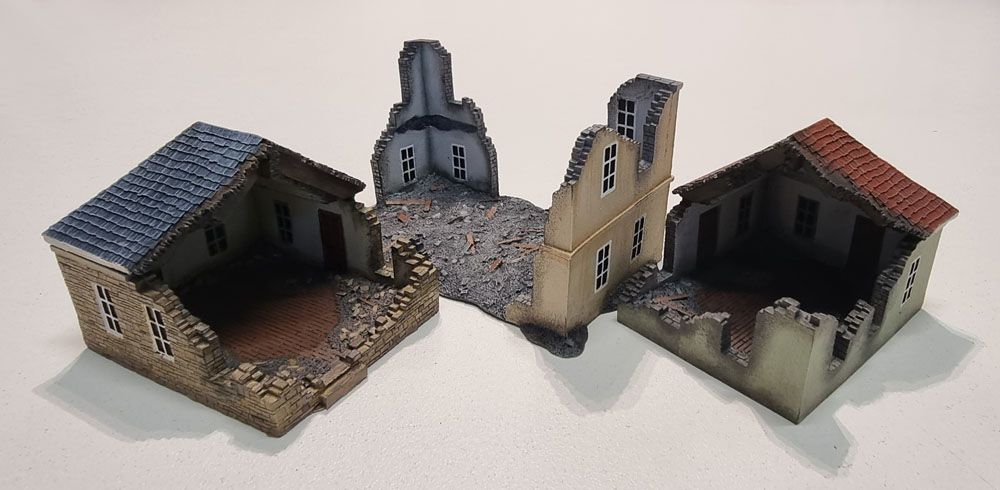
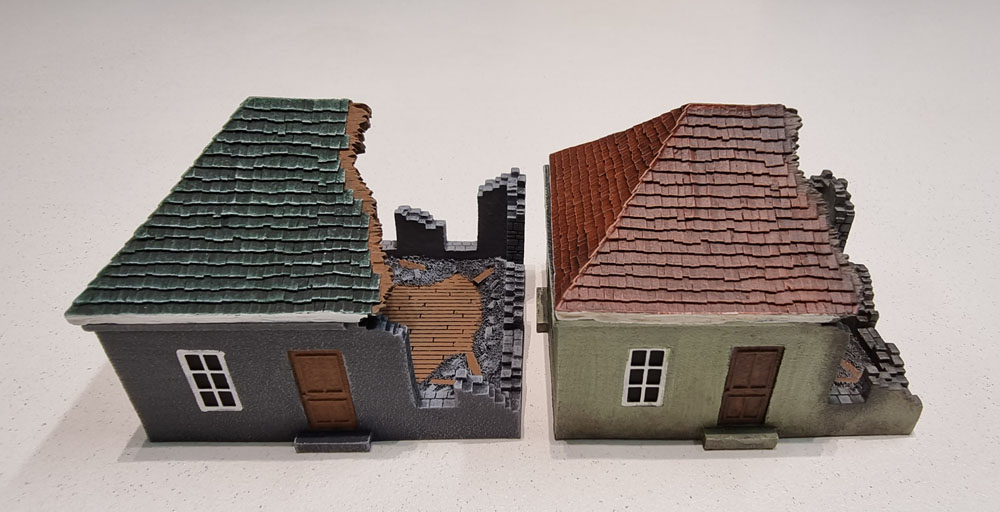
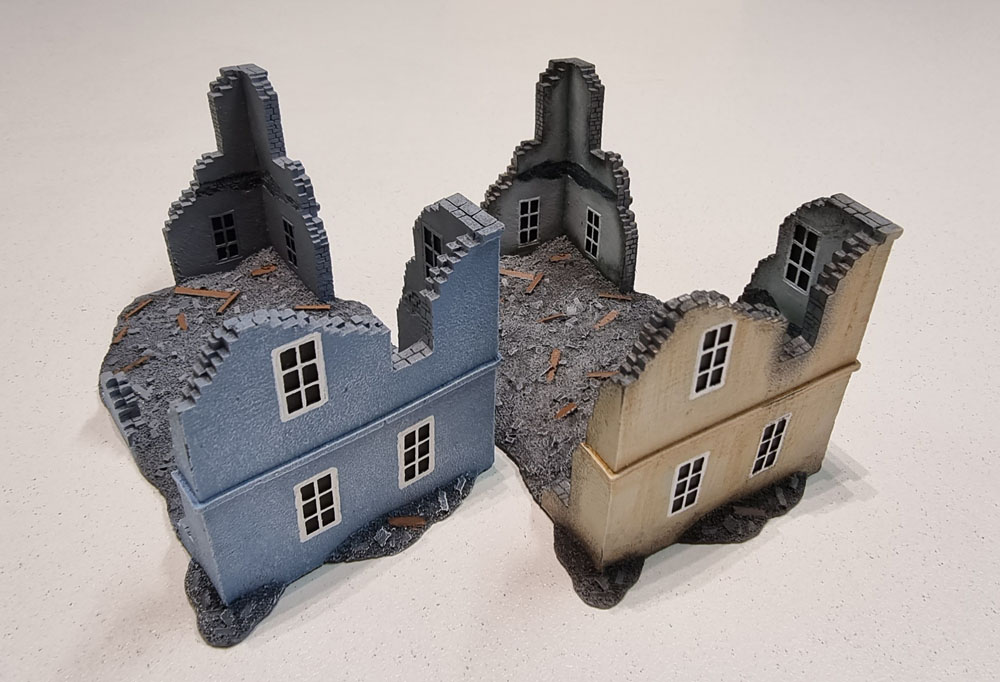
I knew immediately that I wanted to give these a complete repaint rather than a weathering – since these are European houses rather than desert village-type structures, they’d stand out a lot more if I had two identical sets, especially if placed in close proximity to one another – which they would often be – because bombed villages often work like that. My repainted ones are on the right hand side in these images throughout the post.
This would also let me get away with a simpler touch-up and weathering on the original paint of the second set that would arrive later – the ones that I’m using haven’t got to that stage yet. I just took these pics and they’re stil in the paint queue behind some more Panzers.
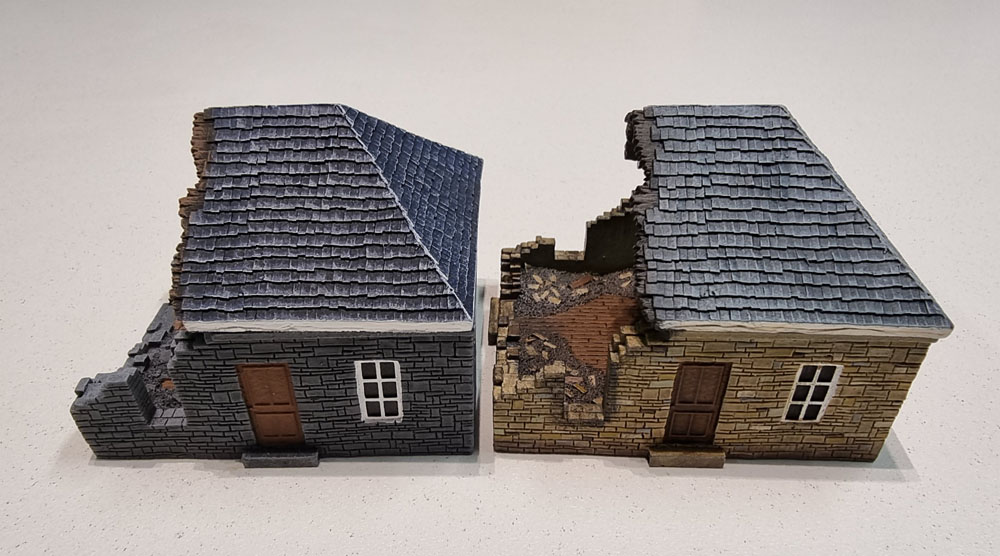
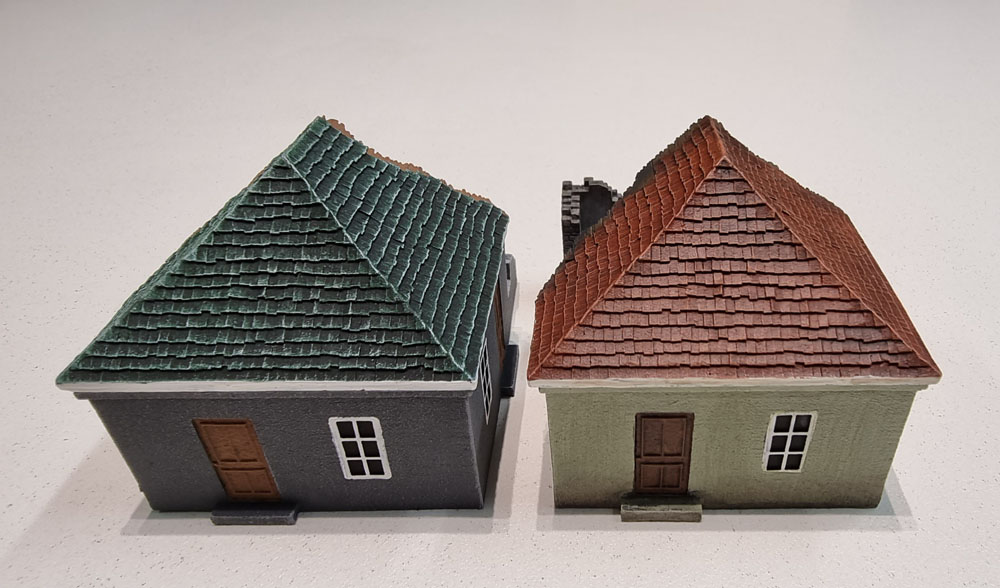
This building’s roof had a glaze, drybrush, and then a softer wash to bring the highlights down, but I kept the overall colour pretty similar to the original.
Weathering the other building in grey stones will take a bit more work than the others, as I’ll add some variations to the stones to make it look more realistic before adding in the weathering.
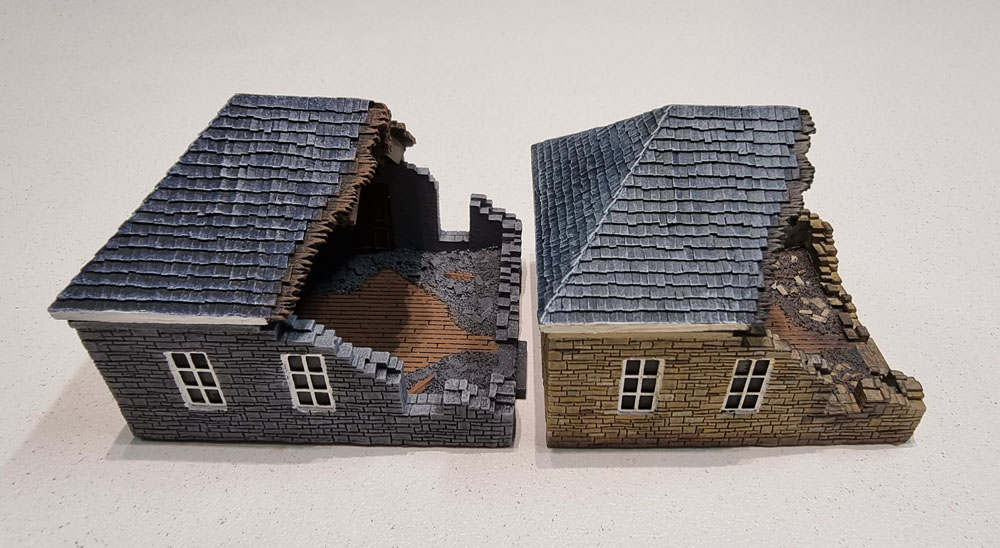
Going for a lighter “sandstone” look on this building meant that the shattered bricks inside the building stand out a lot more compared to the grey ones that blend in with the grey drybrushing of the rubble in the prepaint.
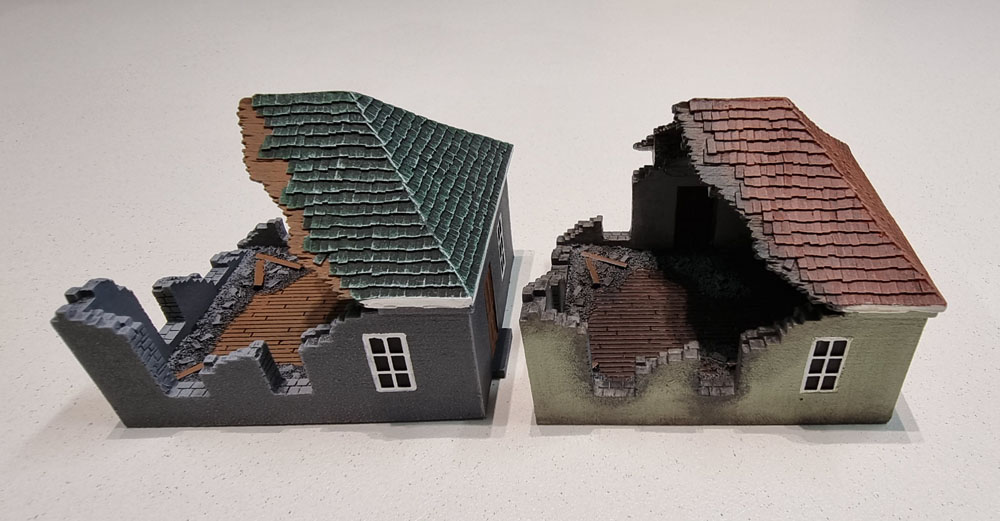
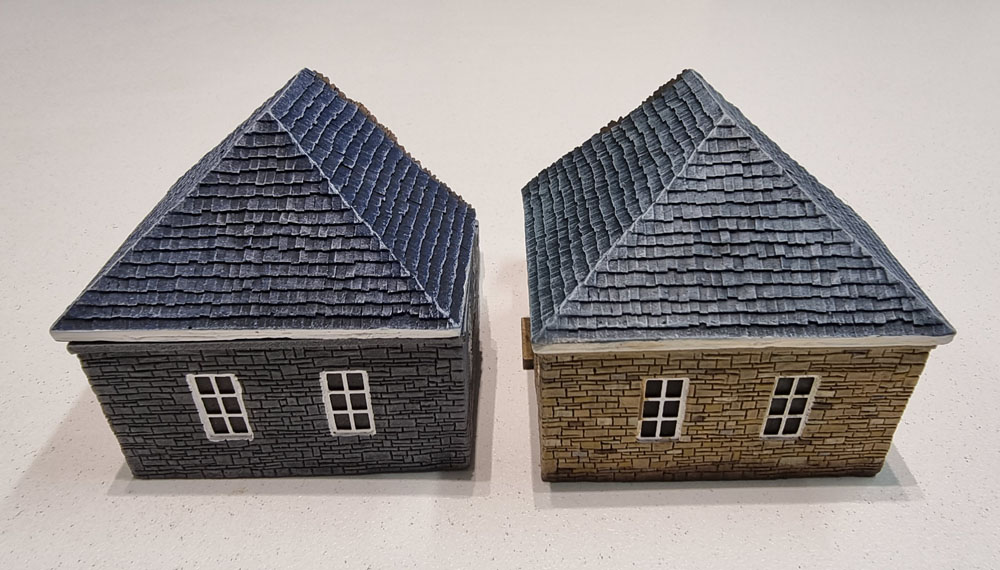
For the rendered building I went with quite a different colour to the original, but tried to keep the muted tones to something that would still appear realistic.
The red terracotta tiled roof stands out a bit more here, firstly because red, and secondly being on a green house, so complimentary colours and all that. Once the buildings are all laid out, it does blend in a lot more, though. Obviously, either roof can go on either building in practise, anyway.
Looking at the photos, I feel like I should add some more streaking around the window frames and on the tiles. Easy enough, I guess!
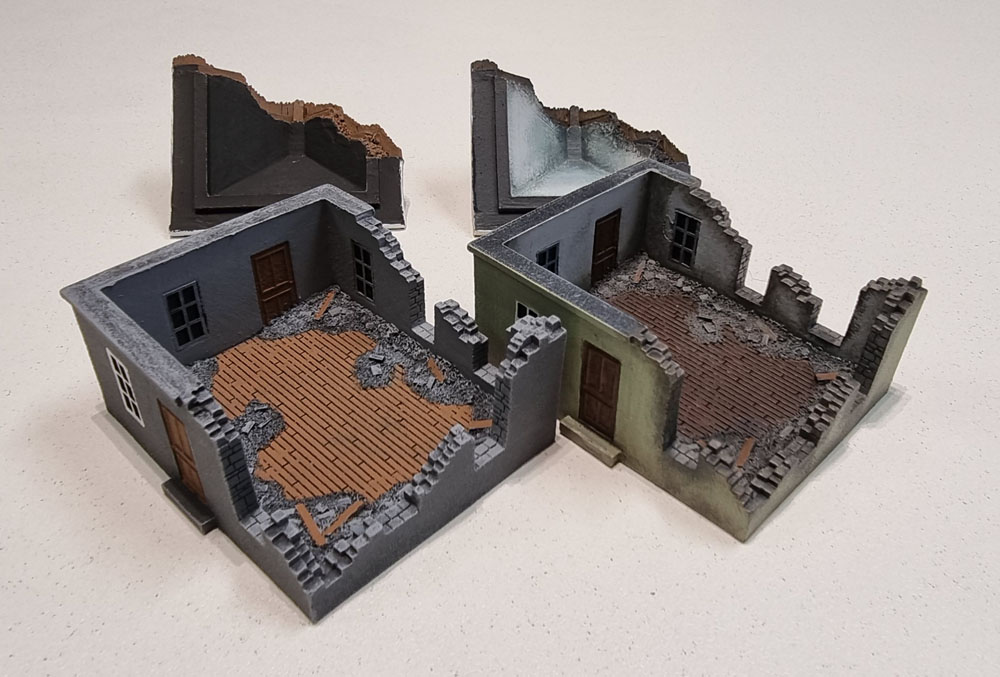
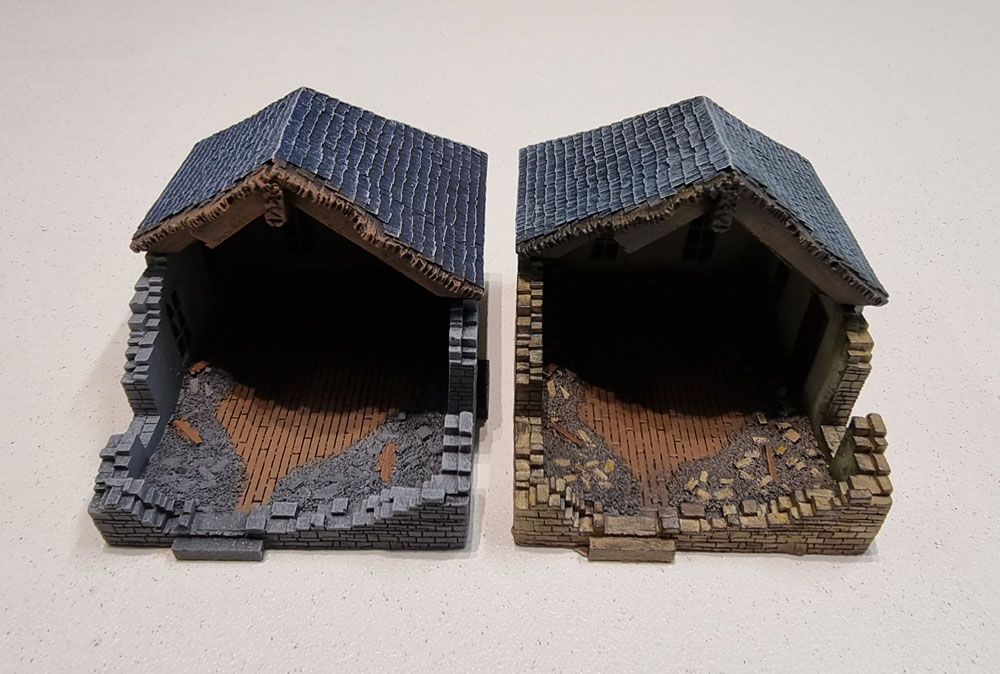
It might also be worthwhile adding a bit more grey to the interior to simulate dust – and so the floors don’t look like the rubble has been swept into piles leaving nice clean floorboards. Should be a relatvely simple drybrush.
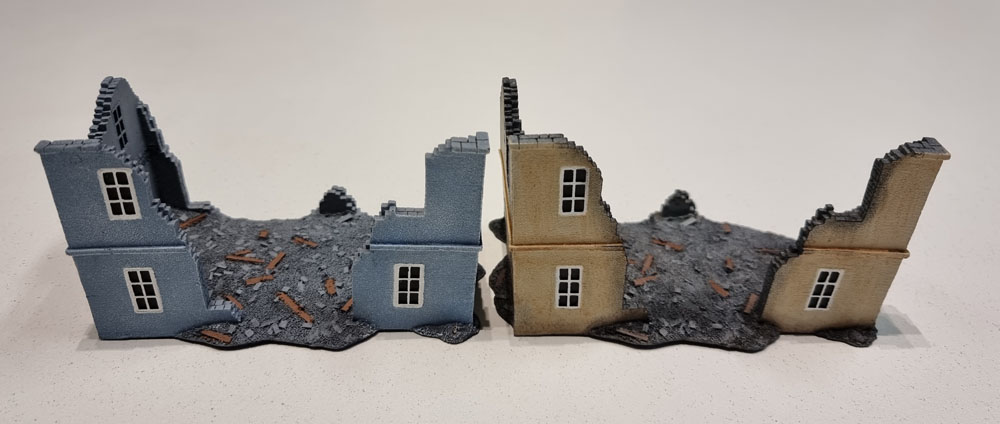
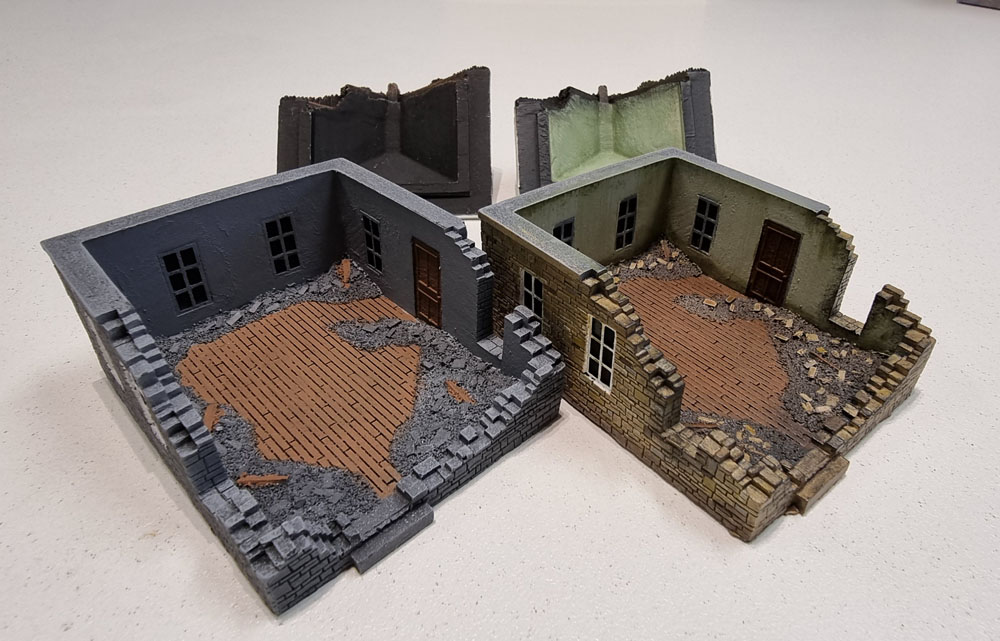
And finally, the larger building of the set alongside the original. I think the two of them will be able to sit on the table pretty close to one another without looking dodgy simply due to being different colours.
I did repaint the interior walls of this one as I did with the others, though there wasn’t much to do on the piles of rubble besides adding a wash to get a bit of subtle brown in there. Not that I was complaining about that!
I really quite enjoyed repainting these three. It took a couple of days of very casual work – just dipping in and out of them when I felt like it. And as much as I’ve been leaning into production line paiting on my WWII project(s), it was nice to finish a bit of something and not need to duplicate it another 3 or 11 times. 🙂
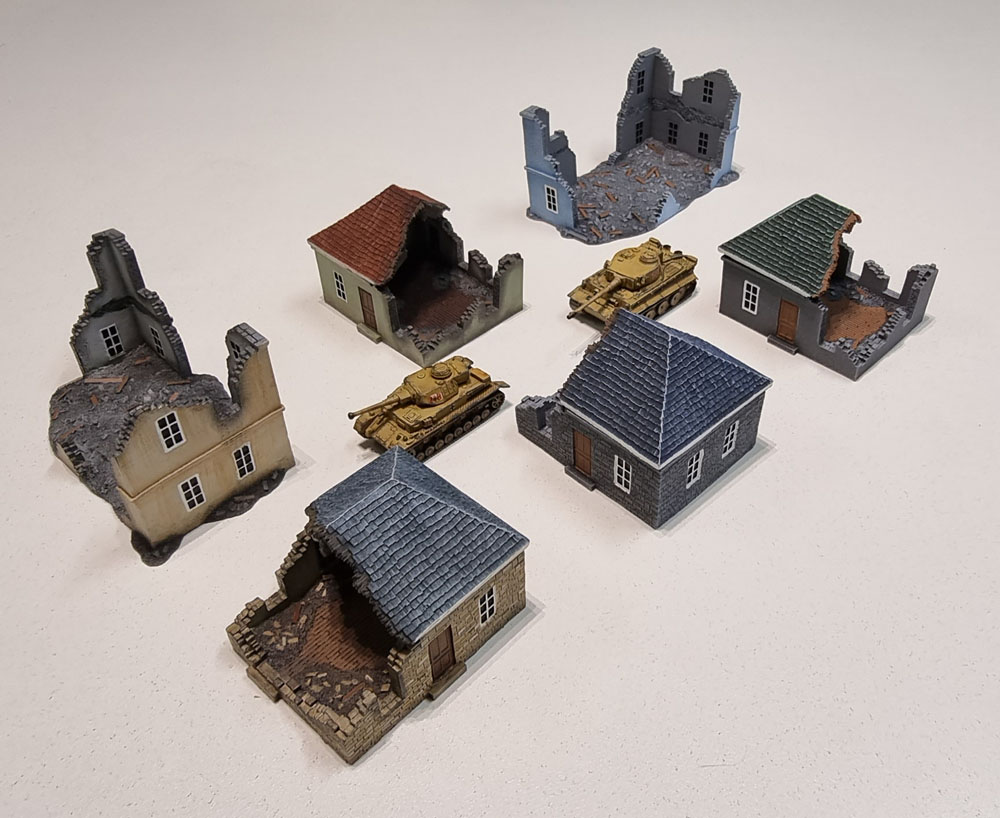
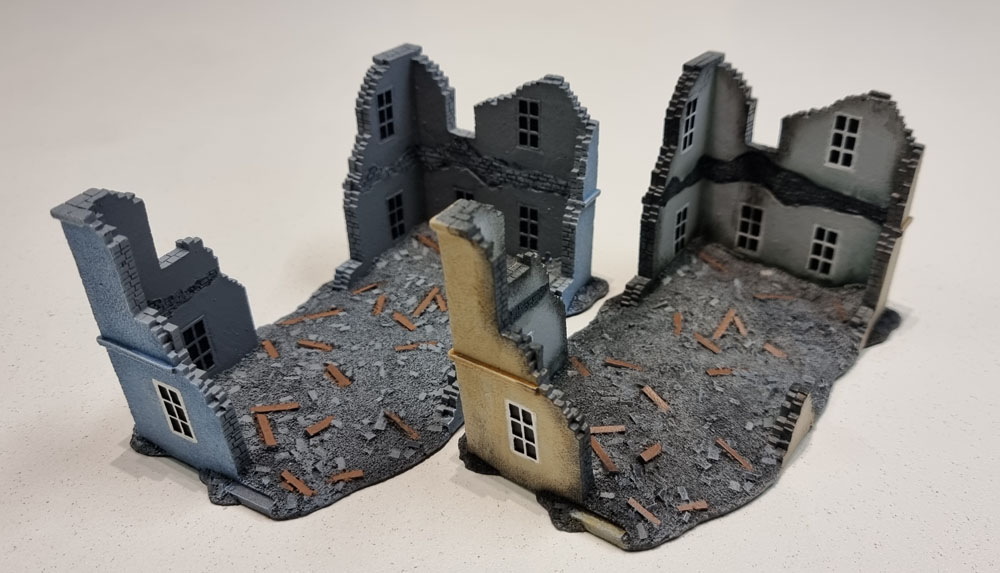
Finally, here’s all six of my ruined European buildings laid out together. While I haven’t done a thing to the second set, you can see how simply changing the alignment of the models lets the repainted ones blend in with the originals right next to them without looking like we have a table full of cloned buildings. So now I’ll be able to have a reasonable section of a town that’s suffered somne significant damage.
So as I’ve typed (and copypasted) a number of times now – “with a small amount of effort these could be made to look a lot better” – and with a bit more (when warranted) these sets can be improved quite a lot. I doubt I’ll be going this far on many of them, though – as I won’t have a lot of dupilcated European building sets. Even GF9’s range of very similar European Houses have their own repaints of their prepaints.

Man I really love the look of these pieces, makes me wish I had game store nearby and the opportunity to play “Flames of War”!
LikeLiked by 3 people
Thanks Eric. I’m in pretty much the same boat, so we’ll be doing games here for the forseeable future – hence all the terrain! 😀
LikeLike
Great work on the repaints, they look a lot more realistic with the weathering
LikeLiked by 2 people
Cheers, Dave – just a shame the terrain has all been happening post-challenge, but I’ve been picking it up more recently. At this rate though, I’ll still have a heap to weather and touch up by next year’s Season of Scenery!
LikeLiked by 1 person
At the risk of repeating what I said in your last post, I think these look great and really elevate these kits! I like the variety of colors too. I think that will give you plenty of options when you get around to playing.
LikeLiked by 2 people
Thanks Kuribo! I’ve now touched up the two smaller stock buildings and am in the process of doing the shattered double-storey. Keeping original colours, and just adding details and more weathering.
LikeLiked by 1 person
Nice work- once again. I prefer the sand colour to the grey.
Cheers,
Pete.
LikeLiked by 2 people
Thanks Pete – the grey just finished getting a facelift yesterday so I’ll have the upgraded one posted (hopefully) sometime in the next week!
LikeLike
They look much better for a tickle mate, both individually and collectively! Nicely done dude
LikeLiked by 2 people
Cheers Alex. Redoing them came under the headings “Fun” and “Easy” – which are two of my favourites to work with. (and surprisingly rare to have both!)
LikeLiked by 1 person
They’ve definitely come out well! 🙂
LikeLiked by 2 people
Cheers John. I’m looking forward to getting a decent looking table sorted with them eventually. Hopefully sooner than later!
LikeLiked by 1 person
Pingback: Flames of War Battlefield in a Box – Ruined Buildings – Weathered and Repainted (BB199) | Azazel's Bitz Box.
Pingback: 15mm Terrain Unboxing Review: Flames of War Battlefield in a Box – Cherbourg House (BB157) & Munich House (BB159) | Azazel's Bitz Box.