
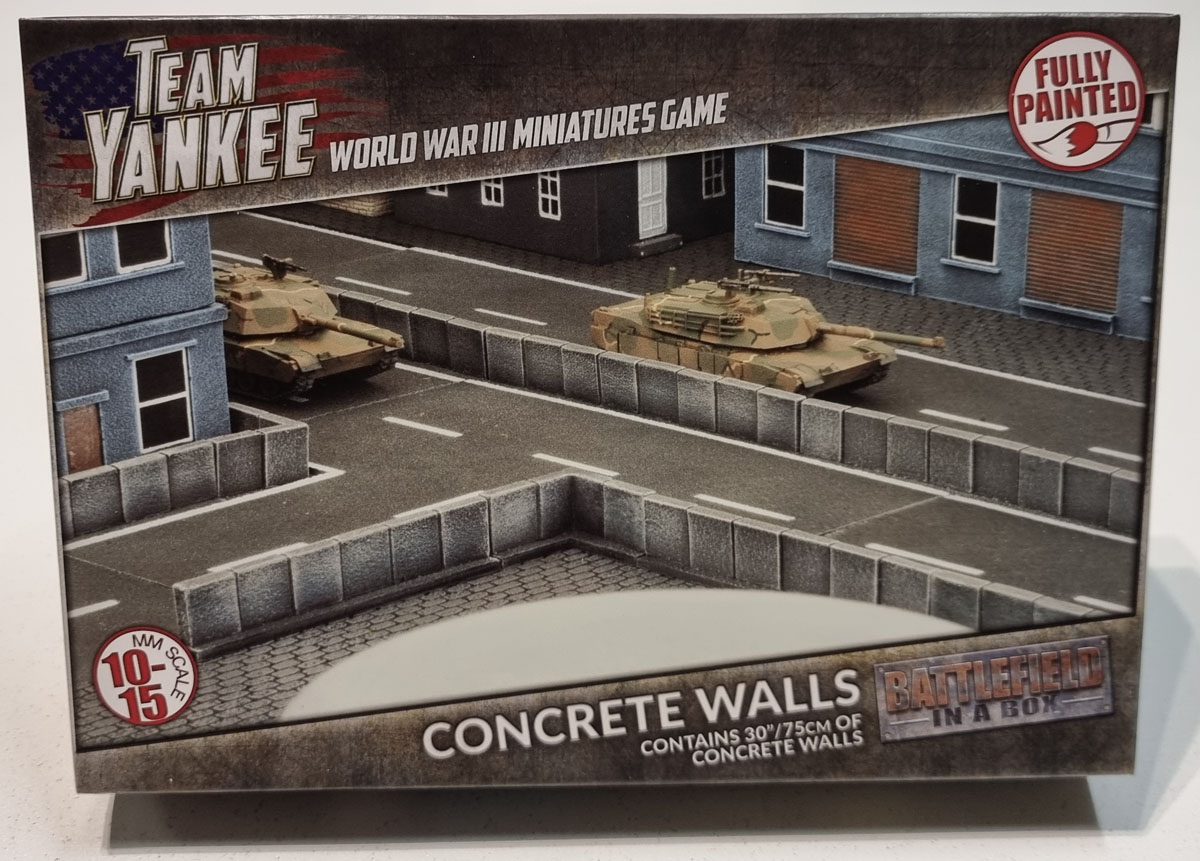
Another quick prepainted terrain review today – it’s the Concrete Walls set from Gale Force Nine/Battlefield in a Box, though this time it’s got Team Yankee branding rather than Flames of War.

This set comes with pretty good protective packaging, with the pieces in a custom polystyrene shell. I have a feeling this might possibly be older packaging as so much of the similar FoW stuff has been bubble-wrapped and taped, and we know companies are moving away from using unnecessary polystyrene (mine just went into the bin to save space). I’ll may look at picking up another set so I can get more table coverage with them if I can find one cheap, so if there’s any difference I may edit it in here.
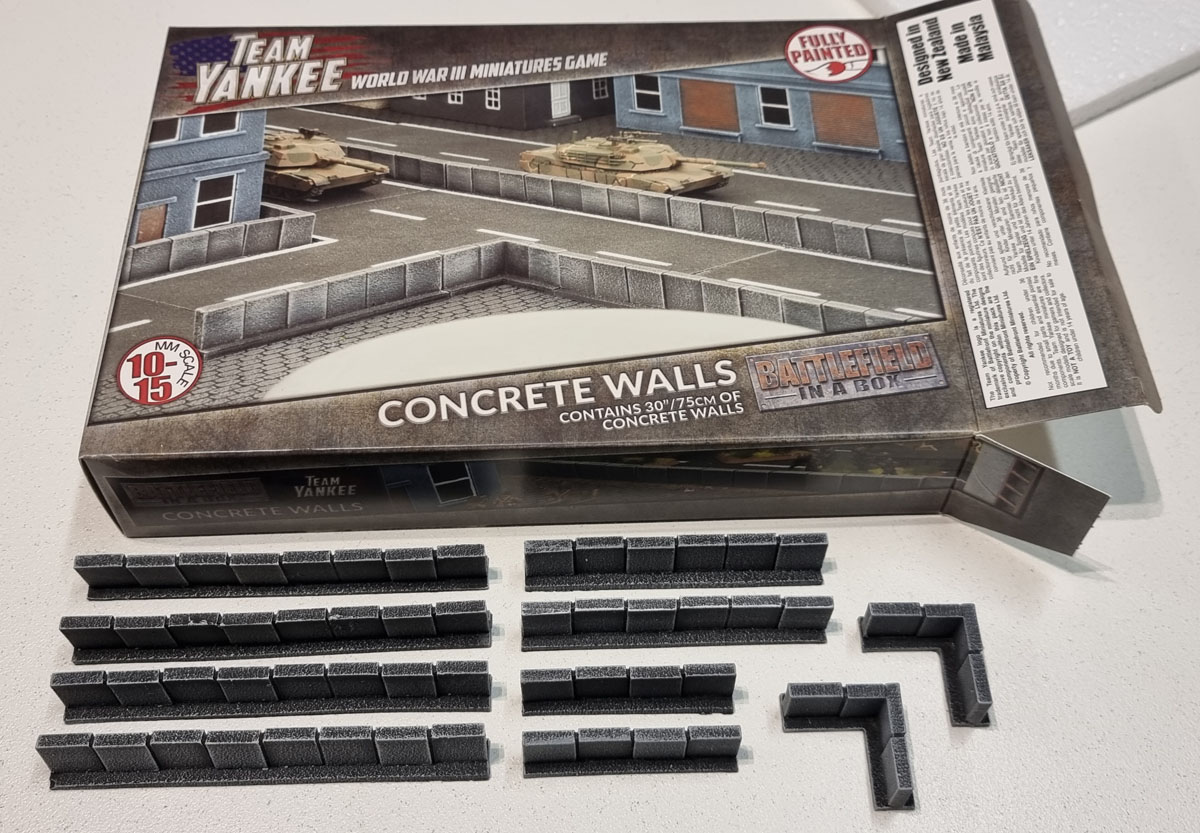
This set really doesn’t look like a lot of money, does it? I’d be lying if I said I wasn’t a little disappointed when I got these out. Being rational, I guess the price on these is about 2/3 or less than the Desert Walls, though these are probably getting to the level of “may as well 3D print something very similar instead” Which is pretty much how I feel about things like Dragon’s Teeth.
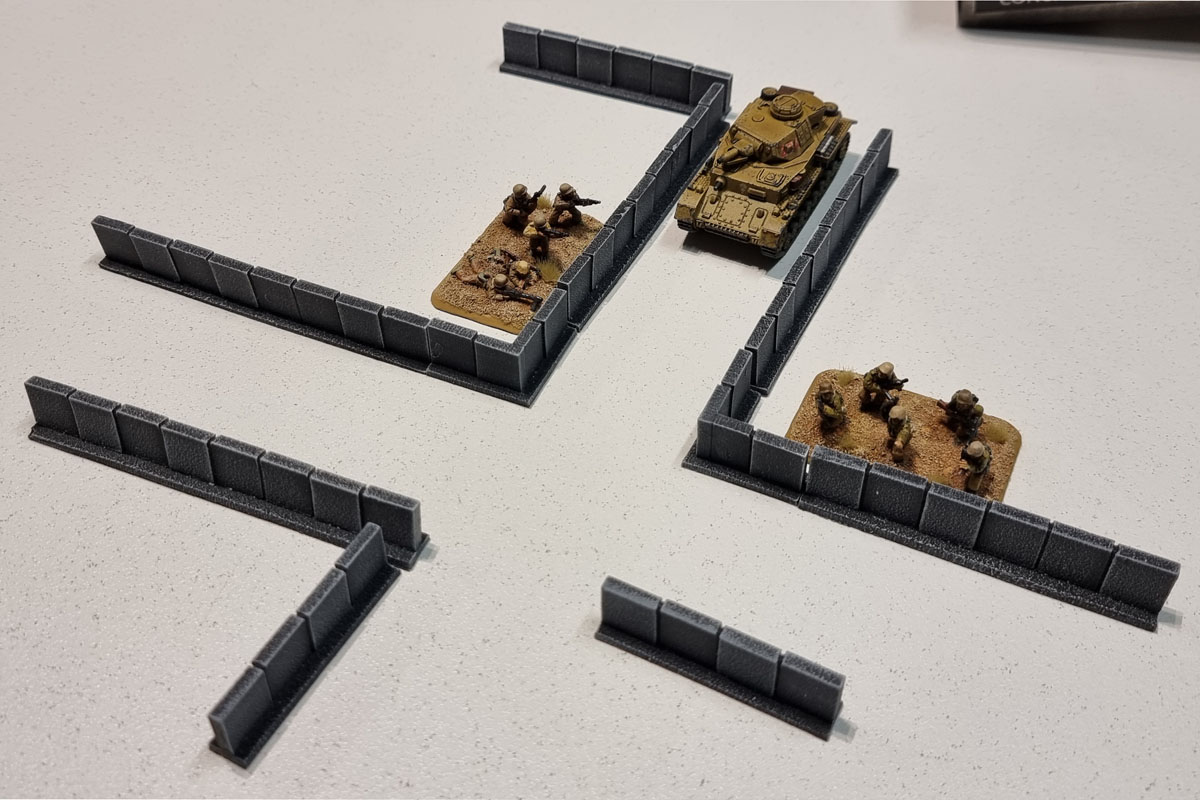
The painting on these is completely fit for purpose, though it’s also veeeeeery simple. As always, the biggest benefit of these is “Open box, put on table. Done!” So there’s obviously that.
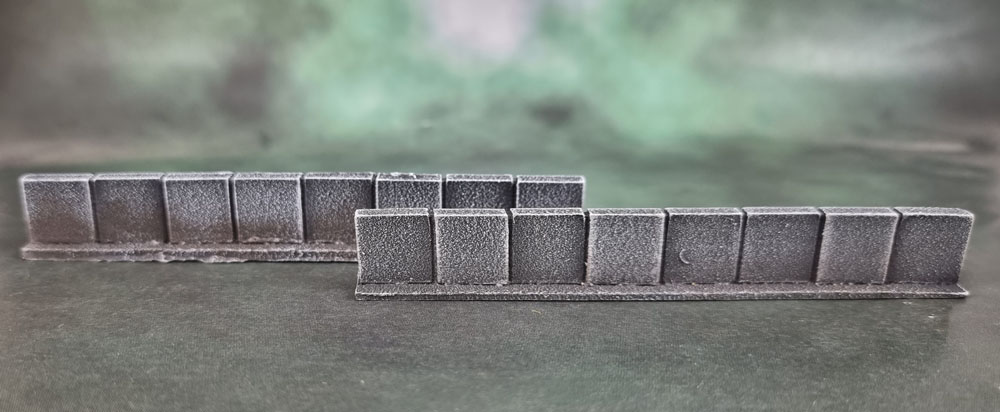
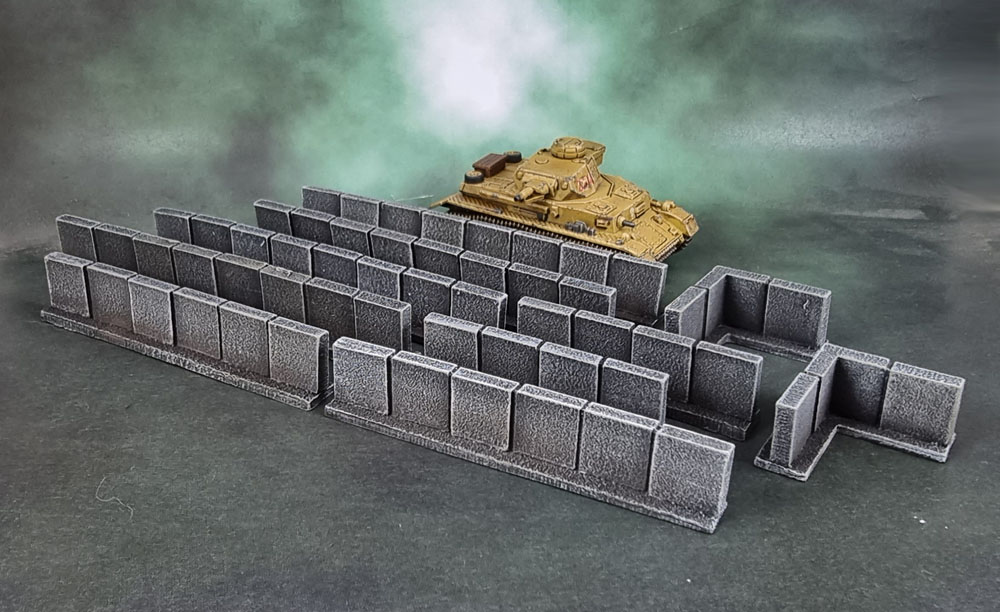
I decided to immediately add weathering to these, since they clearly would only take a few minutes to do. The wall in front/on our right is the unboxed wall, and on the left/behind is my weathered wall – overall drybrushed a less bright light grey to the shipped grey/white, heavy drybrush dark brown along lower/ground area, light partial drybrush a light khaki irregularly all over.
And here they are, weathered and done and ready to be put away (after the monthly round-up, at least!) I didn’t feel that weathering these deserved their own post, so I added them in here to the review – and I guess they can also serve to show how easily they can be made a little less clinical.

Another good summary mate – that little bit of extra effort really does go a long way 👍
LikeLiked by 2 people
Cheers Alex – thanks! 🙂
LikeLiked by 1 person
Nice review mate, your extra work makes all the difference to these pieces.
LikeLiked by 1 person
Thanks Dave, though you can barely notice it in the pics in this case! 😀
LikeLiked by 1 person
Those are indeed very basic, but do the job. The weathering really improves them. Thinking about it, cutting some plastic card to size and coverign it with a mixture of filler, small stones, grey powdered pigment and PVA may yield a very similar, if not better result. Might take a tad longer, so I see why gamers with no time to build terrain would go for it.
LikeLiked by 2 people
Yeah, in almost all cases for the simpler terrain I’ve picked up, scratchbuilding would end up with a much nicer result for those with the basic sklills to pull it off (and usually a lot cheaper to boot!) And of course, those with higher-level skills would do even better.
The advantage to these, and what you’re really paying for is ease of use. It’s just a matter of where the time/money line is between making them ones’ self and buying them, and with these we’re getting towards my own line.
Given how many models I have to paint, and 15mm being a new scale that I don’t (didn’t) own anything for, I’ve been on the “get something decent-to-good looking on the table” side, so I can spend the time instead working on the models. And I guess taking 10 minutes to weather something slightly overpriced is probably better than starting another never-finish project. Once I can reliably 3D print them on the other hand…
LikeLike
Can see why you are a bit underwhelmed- seems to be more pacakging than product there….
Cheers,
Pete.
LikeLiked by 1 person
Yeah, On balance – and after a couple of HO plastic kits I clipped yesterday – I’ll go with their value over unassembled kits, but maybe not over the 3D printed equivalents. I’ll have to decide that after getting some 3d printed ones. 🙂
LikeLike
These look nice with a bit of weathering. Its even nicer that it doesn’t take long to do the weathering 🙂
LikeLiked by 1 person
Yeah, anything that takes 10 minutes to get to the point of being good enough for the table is a good thing!
LikeLiked by 1 person
Nice and useful – though they don’t really look like real life concrete barriers (not that I’ve ever seen anyway) – I guess in 15mm it probably won’t matter too much and you’ve done a good job painting them 🙂
LikeLiked by 1 person
They really look closest to freeway barriers as opposed to walls or Jersey Barriers. They’re an odd design, though I can only assume they’re based on *something* from real life. Not sure what/where exactly, though….
LikeLiked by 1 person
It really doesn’t take much to “jazz” these up with a few touches and then they look even better than straight out of the box.
Well done, and thanks for the all the reviews.
LikeLiked by 1 person
Thanks Anthony! Once i get past my current run of queued models I’ll get some more reviews up. 🙂
LikeLiked by 1 person
That bit of weathering was well worth the time, it takes them to a whole new level.
LikeLiked by 1 person
Yeah, it doesn’t make them look amazing, but toning them down does improve on them a bit.
LikeLiked by 1 person