Speed Freeks Scrap Piles #2 (January Terrain 2019)

Speed Freeks Mekboy Workshop Scrap Debris Piles

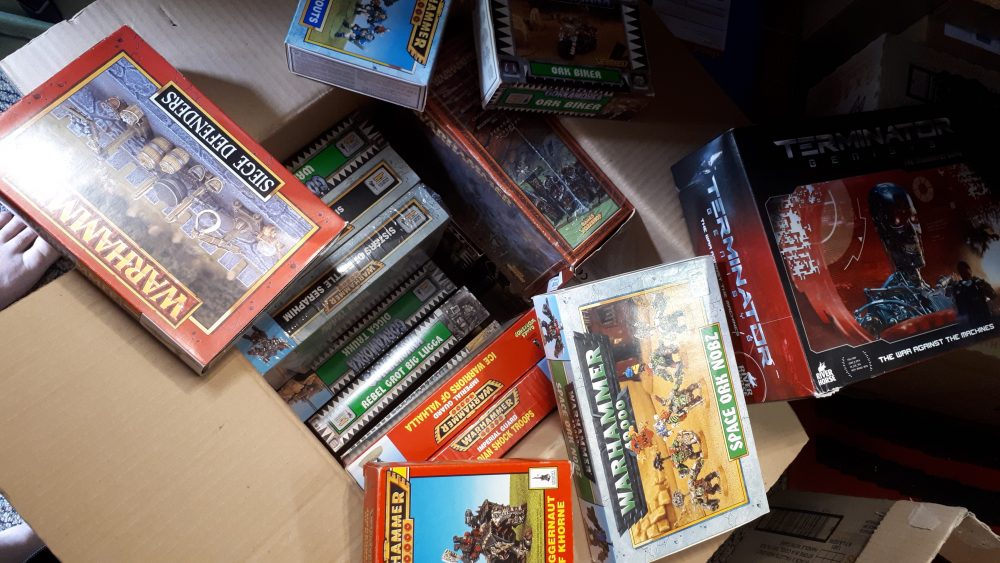
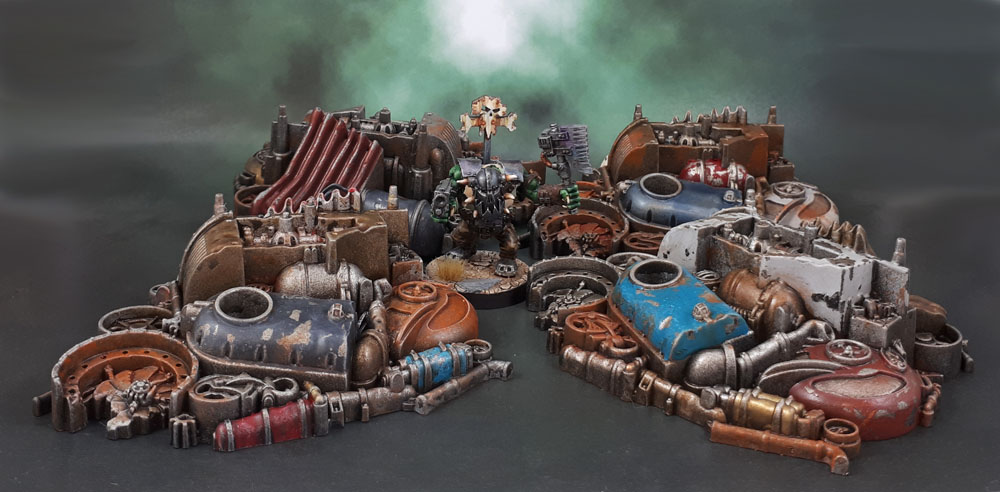
Today I have the next four sets of Scrap/Debris piles from the Speed Freeks/Mekboy Workshop sets. Same ethos as the ones I showed the other day – keep ’em interesting visually through use of colour and details – and most importantly – unique enough so that they can share a tabletop without looking like stamped clones.

Speed Freeks Mekboy Workshop Scrap Debris Piles

Speed Freeks Mekboy Workshop Scrap Debris Piles

Both sides of this pair.

Speed Freeks Mekboy Workshop Scrap Debris Piles

Speed Freeks Mekboy Workshop Scrap Debris Piles

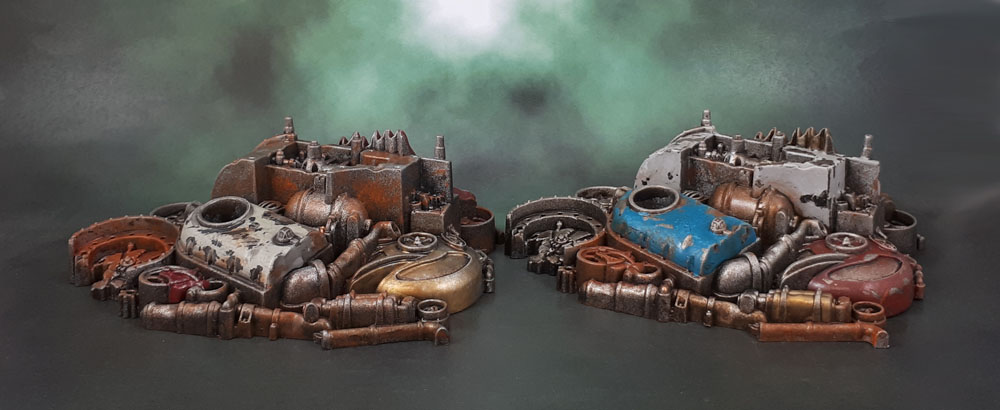
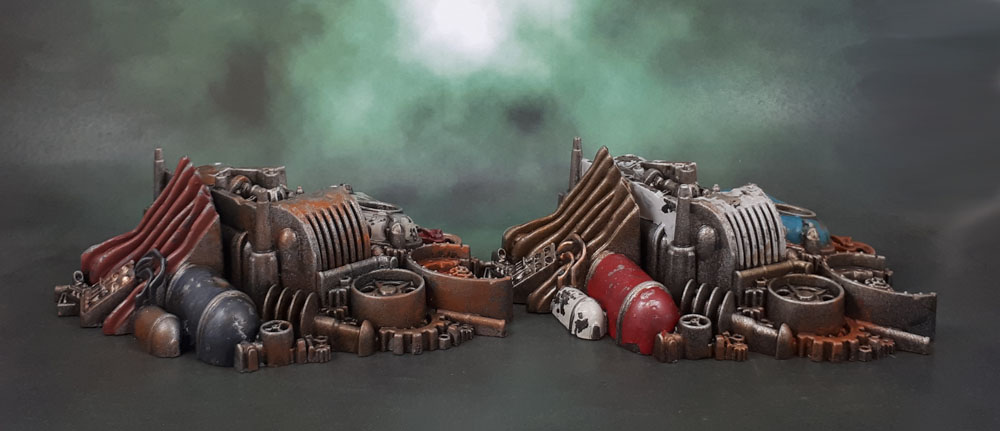
…and both sides of this pair.

Speed Freeks Mekboy Workshop Scrap Debris Piles

Faust was asking about the paint chipping in the comments of the other post, and while it’s too late to do a proper tutorial on these (maybe on the walls in the future) I can still explain what I did to get the effect on these pieces.

  1. Spray Black
  2. Spray Dark Metallic
  3. Spray in an “iron” colour. Like silver, but not overly bright. I didn’t use Leadbelcher spray, but it would work perfectly for this.
  4. Drybrush the metal bits you’ll want to be extra shiny, post-chipping with silver.
  5. Heavy gloss varnish spray
  6. OPTIONAL: Paint over the bits you want to chip with PVA for more fragmented/crackled paint – I did this on some pieces but not on others.
  7. Mix Crackle Paint Medium with your chosen colour. It’s gloopy and thick and horrible. I used Greenstuff World’s medium. It’s probably the same with Vallejo or Jo Sonja or whoever else.
  8. Apply carefully over your chosen coloured area. Let Dry.
  9. Repeat 7-8 for all the colours you’re going to use on that piece, it just makes life easier later on.
  10. Shade and highlight those colours.
  11. Now the fun begins! Find something that’s not too sharp (I used a sculpting tool) and use some of the cracks to chip away at the paint. The extra-thick bits are also good. Pay extra attention to edges and dents in the sculpt, as places like that are more likely to have paint wear and chipping. Try not to gouge into the plastic, but even if you do it can be touched up. When you’re happy, stop.
  12. Weather, add rust (powders).
  13. Heavy gloss spray
  14. Matte Spray.

The first of the heavy gloss sprays is to protect the black and silver base from the fact that you’ll be gouging away on top shortly. The last one is because it’s scenery, and so is likely to be more roughly handled than your normal, nice models.

Hope this is useful! Since I’ve done most of the work writing it up, I’m sure I’ll be able to recycle the text with a photographically-illustrated tutorial down the line!

Anyone want some old Warhammer Miniature Boxes?

I’m cleaning up, and as it happens, I’ve got tons of old (mostly Warhammer and related) figure boxes that I’ve kept since the late 80’s, 90’s through to today. There are too many of them taking up too much space, and so one way or another – they’ve got to go! The photo above is just some of them. Sizes range from the little ones, through to the larger ones that Rhinos and stuff fit into.

Now, I’m not trying to sell them, but by the same token, I’m not posting them around the world for free, either. I’m also not going to spend hours going through each and every box of boxes to make a list so people can select one or two. Sorry, I don’t have that much spare time these days.

What I will do is happily sort them by general theme if people ask for something (ie “marines” “orks” etc) and then send them to interested parties at the cost of postage & packaging. (Warning, Australia Post isn’t the cheapest – by far.)

It would have to be via PayPal “gift” or whatever it’s called, because I’m not leaving myself open to potentially being screwed, nor the entirely trustworthy postal services. Anyone who wouldn’t trust me with some money to send them some empty boxes probably shouldn’t be considering sending me money in the first place.

Most still have their foam insets or plastic bubble-divider inserts. Those are in highly variable condition since I’ve used them to store my models for years until I recently moved a lot of figures to plastic storage boxes from hardware stores. The boxes are mostly in good nick, but they vary from still having the plastic shrinkwrap on them to a bit beaten up, and some have masking tape labels on one side from when I stored my models in them.

I have no idea if anyone or many people would be interested in these, so I’m going to give preference to people I know via the blog, if they want them/any.

If nobody wants any of these, it’s a bit of a shame, but I get it. I don’t have space for the things either! They’ll be recycled in a few weeks. And just to be 100% clear…

THERE ARE NO MINIATURES INCLUDED IN ANY OF THESE!