
Like great men everywhere*, I’m always happy to share my methods and techniques when asked. In this case, Imperialrebelork asked me if I could share how I paint the bone on my skeletons and other undead, and as I had these guys coming up in the queue, they provided me with a perfect set of models to use as an example. It’s a pretty simple system. Pretty much base coat, two down and three up.
*Note – I’m not calling myself a great man, just saying that like great men, I’m happy to share. 😉 – OR AM I?

Cleaned model & Primed model.
The first thing was the usual. Cleaning the models. In this case, a mob of 22 metal “fir bolg” skeletons from Brigade Models. I’d have taken a photo, but I forgot and it doesn’t really matter. Unpainted bare metal models glued down to plastic slottabases. Not a huge stretch of the imagination, amirite?
Now usually, I prime skeletons white. I know a lot of people prefer to start dark, but I’m the opposite with skellys. In this case, I did something a little different to my normal way. I recently asked Marouda to grab me some spray paints when she went past a local hardware place. I’ve been using Several Shades of Grey on some scenery projects that I haven’t yet shown, and also asked her to pick this one up for me, as a trial for undead.

White Knights Squirts – Gloss Cream – AU$7.45 from Bunnings.
We all know that GW cycles through a bunch of different coloured sprays for basecoats every few years before losing interest and discontinuing them, and Army Painter cans are popular. Both cost around AU$30 on average last time I cared enough to look. This can was less than ten bucks. I’ve had mixed results with Army Painter and Rustoleum on models, but nice cheap White Knight seems to come through every time. It’s good stuff. I’d have been happier with matt, but it’s a base coat and I’m going to seal them when it’s all said and done anyway, so whatever.
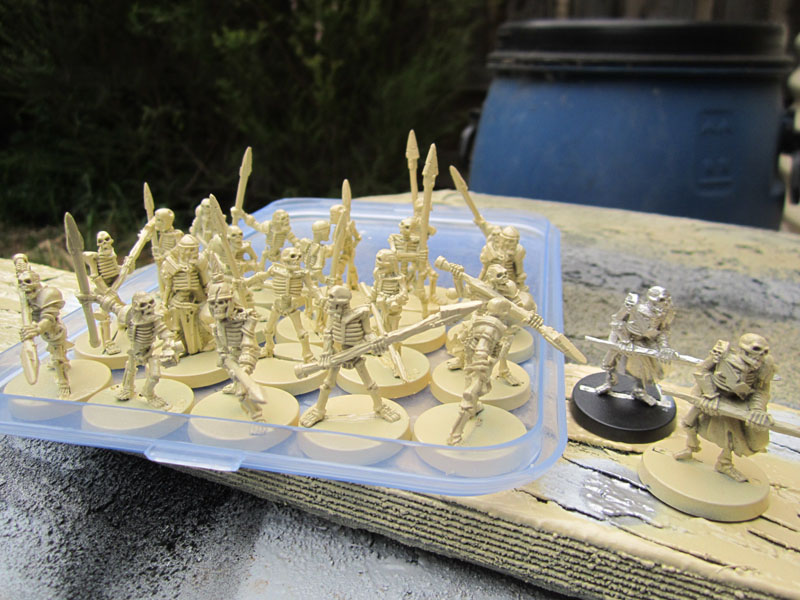
After their spray with White Knight
Now usually, I spray prime white, then I paint all of the bone elements of the model with Old-GW “Bleached Bone” or the equivalent. (Ushabti Bone, Vallejo Bonewhite, etc). – for something different, I gave this paint a test, and it looked just fine. No problems with coverage, etc – so I did the whole lot in it. Except for one model who fell down on my desk that I missed – Little bastard! Since it’s a spray it didn’t manage to hit every little bit, so the choice is to tidy up with Bonewhite (as I use the Vallejo) or respray depending on how much is missed.
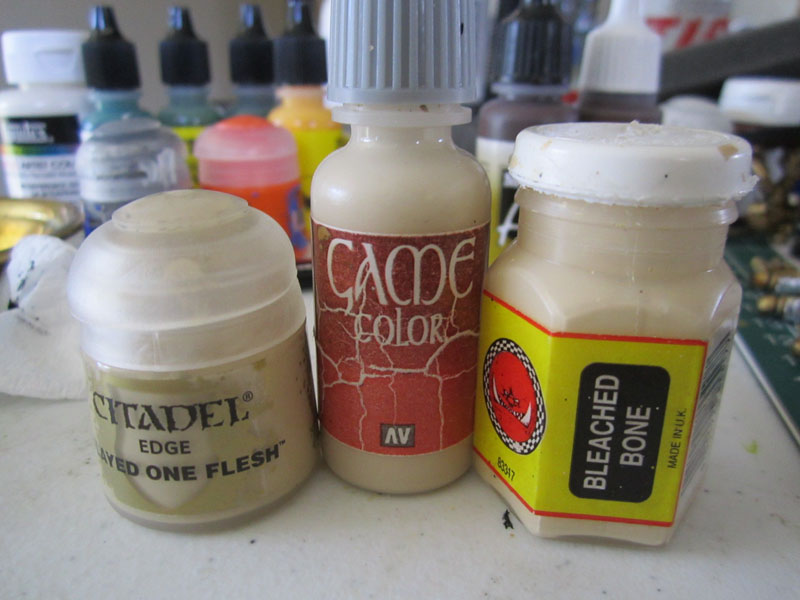
A choice of bone basecoats
Assuming that you don’t have a local source of cream/bone coloured spray paint, or just prefer not to, these are a few paints that would work just as well. I’ve never used Flayed One Flesh and am unlikely to since I’m quite happy using the last of my old-school bleached bone and the Vallejo Bonewhite – the same paint I use for touchup after the spray.
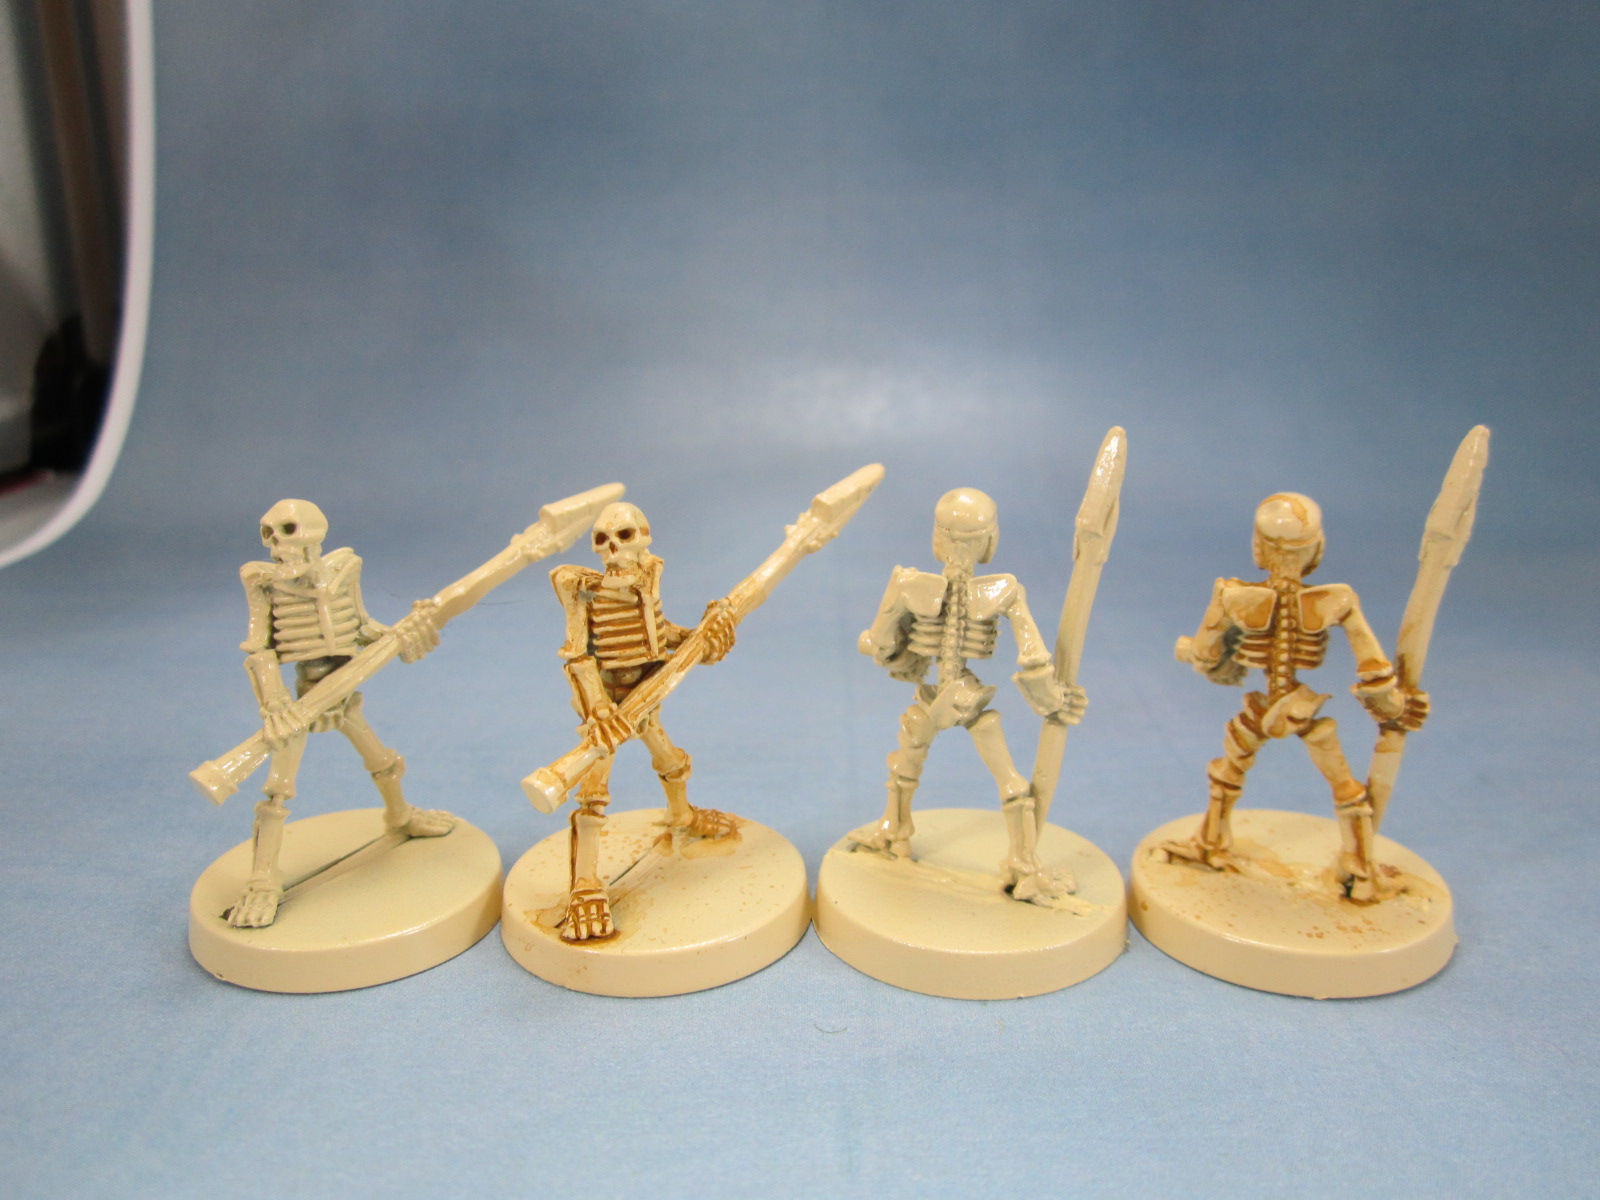
With and without the first shade layer.
The first shade layer is applied with a very-thinned “Snakebite Leather” or equivalent. Lately I’m using XV-88, which – despite it’s ridiculous name – has a colour and consistency that I like very much. Often when painting over traditional paint I use saliva to thin the paint. I drop a little drop of clean saliva (no bubbles) into the palette and a drop of paint next to it and then draw them together. Saliva has a slightly more “elastic” quality to it than mediums be they water, Lahmian Medium, Windex or commercial acrylic medium. This allows better control with the brush when moving it around on the model. Blame John Blanche and a very old White Dwarf’s “Blanche Itsu” article.
With these models, I used windex and water. The nature of having used a gloss enamel spray can for the base coat meant a much smoother finish to the models than if I’d painted them with white primer followed by acrylic miniature paint. As you can see above, the flow was smooth, and white there are a few tide marks left in spots like the shoulder blades and near the arm joints, that’s fine – they get fixed later. You can also see that as well as going into the recesses between bones and joints, the wash also stains the bone slightly.
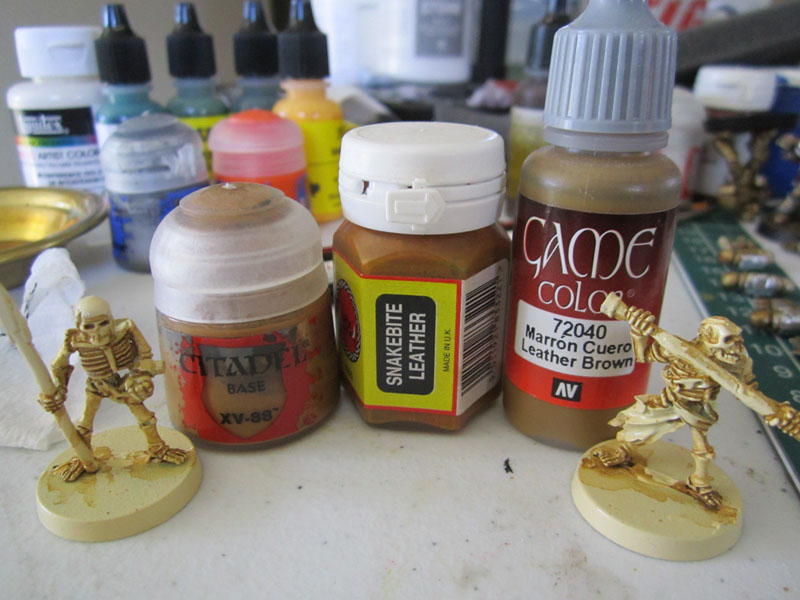
Second layer of shading – almost a lining exercise. After (left), Before (right)
The next step is the second layer of shading. I use a very dark brown paint – and again that can change from batch of skeletons to batch. Once again I thin the paint right down via either saliva or various mediums. This second layer of shading is something I’ve only started doing in the last couple of years. Might have even been last year, but I think it adds nicely to the final result – though I guess it’s optional if you’re wanting to get them done a bit faster. This time, I shade only between specific bones. Between and underneath the ribs, and then I do major joints. So elbows, knees, hips, the jaw, sometimes between the fibula and tibia (lower leg), sometimes between the radius and ulna (forearms). I also line between the fingers and toes but not the metacarpals and metatarsals (the bits of our hands and feet usually covered in skin). Sure, it’s not especially realistic to have the fingers defined but not the metacarpals in a skeleton but it’s a visual look that works since we’re used to looking at fingers and toes.
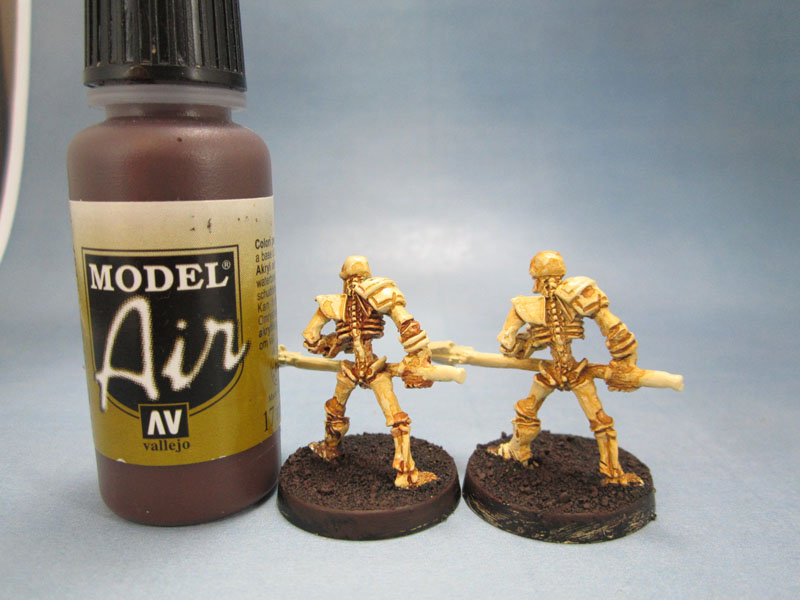
This Model Air paint: 71.041 Tank Brown – is my current go-to. I had to write the number on the label after it wore off the main part.
The important thing here is to keep the second layer of shading to joints and holes, etc only. We don’t want to be staining the top layer if at all possible. I do go over the mouth and teeth area, as well as the nose, eye sockets and a very subtle-thin bit in the sphenoid – where your temple is behind the eye sockets/orbitals.
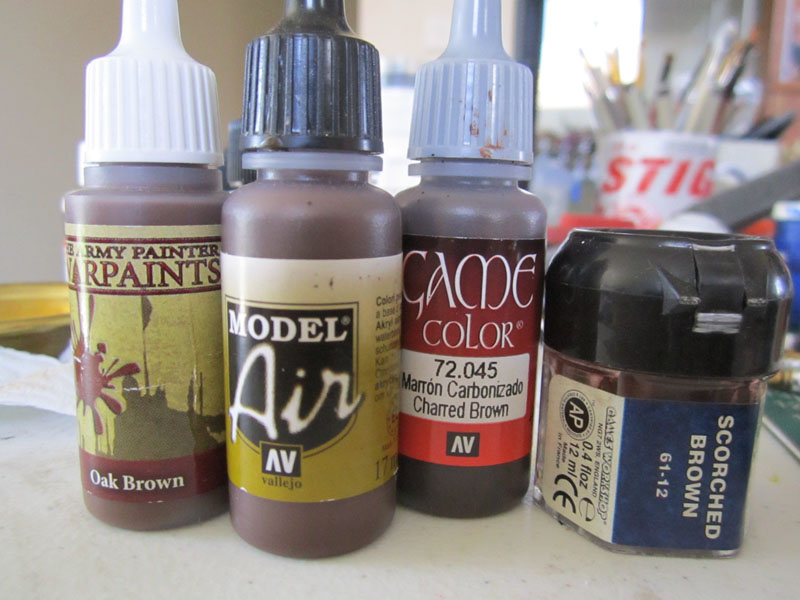
Any of these will work. The AP is a bit lighter though, so would be my last choice.
Now our two layers of shading are done – the “two down”. We do our three layers of highlighting – or the “three up”. The first layer is the same bone that we used for our basecoat, as seen up the page. Thin it down nicely (saliva recommended) and then carefully overpaint the bones in spots where they’re raised – leaving the lower and most recessed bones untouched. This is where we start to neaten up the tide marks and other messy bit left by our two layers of shading. The first layer of highlighting is essentially restoring the base coat colour to the model where it’s needed while neatening and leaving the shading that we want to keep.
L-R: No highlight, Layer 1, Layer 2
The second layer is pretty simple as well. With a lighter shade of the same colour (or add white) we highlight more of the edges of the bones, top and sides of the skull, the parts of the ribs at the forefront of the model, the spinal column, the raised portions.
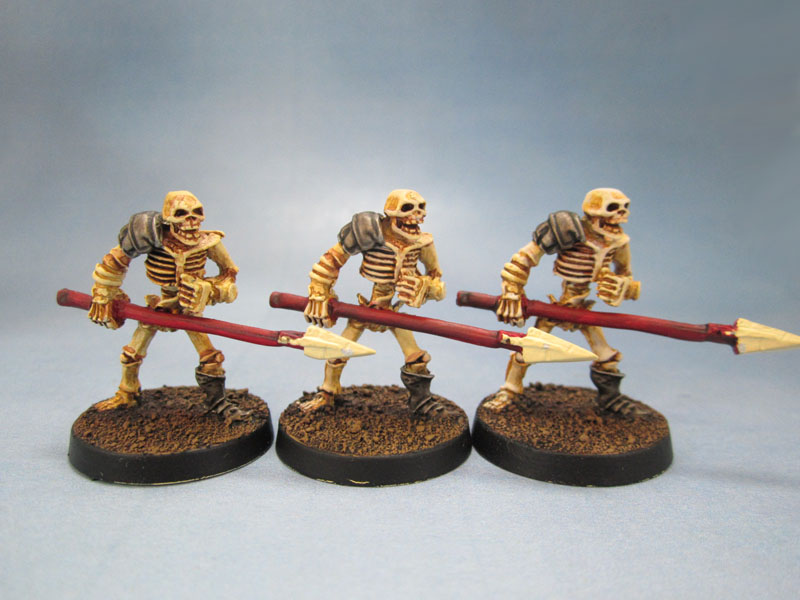
L-R: Layer 1, Layer 2, Layer 3
Finally, the last layer is done with an almost-white paint, and here we only paint the top of the skull and facial details, the very tips of fingers, and upper and outer edges of bones and joints. The tips of the spine. I use a very fine brush here to pick out individual teeth. You can see it most easily in the pic above on the ribcage and the skull.
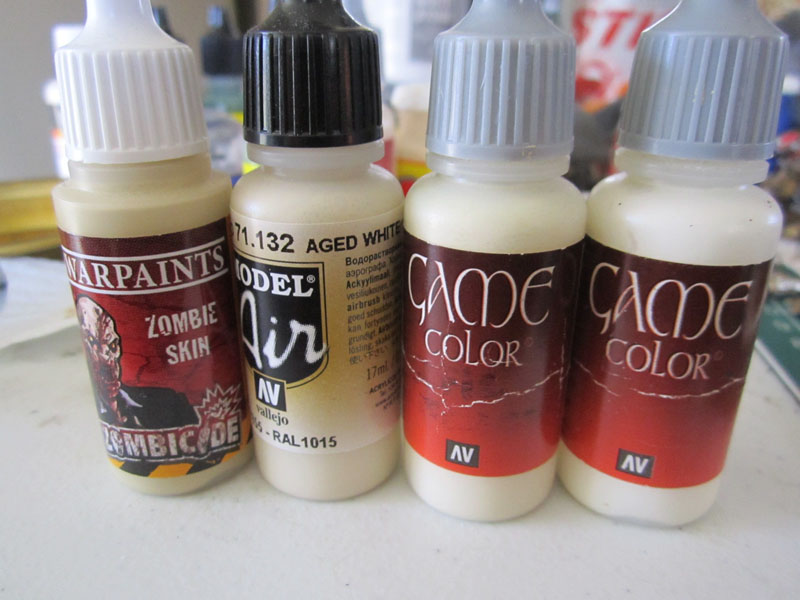
A selection of highlight colour options. The Vallejo are 72.101 Off White and 72.098 Elfic Flesh
The two colours I use here are both Vallejo Game Colours: 72.101 Off White and 72.098 Elfic Flesh. At this point it’s a matter of painting (or finishing) any cloth, armour, weapons or other junk being carried around by your Skellies, sorting your bases, and you’re pretty much done.
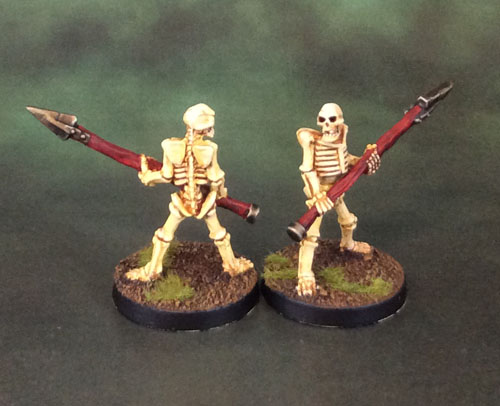
I are finish! (this image is unfortunately a bit overexposed/washed out)
Now this method isn’t going to win any Golden Demons or Crystal Brushes, but it’s a relatively quick, easy and simple way to get a “warm bone” look, uses a limited palette of 5 colours and I’m happy with the results. It’s even simple enough that I can manage to chip away at it in my lunch breaks at work.
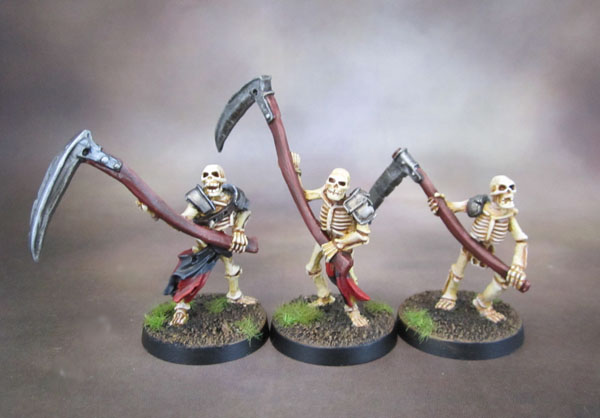
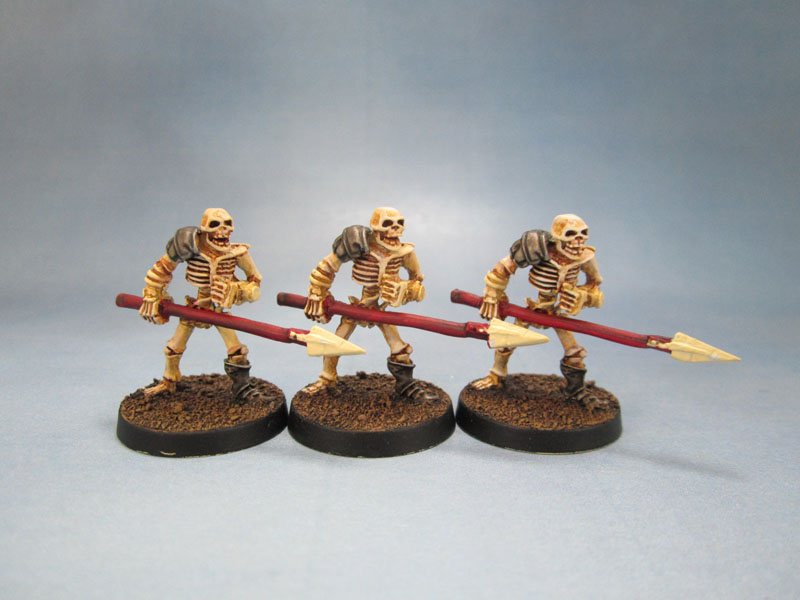
Another batch painted using the same techniques, photographed with different (better!) lighting.

Great article, and a really good result too. Also thanks for the tip on sprays, I have also been paying $25-$30 for my GW or Army Painter sprays. $8? Sign me up!
LikeLiked by 1 person
Thanks Dave. I find Bunnings is a great source of hobby supplies. I picked up some sample pots of interior house acrylic for scenery.
LikeLike
Thanks mate. A really well written post. I often lose interest because modellers tend to waffle and/or get too technical for my simple mind. I found the whole saliva thing interesting. I used to pull apart and reassemble old matchbox cars and toys and to re-oil the screws I used the natural oils from my face and nose. True! Hehe. I didn’t realise you were from Australia. I’m a Melbourne Fella myself. Thanks again for the tutorial. It really was a great and informative read. Cheers.
LikeLiked by 1 person
Welcome, mate. I like to be pretty straightforward most of the time, though I can waffle on at times as well. The natural oils thing sounds horrific though! Not like good old, clean saliva. 😉
I’m also in Melbourne myself.
LikeLiked by 1 person
Haha wow small world aye
LikeLiked by 1 person
that it is, mate!
LikeLiked by 1 person
Dare I ask, where in Melbourne? It’s cool if you don’t want to share though. Nice to have a local in here though.
LikeLiked by 1 person
I’m on the West side. I won’t go into more detail here, since it’s open to the world. How about yourself?

LikeLiked by 1 person
Haha Eastside Massive
LikeLiked by 1 person
Awesome write-up, and timely! I’ll probably be needing some skellies for Frostgrave in the not too distant future 🙂 Thanks you, you great man!
LikeLiked by 1 person
Thanks Alex. Hopefully some part of it has some use for you in that case! You could use much the same technique with less bleached bone and snakebite leather more white and bestial brown and it’d still work decently well.
LikeLiked by 1 person
Excellent tutorial, really achieves the right look. Will save this for future reference!
LikeLiked by 1 person
Most welcome, Mike. Hope it comes in handy one day!
LikeLike
I’ll be honest – all my blending is done with saliva! I recall reading in an old WD that Blanche employed this method all the time. So if it’s good enough for him…
LikeLiked by 2 people
It might well have been the same issue, way back when. I try not to lick the brushes too much anymore, but I have to admit that it still happens sometimes…
LikeLiked by 1 person
Pingback: 4xD: Paint it grey; The Monotone Monologue | The Grinning Skull
Pingback: Brigade Models – Celtos: Fir Bolg Skeletons with Sickles – for Kings of War | Azazel's Bitz Box.
Pingback: Building and Painting Skeletons – imperial rebel ork