
Today we have a terrain piece that I picked up back in 2014, though the piece dates back to (at least) 2009. My reasons for getting it were no doubt tied to the triad of having recently (at the time) purchased my own home, the price (a surprisingly cheap AU$30.75 from my local GW source) and the fact that it looked pretty simple, so it should be a doddle to paint up quickly, right?
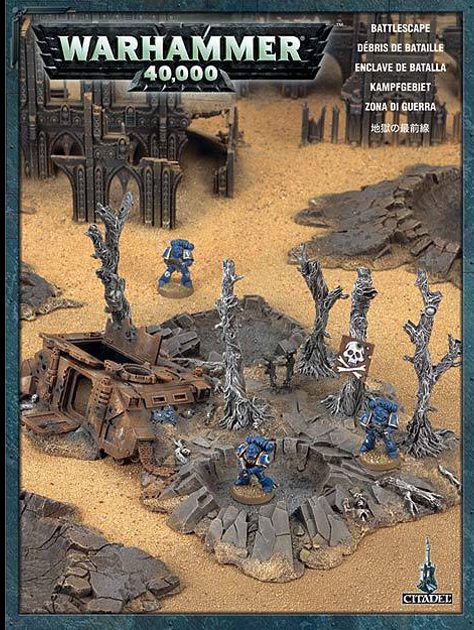
I lost that skull & crossbones sign long ago!
Well, we all know how well that last point goes, all too often. So long story short, it’s been sitting a corner of the War Room for several years, trees assembled, side hatch glued on, both top hatched glued on and broken off due to flimsy design, and sprayed a lovely shade of gloss brown.

Sprue Shot taken from 2009 review on Johns Toy Soldiers Blog.
So getting this thing done, along with quite a few similar projects was part of the impetus of January being Terrain Month (I’ll probably repeat it next year as well – so bloody many terrain kits to assemble and paint!)
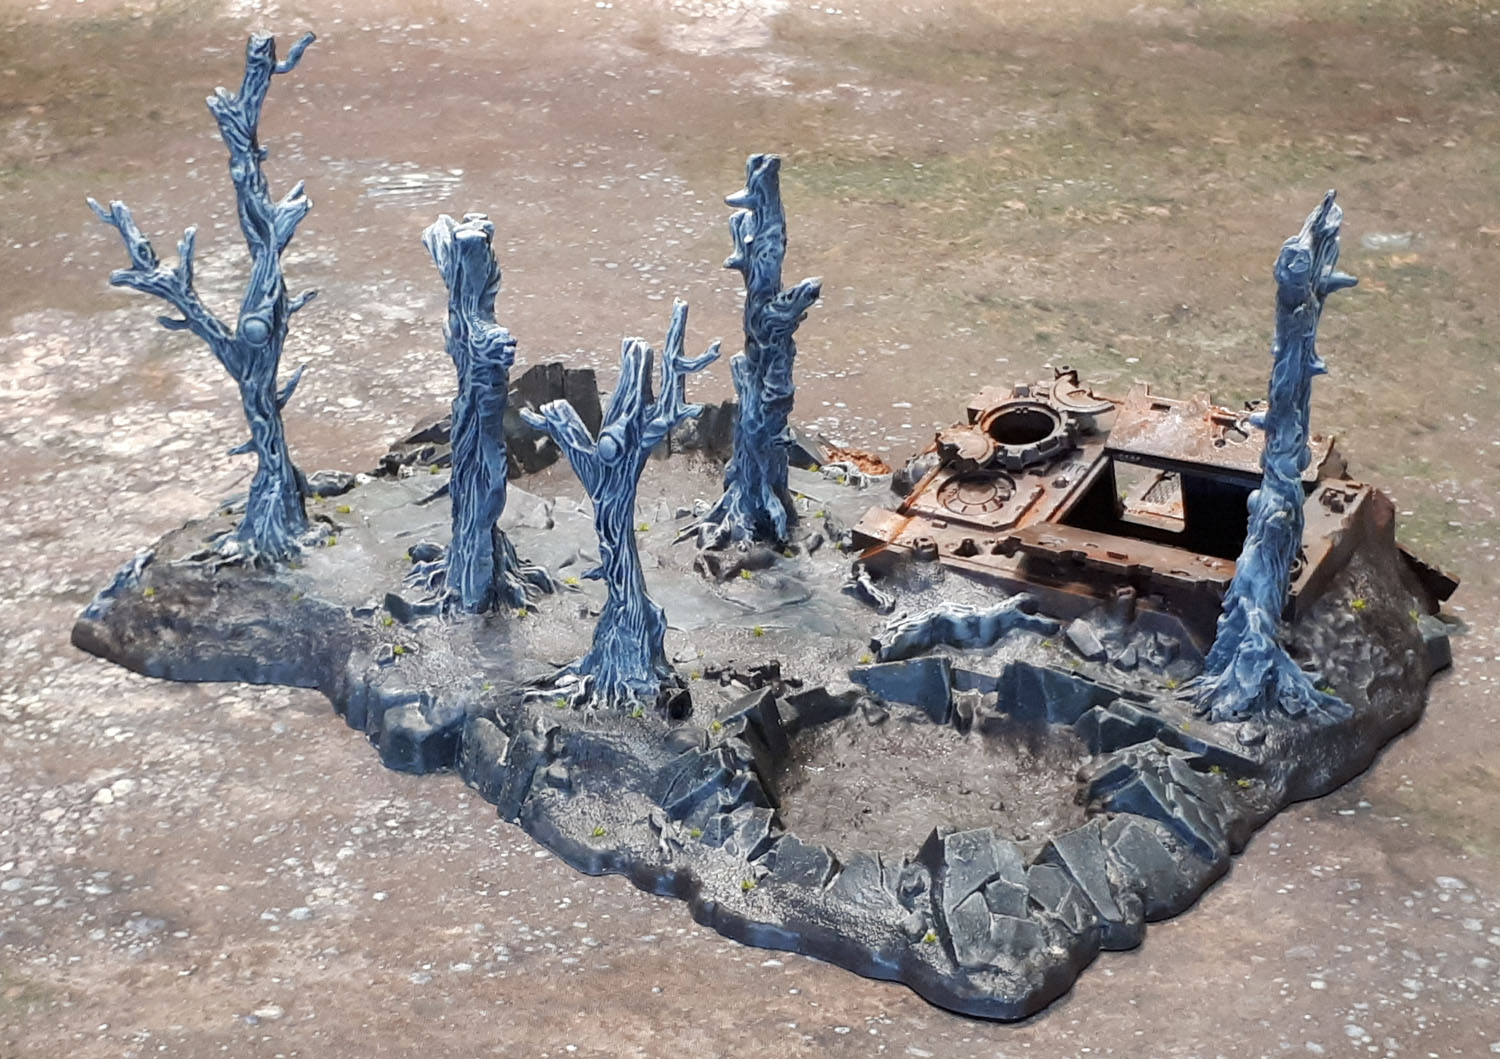
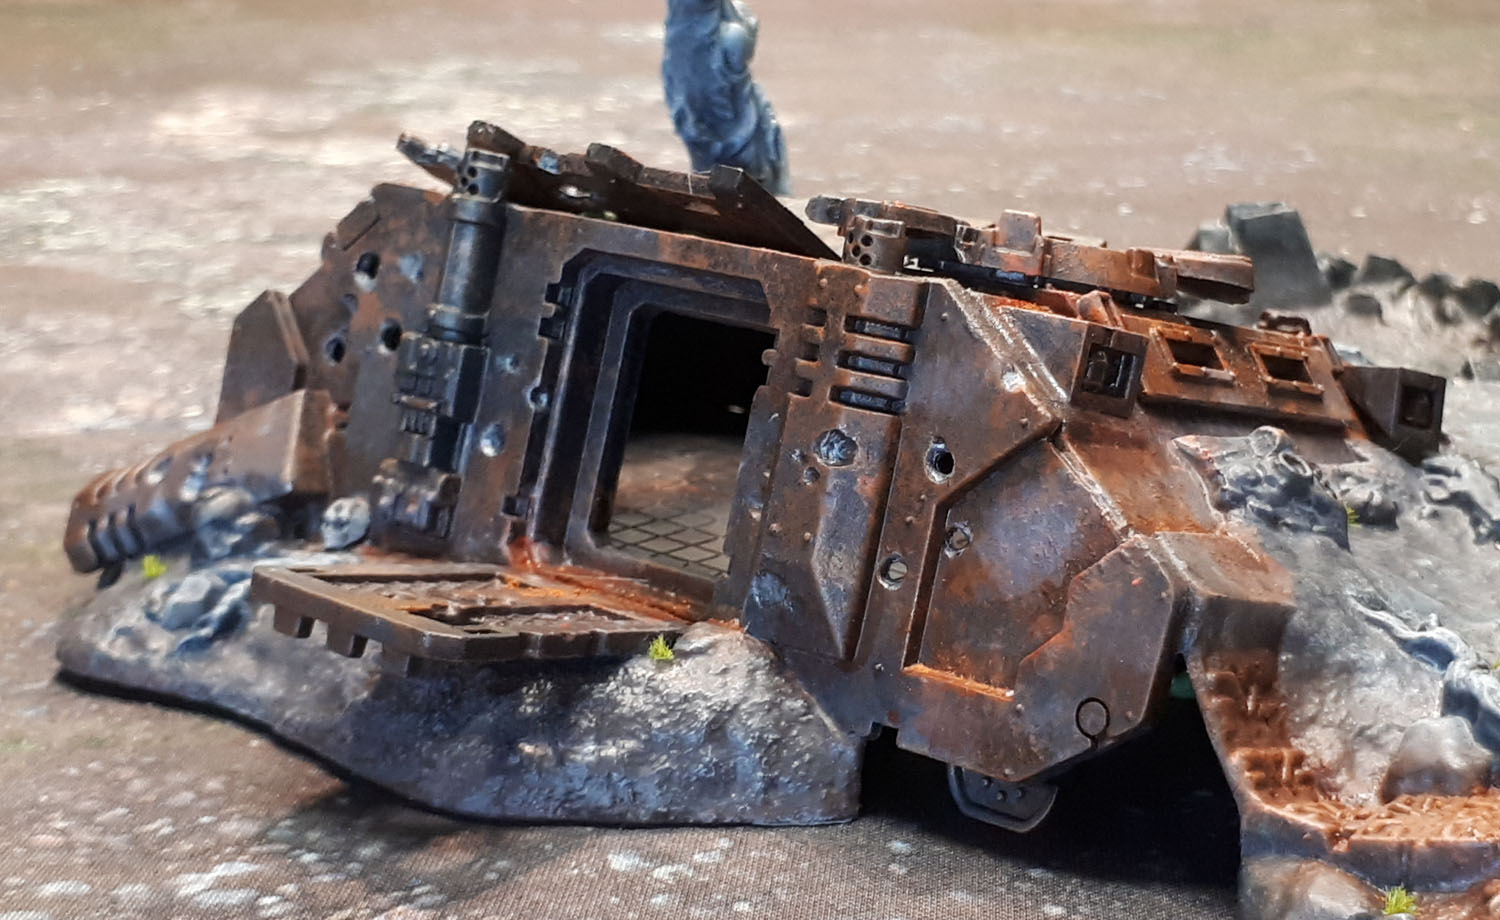
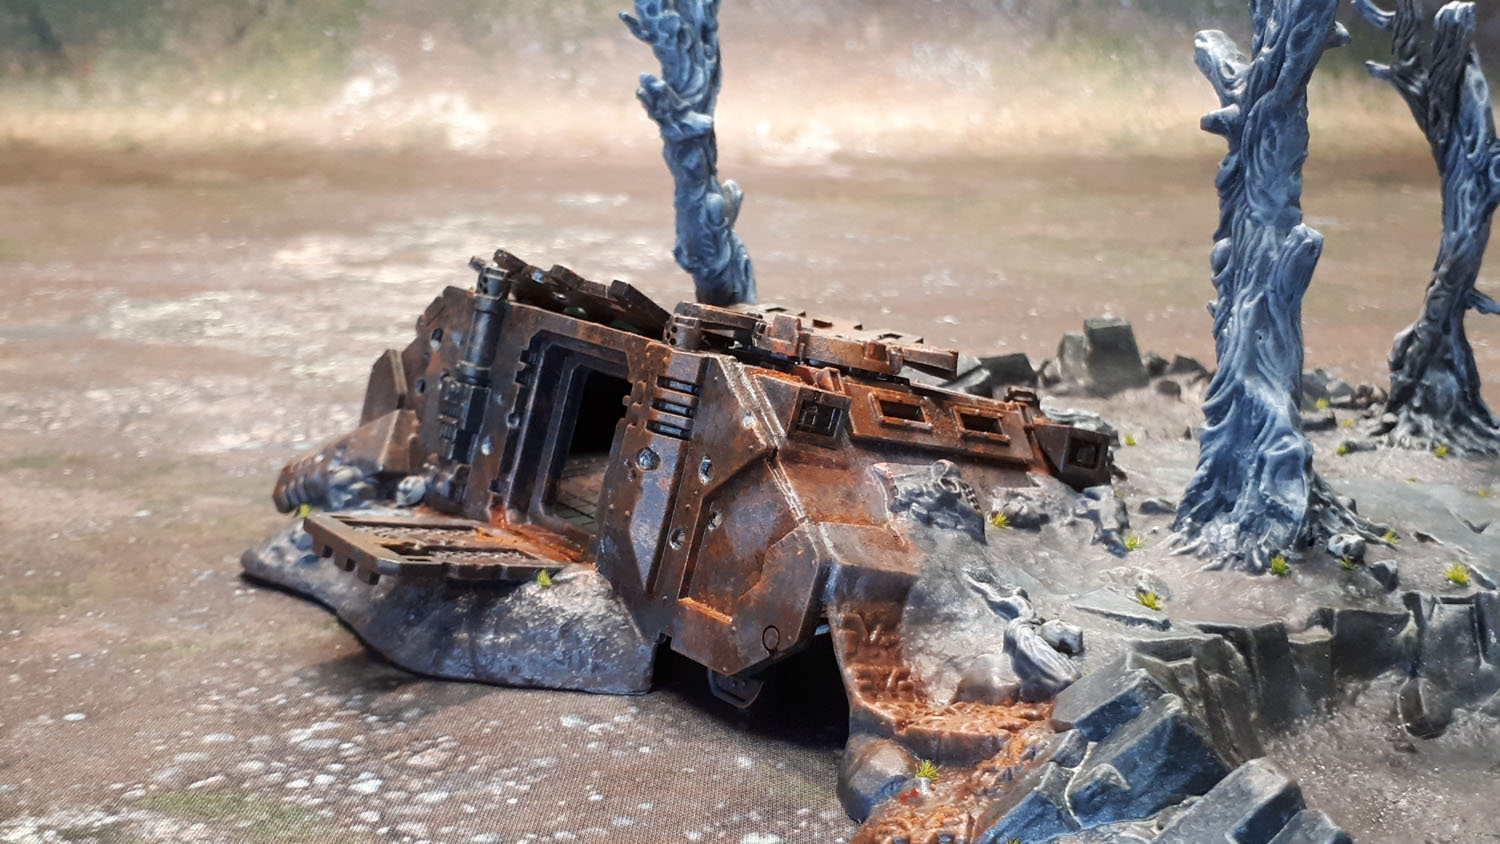
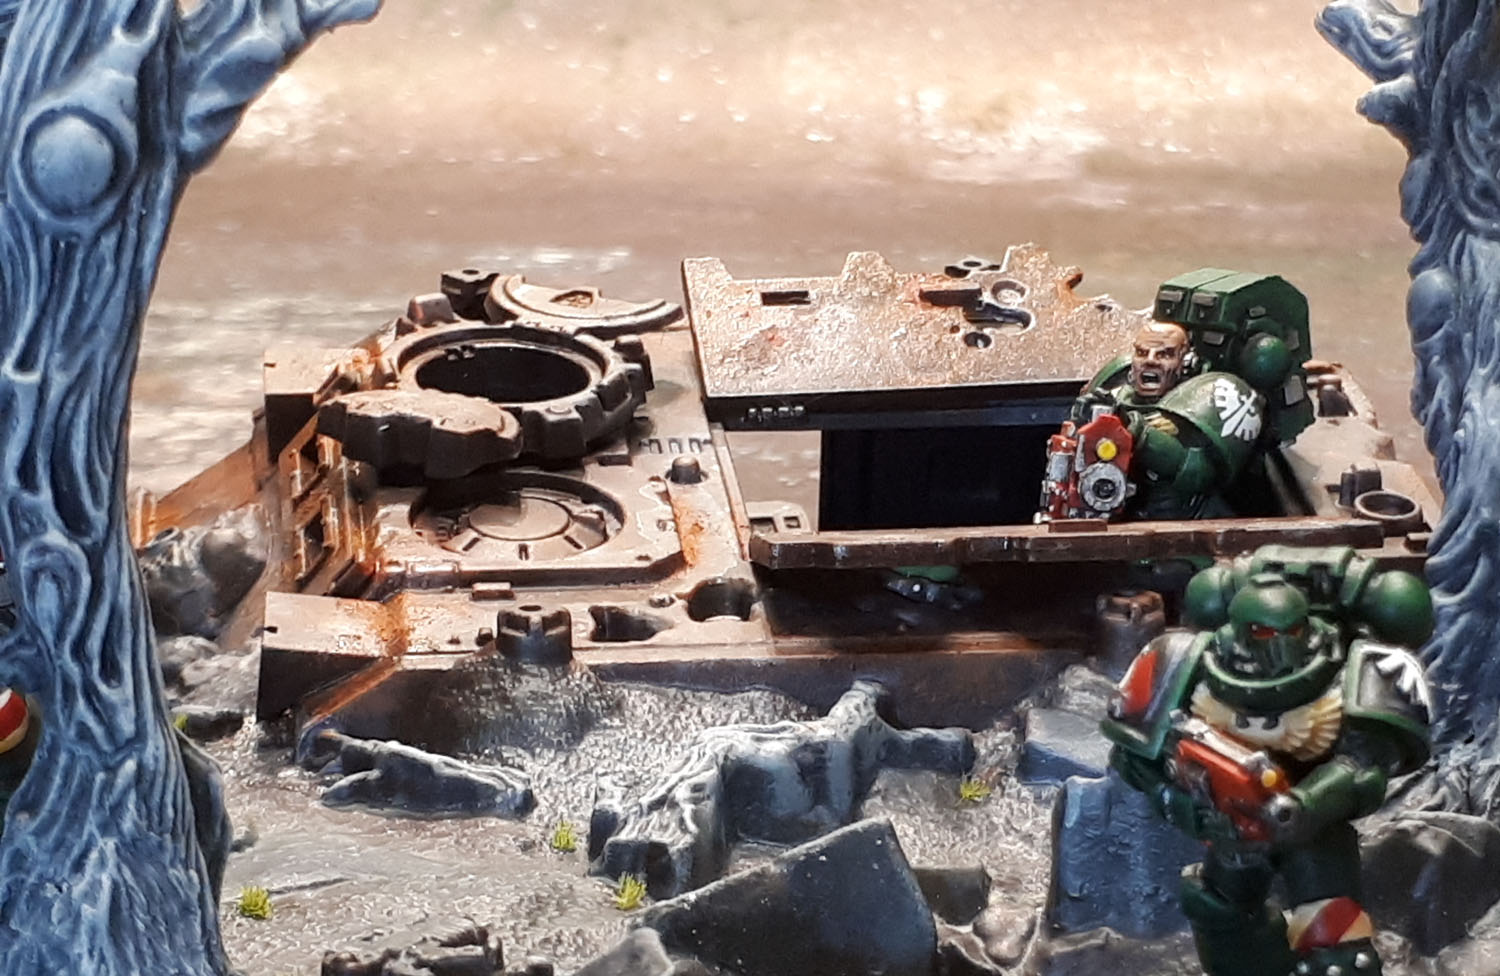
My personal brief, from way back in 2014, was to paint the kit in a generic enough way so that it could be used regardless of which forces were fighting over the tabletop. This immediately meant that the Rhino needed to be painted as a burnt-out husk, so as to avoid being in the livery of any particular force. The same applied to the bits of Space Marine scattered around the piece (a couple of helmets, a backpack, a bolter).
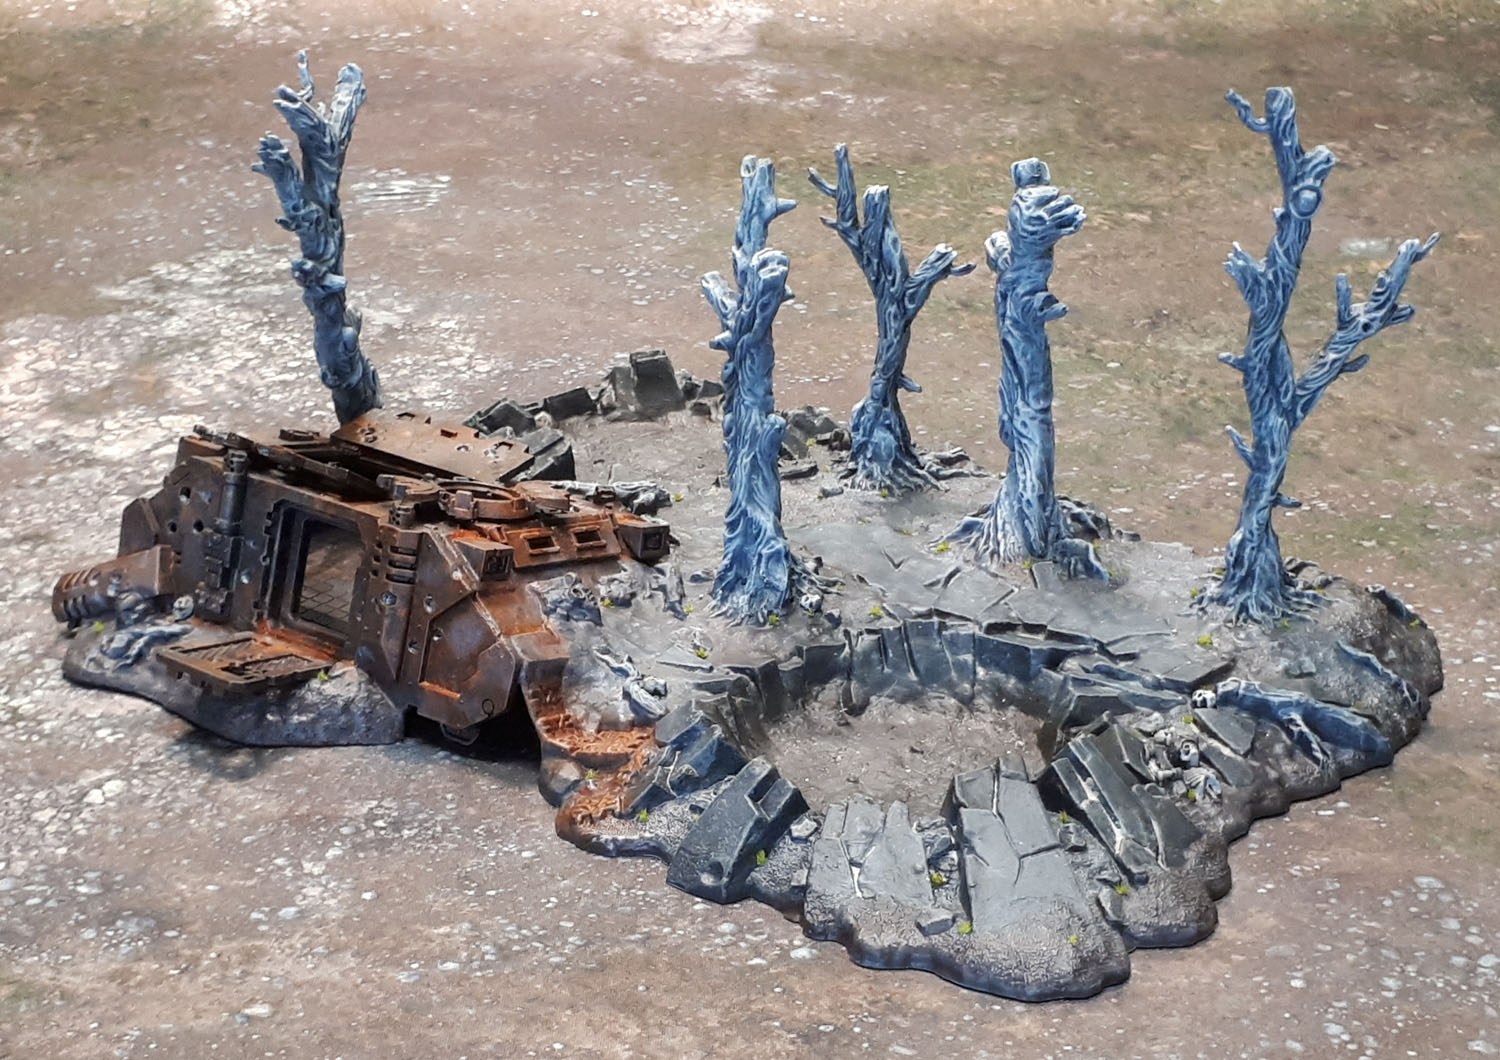
So I did what I do now – look up a ton of reference pictures. I wanted the trees to look like the husks that are left after a bushfire, so an ashy grey. That also meant that I needed to make the dirt on the ground look suitably ashen. One of my reference pictures showed an AFV that had been destroyed in Ukraine, and it was severely rusted out. I thought it looked pretty effective, so I now had a new direction for my Rhino husk. Burnt out, and then rusted over time.

Given that the Rhino now had been there for long enough to rust out, this meant that a decent amount of time had passed since whatever explosive/shelling incident had caused this terrain piece to become. So this meant the additional of a subtly small addition to the entire piece. Spots of new growth. Again, reference photos provided the inspiration.
Unfortunately, the matte varnish has left a bit of a sheen that comes up in photography – especially with the extra lights turned on the table. It’s not quite as bad in person. But before all of those finer details, the first thing I needed to do was to finally complete the build, by filling that gaping hole to the tabletop left inside the rhino, between the hatches.
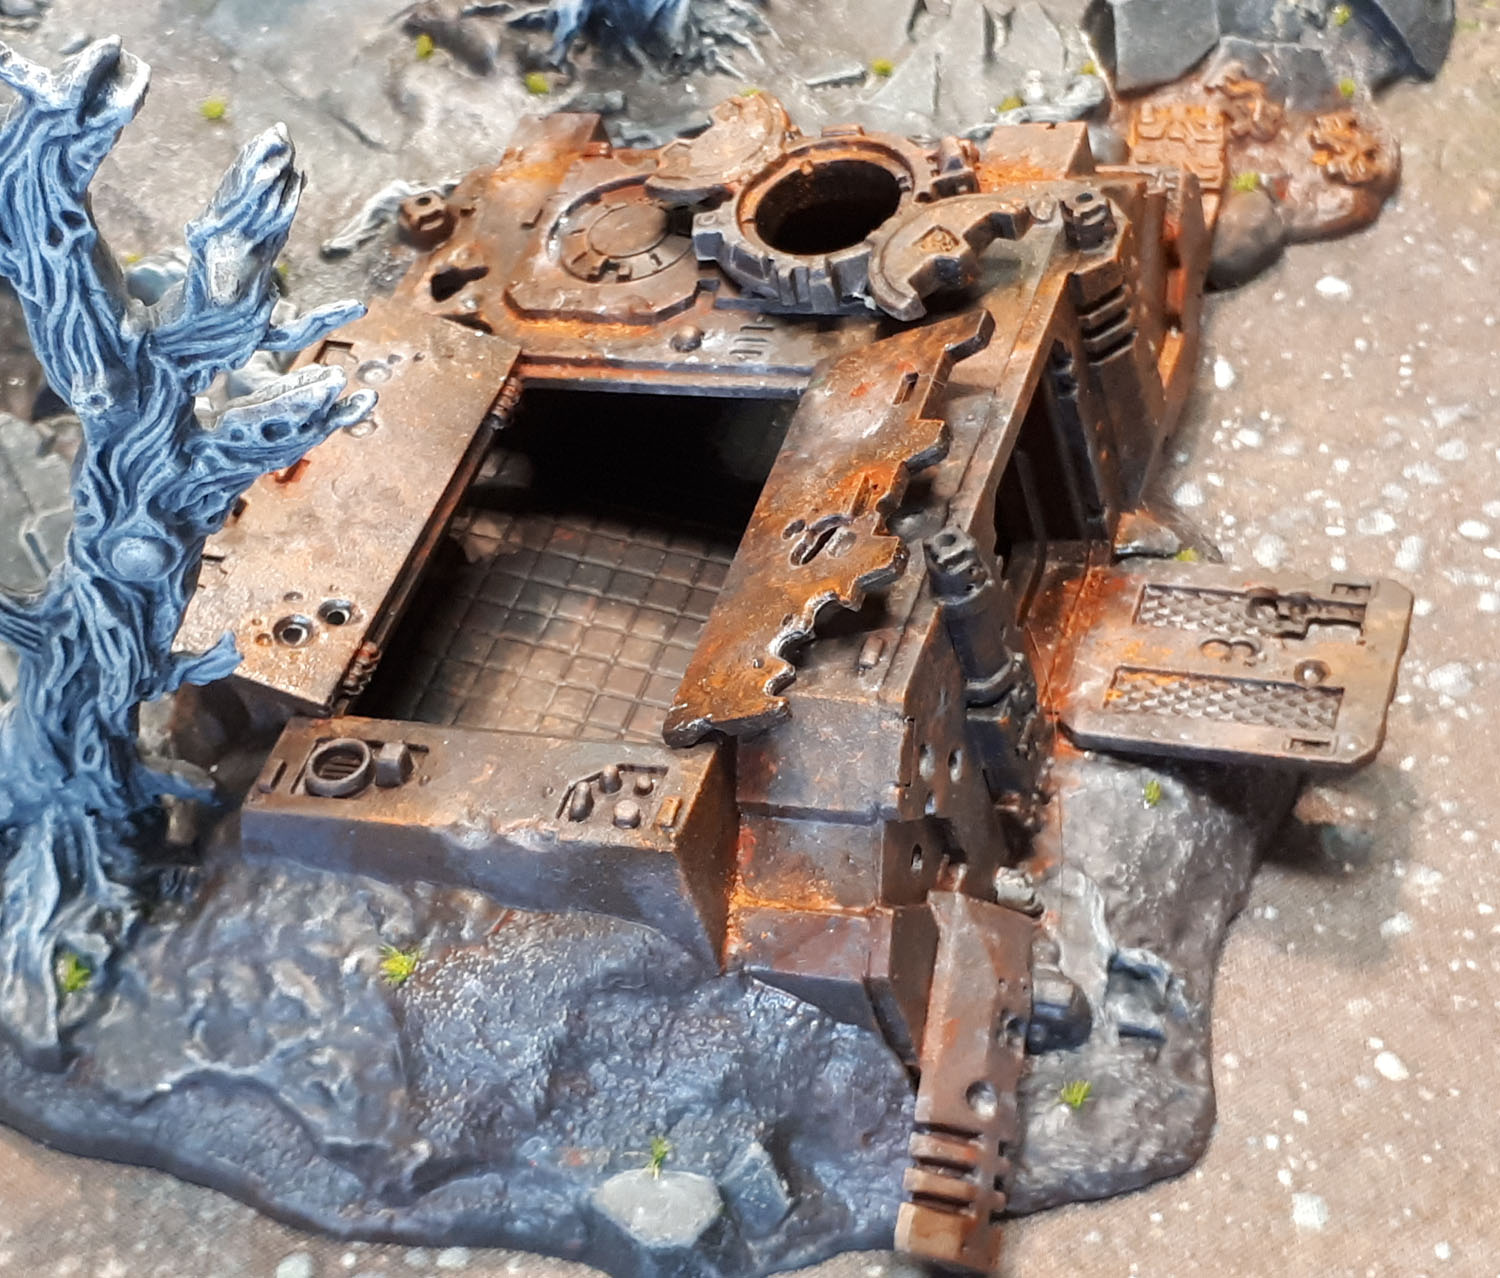
I’d tossed up various ideas to fill it over the years, and my best option was to mount the whole piece onto an MDF placemat, though it wasn’t quite large enough to have the whole, oddly-shaped piece fit. There was still a bit of overhang. Luckily Krautscientist’s recent WIP post on the Crashed Aquila Lander and a deceptively simple solution to that piece’s gaping hole to the tabletop (apparently a common issue with their kits of that vintage) provided me with inspiration on doing the same to my own long-neglected one of the same kit. After doing that (hopefully to be painted soon!) I immediately decided to do the same, simple trick to this model using some textured “small tile” plasticard for visual interest.
It was a little trickier due to the lack of contact points underneath – there’s a lot of plastic cement, greenstuff and superglue underneath, and the floor isn’t parallel to the roof – but it works.
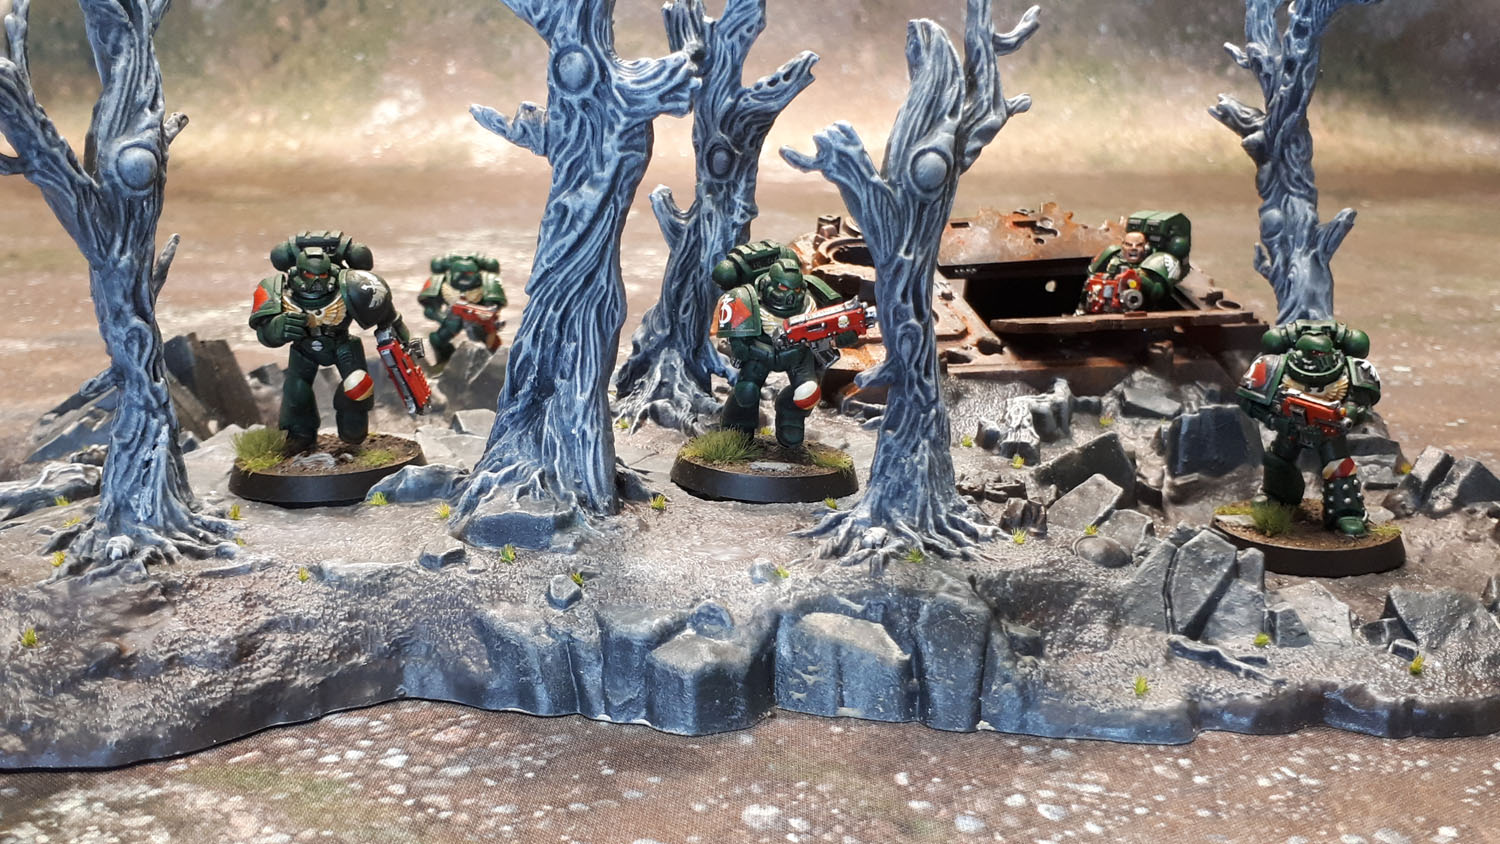
Now, finally the kit is complete. Now, could I have spruced the thing up by adding additional details and such? Of course! But since that’s always the case, these things become a bit of a triage situation, where you need to weigh up whether it’s worth the time to do so. And I’ve got SO many more terrain kits to take on that I’m happy to finally call this one done and dusted!
